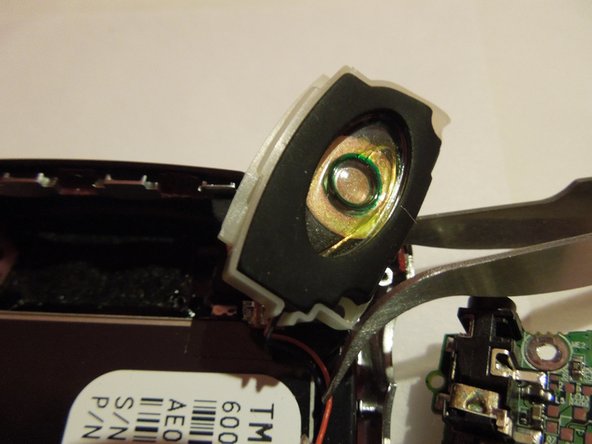
주요 콘텐츠로 건너뛰기

Compaq iPAQ Pocket PC 3830 Speaker Replacement

필요한 것

  1. Compaq iPAQ Pocket PC 3830 Speaker Replacement, Speaker: 1 단계, 이미지 1/2 Compaq iPAQ Pocket PC 3830 Speaker Replacement, Speaker: 1 단계, 이미지 2/2
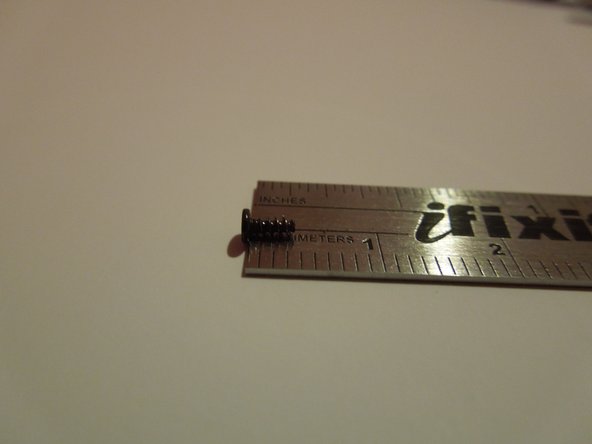
    • Remove the four 0.8mm Phillips # 00 screws from the back board using the screwdriver from your tool kit.

  2. Compaq iPAQ Pocket PC 3830 Speaker Replacement: 2 단계, 이미지 1/2 Compaq iPAQ Pocket PC 3830 Speaker Replacement: 2 단계, 이미지 2/2
    • Once the backboard is removed, remove the four screws on the motherboard. Two on top of the motherboard and two on the bottom of the motherboard using the Phillips screwdriver.

  3. Compaq iPAQ Pocket PC 3830 Speaker Replacement: 3 단계, 이미지 1/1
    • Detach the two pairs of wires, found on the top right of the motherboard, from their combs using the tweezers from the toolkit.

  4. Compaq iPAQ Pocket PC 3830 Speaker Replacement: 4 단계, 이미지 1/2 Compaq iPAQ Pocket PC 3830 Speaker Replacement: 4 단계, 이미지 2/2
    • In order to get to the speaker, try to free the motherboard by removing all the wires from their combs using the tweezers.

  5. Compaq iPAQ Pocket PC 3830 Speaker Replacement: 5 단계, 이미지 1/2 Compaq iPAQ Pocket PC 3830 Speaker Replacement: 5 단계, 이미지 2/2
    • Use tweezers to remove wires from combs.

  6. Compaq iPAQ Pocket PC 3830 Speaker Replacement: 6 단계, 이미지 1/1
    • Use your tweezers to free wire from comb in order to free the motherboard.

  7. Compaq iPAQ Pocket PC 3830 Speaker Replacement: 7 단계, 이미지 1/1
    • Once you have all the wires freed from the combs, you can detach the motherboard just by lifting it out of place.

  8. Compaq iPAQ Pocket PC 3830 Speaker Replacement: 8 단계, 이미지 1/3 Compaq iPAQ Pocket PC 3830 Speaker Replacement: 8 단계, 이미지 2/3 Compaq iPAQ Pocket PC 3830 Speaker Replacement: 8 단계, 이미지 3/3
    • Unscrew the two Phillips #00 screws to get the speaker loose using a Phillips screwdriver. The screws measure 0.3 mm in length.

  9. Compaq iPAQ Pocket PC 3830 Speaker Replacement: 9 단계, 이미지 1/2 Compaq iPAQ Pocket PC 3830 Speaker Replacement: 9 단계, 이미지 2/2
    • Once the two screws that hold the speaker in place are removed, remove the speaker using tweezers.

결론

To reassemble your device, follow these instructions in reverse order.

Sedina Cavcic

회원 가입일: 09/05/14

464 평판

안내서 3개 작성하였습니다

USF Sarasota-Manatee, Team 1-1, Stewart Fall 2014 USF Sarasota-Manatee, Team 1-1, Stewart Fall 2014 회원

USFSM-STEWART-F14S1G1

3 회원들

안내서 7개 작성하였습니다

댓글 0개

댓글 쓰기

조회 통계:

24 시간 전: 0

7일 전: 1

30일 전: 4

전체 시간: 334