소개
Use this guide to replace the CPU cooler. The CPU cooling fan is very important as it cools down the computer; preventing it from overheating and causing it to slow down. Replacing it will help your CPU to have a longer life time and reduce e-waste.
필요한 것
-
-
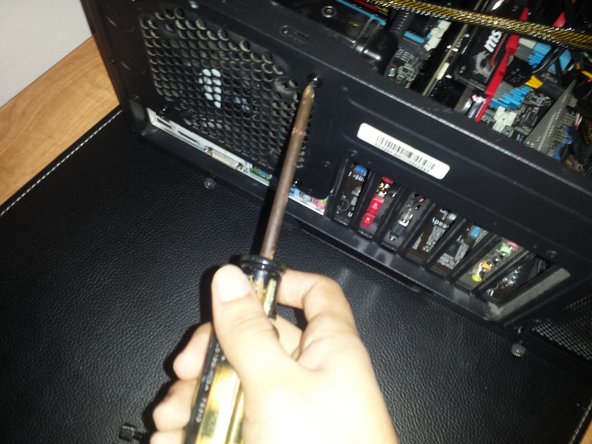
Remove the screws holding the side panel from the back side of the computer case.
-
-
-
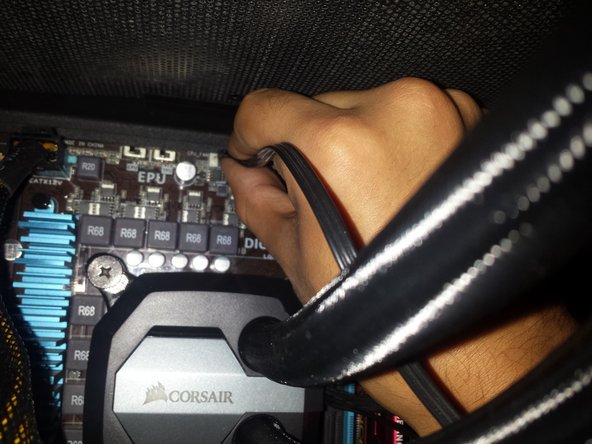
There is a cable connected to the cooler unplug it from the motherboard.
-
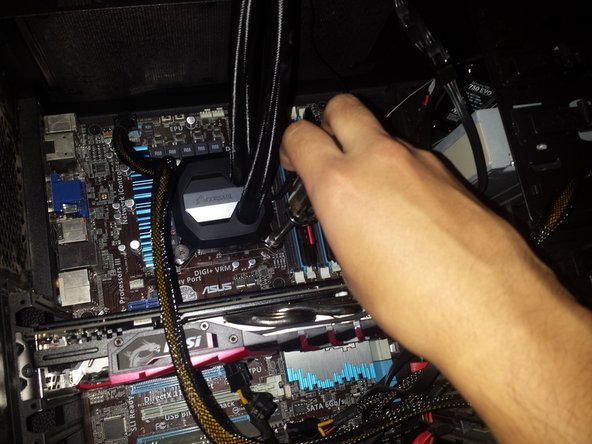
Unscrew the screws holding the cooler at the corners of the CPU.
-
Take out the cooler and place it at a reasonable location, underside up.
-
-
-
-
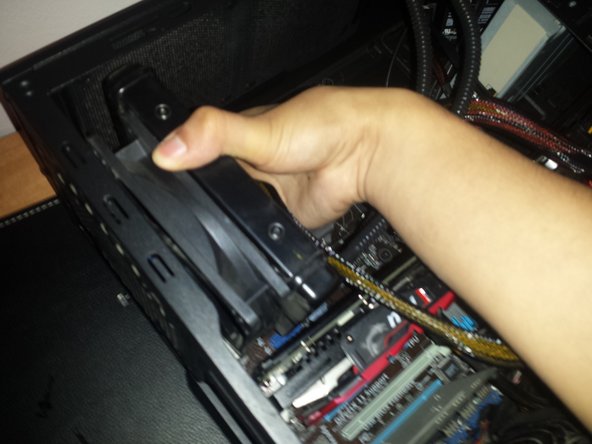
Find the location of the radiator and locate the screws holding it.
-
Remove the screws and being to hold both the radiator and fan as the last screw is coming off.
-
Remove the radiator and fan.
-
-
-
Put a little bit of isopropyl alcohol on the microfiber.
-
Clean all of the thermal paste residue from the CPU.
-
-
-
Place the new cooler over the cpu and align it with the four corners where the previous cooler was attached to.
-
Screw in the cooler, start at a corner and then move on to the corner diagonal from it, making an "X" shape as you screw them in.
-
-
-
Fans should be facing out.
-
Screw the fans and radiator to the location together.
-
Put the side panel back in place.
-
NOTE FOR CORSAIR AIOs: If you see the following symbol on the ICUE tab for your cooler on on your coolers LCD screen, RMA your AIO immediately and power down your computer, as the pump is defective:https://help.corsair.com/hc/article_atta...
-


By replacing the CPU cooler the lifespan of the computer will be lengthen with the small upgrade. By replacing certain parts within a computer it would no longer be necessary to buy a new computer and increase e-waste. By lowering the amount of e-waste it would help the environment.
By replacing the CPU cooler the lifespan of the computer will be lengthen with the small upgrade. By replacing certain parts within a computer it would no longer be necessary to buy a new computer and increase e-waste. By lowering the amount of e-waste it would help the environment.
다른 6명이 해당 안내서를 완성하였습니다.
댓글 3개
Thanks for your help
Alex Ander - 답글
DO NOT put thermal paste on the cooler first, put it on the CPU directly then apply the cpu cooler onto the cpu and screw it down in X formation. Top left, bottom right, bottom left, top right, then tighten just a little at a time till it's finger tight with screw driver.
Fae Bogart - 답글