소개
Replacing the motherboard of the Corsair M55 RGB Pro Gaming Mouse (Model: RGP0086) is a straightforward process if you find your mouse malfunctioning. No specialized skills are required for this task, and there are no hazards involved as the mouse should be unplugged during the repair process. If software updates fail to resolve any issues with your mouse, it's possible that the motherboard is malfunctioning.
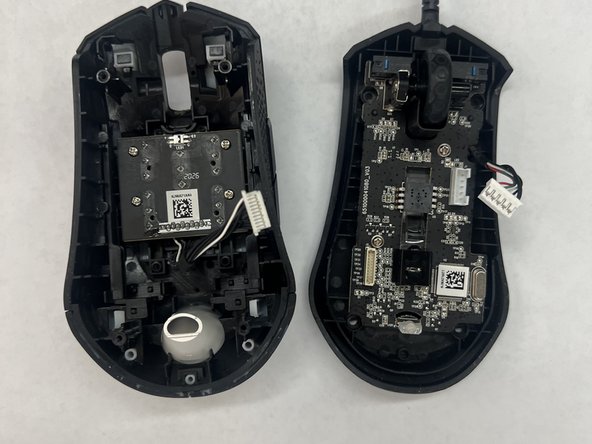
The mouse consists of two main components: the top portion and the bottom portion. The top half houses the PCB (printed circuit board), which controls the secondary buttons on the mouse. The bottom half contains the motherboard, which includes components such as the mouse wheel, USB port, and the main buttons for the mouse.
When replacing your motherboard, handle the new board by the edges only and, if possible, use ESD-safe gloves to avoid damaging it.
필요한 것
-
-
Use a spudger to gently peel off and remove the three mouse feet on the bottom of the mouse.
-
-


To reassemble your device, follow these instructions in reverse order.
To reassemble your device, follow these instructions in reverse order.
팀

CSU Los Angeles, Team 8-11, Grodsky Spring 2024 CSU Los Angeles, Team 8-11, Grodsky Spring 2024 회원
CSULA-GRODSKY-S24S8G11
2 회원들
안내서 1개 작성하였습니다