소개
We all love to rock out with our vinyl out. Regardless of our age, though, sometimes the music is too loud and we blow our speakers.
Make sure you unplug your radio before starting!
필요한 것
-
-
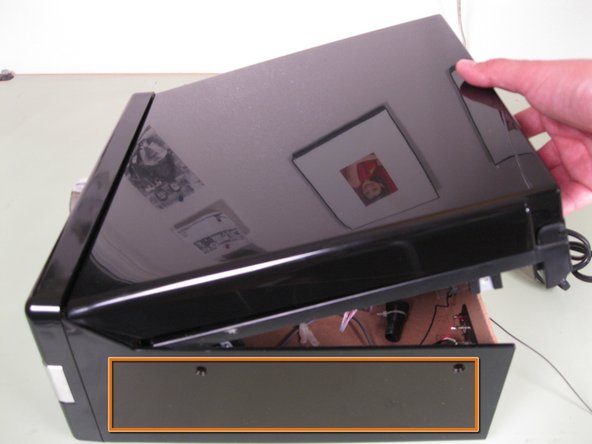
Turn the radio upside down, being careful to hold the turntable's lid.
-
Remove the three 6 mm screws on the bottom near the front of the radio.
-
-
-
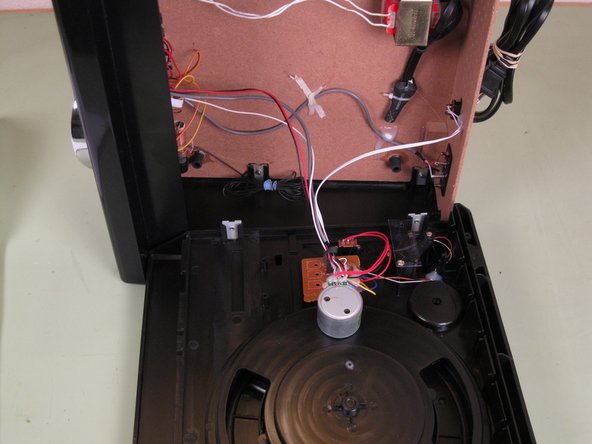
Turn the radio right side up.
-
Using a spudger, remove the plastic screw covers on both side.
-
Remove the two 8 mm screws on each side of the radio.
-
-
-
Now's a good time to coil the cables you've disconnected. This will help keep them out of the way when working on the rest of the radio.
-
-
-
-
With the power of Greyskull, firmly grab the knobs with your thumb and forefinger and pull them out.
-
-
-
Place the radio with the front facing down and the top of the radio facing you.
-
Remove the seven 6 mm screws holding the cross member in place.
-
-
-
Remove the four Molex connectors for the speakers, headphone jack, line out and light.
-
-
-
With the flat end of a spudger, scrape away the glue between the mounting tabs and the bottom of the radio.
-
Gently pull the face of the radio away.
-
-
-
Well you've finally made it to your destination. Remove the eight 6 mm screws holding the speakers in place.
-
It's also a good idea to label your speakers so you put them back in the correct side.
-


To reassemble your device, follow these instructions in reverse order.
To reassemble your device, follow these instructions in reverse order.