소개
Unless you have a starter pack with a pre-made Bootable SD Card, you'd need to create one for your Raspberry Pi.
In this guide I will walk you through the creation of your Bootable SD Card (This card will contain your Raspberry Pi's Operating System and will act as your device's storage).
필요한 것
-
-
To create our Bootable SD Card we will need the Official Raspberry Pi Imager software. This software is completely free, and can be downloaded here.
 FixBot에 문의하기
-
-
-
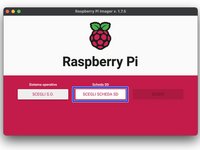
Once your download has been completed, open the Pi Imager program, and insert your SD Card into your computer. The Imager software should automatically detect your SD Card, and will begin to format the card.
-
-
-
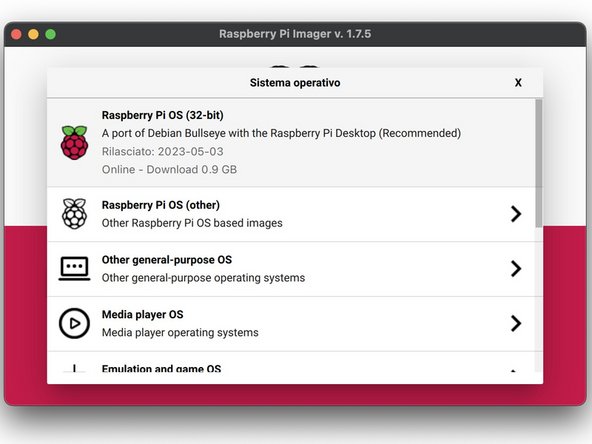
Once your SD Card has been targeted, you'll need to select the Operating System that you would like loaded onto your SD Card.
-
-
-
-
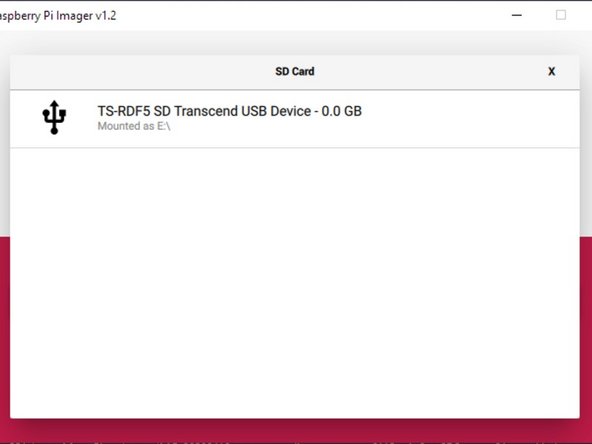
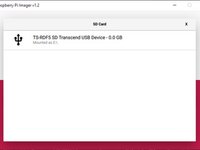
Once your OS has been selected, select your inserted SD card.
-
-
-
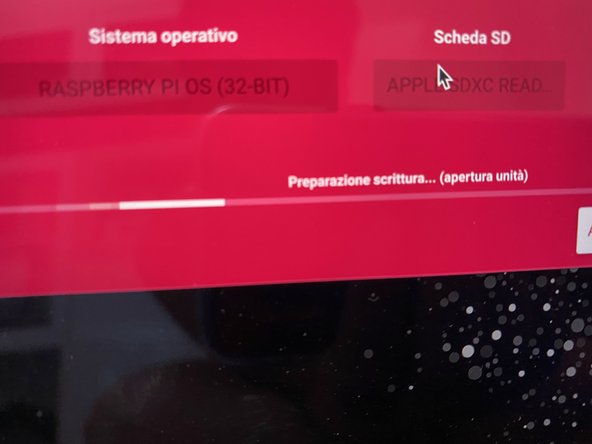
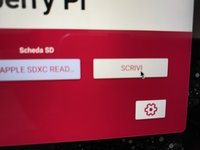
Once you have your SD Card selected, click on the Write button. If prompted enter the password to your computer.
-
-
-
When the installation is complete, Imager will prompt you to remove your SD Card.
-
To begin using your Bootable SD Card, simply insert the card into your Raspberry Pi, and power on your device.
-
-
-
It is possible that at the moment you begin to WRITE the OS to your SD Card an alert may appear warning that the card is write protected. This happens when the switch on the left side of the SD is in protection mode.
-
You can solve this by ejecting the SD Card and move the lever to the side opposite, then repeat the OS selection operation. and of the SD Card.
-


다른 한 분이 해당 안내서를 완성하였습니다.
다음 번역가들에게 특별히 감사 드립니다:
100%


이 번역인들은 저희가 세상을 수리하는 데 도움을 주고 있어요! 기여하시겠습니까?
번역 시작하기 ›