주요 콘텐츠로 건너뛰기

Creative MUVO 2 Battery Replacement

필요한 것

  1. Creative MUVO 2 Battery Replacement, Remove protective mesh: 1 단계, 이미지 1/2 Creative MUVO 2 Battery Replacement, Remove protective mesh: 1 단계, 이미지 2/2
    • Use a flat screwdriver to carefully pry the protective mesh from the plastic case.

  2. Creative MUVO 2 Battery Replacement, Open case: 2 단계, 이미지 1/3 Creative MUVO 2 Battery Replacement, Open case: 2 단계, 이미지 2/3 Creative MUVO 2 Battery Replacement, Open case: 2 단계, 이미지 3/3
    • Remove all screws from the black front using a long PH screwdriver.

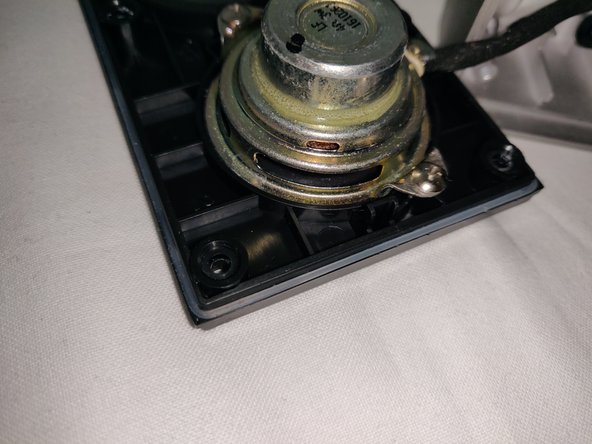
  3. Creative MUVO 2 Battery Replacement, Unplug speaker assembly: 3 단계, 이미지 1/2 Creative MUVO 2 Battery Replacement, Unplug speaker assembly: 3 단계, 이미지 2/2
    • Carefully unplug the cable that connects the speakers to the circuit board.

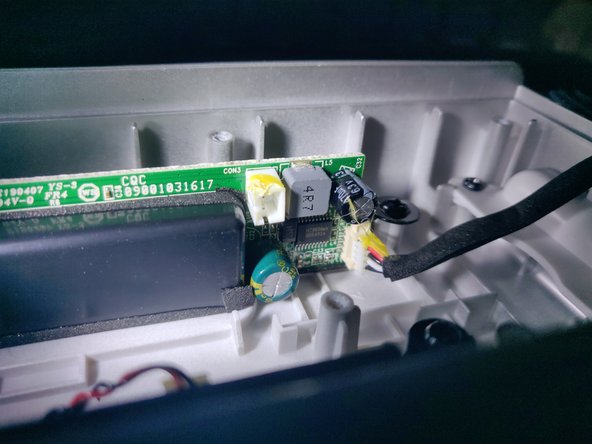
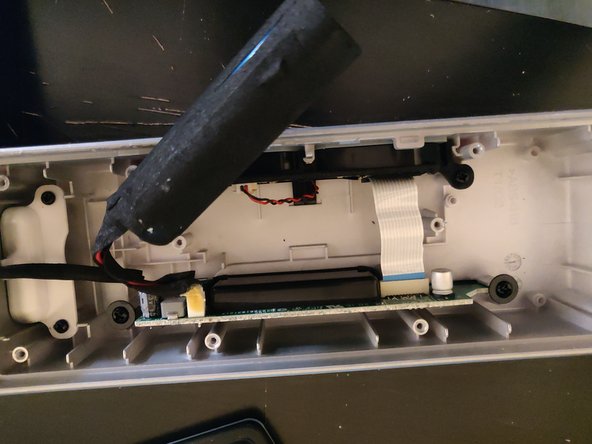
  4. Creative MUVO 2 Battery Replacement, unscrew battery attachment: 4 단계, 이미지 1/3 Creative MUVO 2 Battery Replacement, unscrew battery attachment: 4 단계, 이미지 2/3 Creative MUVO 2 Battery Replacement, unscrew battery attachment: 4 단계, 이미지 3/3
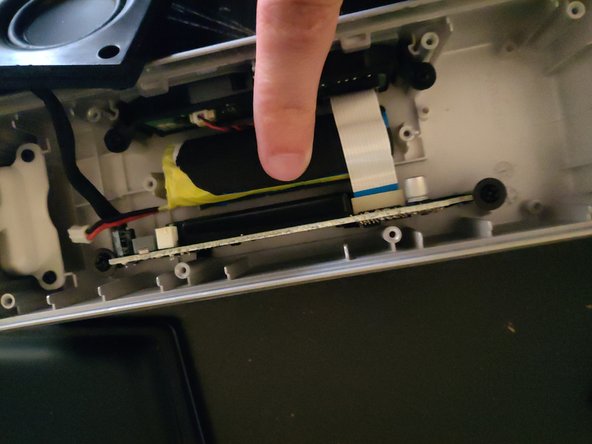
    • Unscrew and remove the black plastic part that attaches the battery to the back of the case.

  5. Creative MUVO 2 Battery Replacement, unplug battery: 5 단계, 이미지 1/1
    • Li-Ion Batteries can catch fire and explode if they are being mishandled! (e.g. when they are short-circuited or physically damaged).

    • Unplug the battery from the circuit board. You might have to use a knife or some other tool to remove the glue that is on the connector.

  6. Creative MUVO 2 Battery Replacement, remove battery cable and wrapping: 6 단계, 이미지 1/2 Creative MUVO 2 Battery Replacement, remove battery cable and wrapping: 6 단계, 이미지 2/2
    • Cut the cable of the battery. Take extra care not to short-circuit the two cables! cut each cable individually and make sure the cable ends on the battery are slightly different in length, so they can't accidentally touch each other.

    • Dispose of the battery according to your local regulations. Again: Be extra cautious as Lithium Batteries are known to easily explode and catch fire.

    • Also very carefully remove the protective outer foam-wrapping. we will reuse it later.

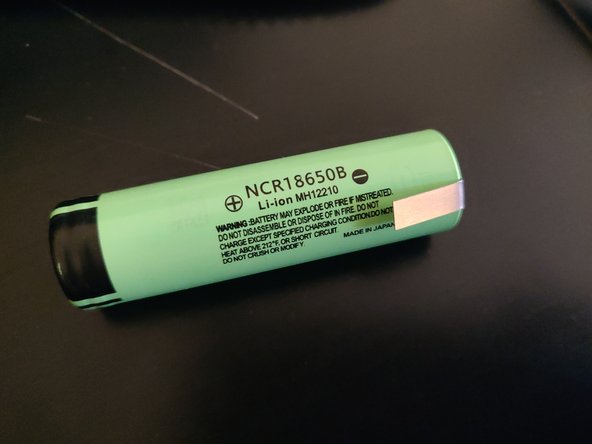
  7. Creative MUVO 2 Battery Replacement, prepare and install new battery: 7 단계, 이미지 1/3 Creative MUVO 2 Battery Replacement, prepare and install new battery: 7 단계, 이미지 2/3 Creative MUVO 2 Battery Replacement, prepare and install new battery: 7 단계, 이미지 3/3
    • Get a new 18650 battery. I bought an expensive one from Panasonic. Be sure to spend some money in order to get a genuine one, and make sure to buy one that contains extra protection circuitry and solder tabs!

    • Sorry for the lack of pictures: Basically you have to improvise a bit. solder the cable with the plug somehow to the battery's solder tabs. Be sure to have the correct polarity! Also use plenty of sticky tape to protect everything from causing short circuits!

    • Finally, take the blue cushion-wrapping and somehow try to wrap it around the battery. Then try to attach the battery to the case using the black plastic brace and the two screws.

    • Carefully plug the battery-plug into the main circuit board and check that nothing starts to heat up or even cause smoke. In which case you have probably messed up.

    • Connect the speakers and switch the device on. If everything works, put everything back together.

    • Please note that your device is probably not IP66 anymore, but in my case the battery again lasts for many hours.

결론

Arbeite die Schritte in umgekehrter Reihenfolge ab, um dein Gerät wieder zusammenzubauen.

Jones

회원 가입일: 07/26/22

145 평판

안내서 1개 작성함

댓글 0개

댓글 쓰기

조회 통계:

24 시간 전: 1

7일 전: 8

30일 전: 64

전체 시간: 1,332