이 버전에는 잘못된 편집 사항이 있을 수 있습니다. 최신 확인된 스냅샷으로 전환하십시오.
필요한 것
-
이 단계는 번역되지 않았습니다. 번역을 도와주십시오
-
Remove the two screws (2.5 mm) on the top and bottom of the device using a Phillips #0 screwdriver.
-
-
이 단계는 번역되지 않았습니다. 번역을 도와주십시오
-
Run the spudger along the cover and pry.
-
The button pad may fall off when the cover is removed.
-
-
-
이 단계는 번역되지 않았습니다. 번역을 도와주십시오
-
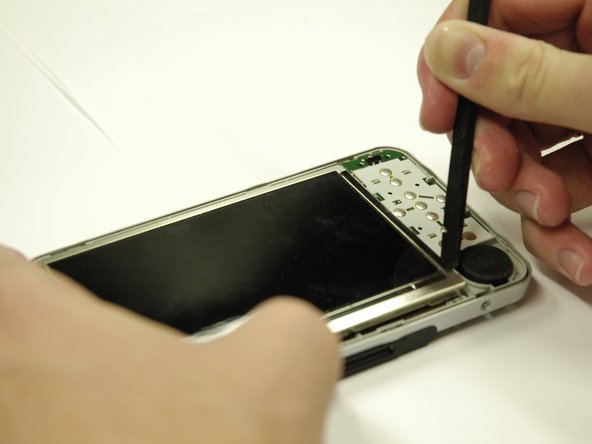
Use a spudger to separate the metal tabs that hold the screen in place on the right side.
-
-
이 단계는 번역되지 않았습니다. 번역을 도와주십시오
-
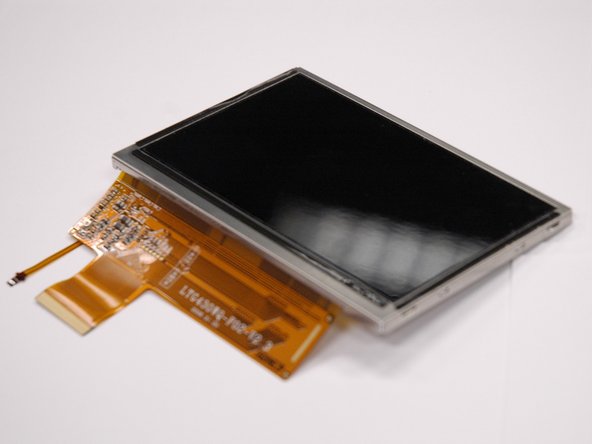
Put the screen face down so you can see where the ribbon cables are attached.
-
Remove the red sticker that covers the ribbon cable connections.
-
-
이 단계는 번역되지 않았습니다. 번역을 도와주십시오
-
Use a plastic opening tool to get underneath the black flap on the larger ribbon cable connection and lift it.
-
-
이 단계는 번역되지 않았습니다. 번역을 도와주십시오
-
Use a spudger to slide the two small gray tabs away from the ribbon cable connection.
-
Remove the screen from the device.
-


다른 한 분이 해당 안내서를 완성하였습니다.

팀

Cal Poly, Team 17-2, Regan Spring 2013 Cal Poly, Team 17-2, Regan Spring 2013 회원
CPSU-REGAN-S13S17G2
4 회원들
안내서 8개 작성하였습니다