이 안내서에는 최근 변경 사항이 더 있습니다. 최신 비검증 버전으로 전환하십시오.
소개
The LCD screen is an output component that displays information to the user.
필요한 것
-
-
Using a spudger, wedge the tip between the front and back case to pry them apart.
-
-
-
Flip the LCD screen off the midsection plate to gain access to the space around the input button chip.
-
-
-
Using a spudger, pry off the button input chip from the mid-section of the device. To gain best leverage, start at the bottom right corner and level your way up the side of the chip.
-
-
-
-
Lift open the LCD screen and button input chip to access the entire midsection plate.
-
-
-
Use a Phillips Head screwdriver to unscrew the three 3/16 inch screws that were underneath the button input chip.
-
-
-
Use a Phillips Head screwdriver to unscrew the three 3/16 inch screws that were underneath the LCD screen.
-
-
-
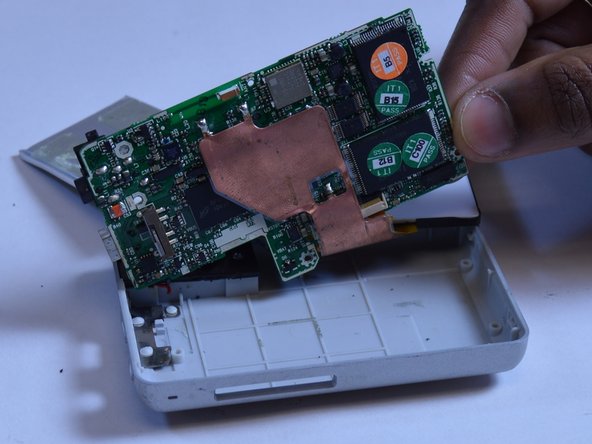
Lift the right edge of the motherboard off the back case.
-
Using two fingers to grip the edge of the board, slide the motherboard out of the case to the right.
-
-
-
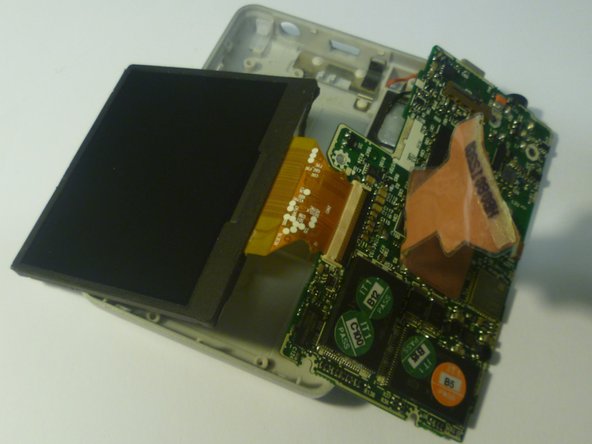
Use two fingers to peel back the edge of the ribbon connector that is glued to the bottom of the LCD screen.
-
-
-
Using a plastic opening tool, unlock the ribbon connector by unlatching the black lever that pins it on the motherboard.
-
Once the black lever arm is open, pull the ribbon connector out to disconnect the LCD screen.
-


To reassemble your device, follow these instructions in reverse order.
To reassemble your device, follow these instructions in reverse order.
다른 3명이 해당 안내서를 완성하였습니다.
팀

USF Tampa, Team 1-1, Remmell Fall 2015 USF Tampa, Team 1-1, Remmell Fall 2015 회원
USFT-REMMELL-F15S1G1
5 회원들
안내서 14개 작성하였습니다