이 버전에는 잘못된 편집 사항이 있을 수 있습니다. 최신 확인된 스냅샷으로 전환하십시오.
필요한 것
-
이 단계는 번역되지 않았습니다. 번역을 도와주십시오
-
Turn the device upside down.
-
Remove all four rubber feet by prying them out using the metal spudger.
-
Once the rubber feet have been removed, use the Phillips #2 screwdriver to remove all four 13mm screws.
-
-
-
이 단계는 번역되지 않았습니다. 번역을 도와주십시오
-
Remove the two 11mm screws securing the power cord using the Phillips #2 screwdriver.
-
Gently move the wire aside so that it is not in the way.
-
-
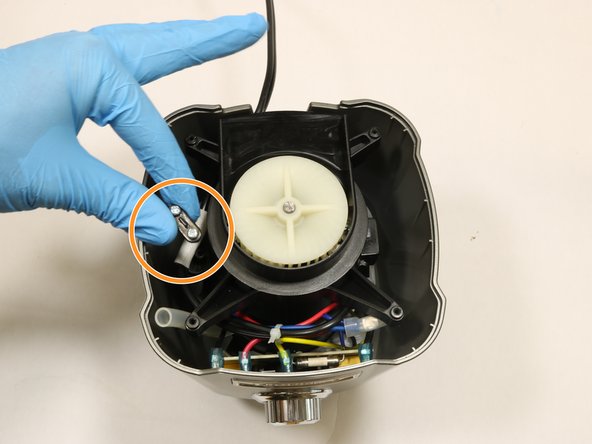
이 단계는 번역되지 않았습니다. 번역을 도와주십시오
-
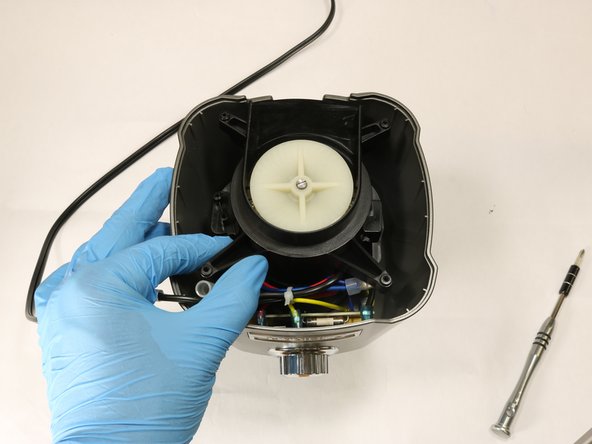
Remove the four 13mm screws that hold the black plastic cover using the Phillips #2 screwdriver.
-
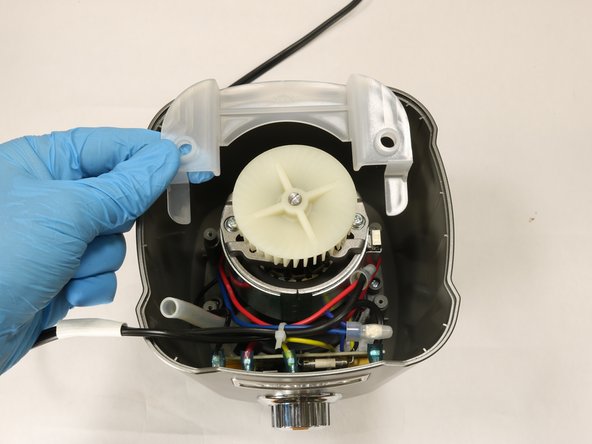
Gently remove the black cover.
-
Underneath, you will see a clear plastic cover that should be removed as well.
-
-
이 단계는 번역되지 않았습니다. 번역을 도와주십시오
-
Cut the zip tie that holds the black, blue, red, and yellow wires together.
-


다른 2명이 해당 안내서를 완성하였습니다.
팀

The Citadel Military College of South Carolina, Team S2-G1, Eggleston Fall 2018 The Citadel Military College of South Carolina, Team S2-G1, Eggleston Fall 2018 회원
CMCSC-EGGLESTON-F18S2G1
3 회원들
안내서 3개 작성하였습니다