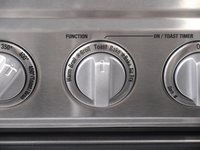
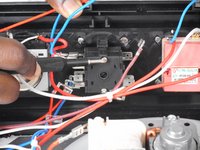
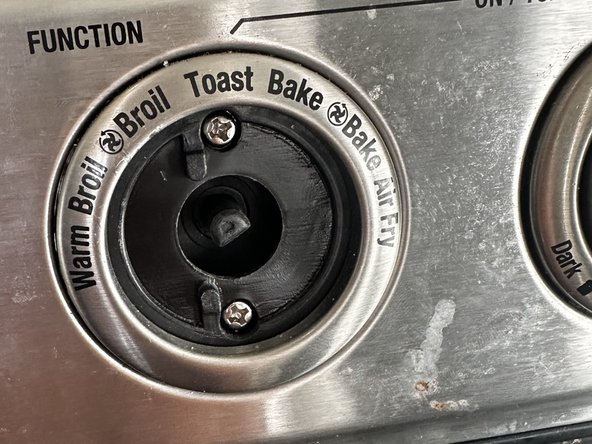
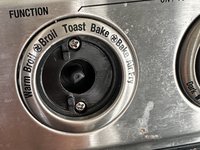
주요 콘텐츠로 건너뛰기

Cuisinart TOA-60FR Function Switch Replacement

필요한 것

  1. Cuisinart TOA-60FR Function Switch Replacement, Outside removal: 1 단계, 이미지 1개 중 1개
    • Using a 25-hexagon head screwdriver, unscrew these three 7.31 mm screws.

  2. Cuisinart TOA-60FR Function Switch Replacement: 2 단계, 이미지 2개 중 1개 Cuisinart TOA-60FR Function Switch Replacement: 2 단계, 이미지 2개 중 2개
    • Using a Phillips #1 screwdriver, remove all of these 7.31 mm screws.

    • Pull off the back panel.

  3. Cuisinart TOA-60FR Function Switch Replacement: 3 단계, 이미지 3개 중 1개 Cuisinart TOA-60FR Function Switch Replacement: 3 단계, 이미지 3개 중 2개 Cuisinart TOA-60FR Function Switch Replacement: 3 단계, 이미지 3개 중 3개
    • Flip the oven upside down.

    • Use a spudger to pull out the grey stoppers.

    • Use a Phillips #1 screwdriver to remove all three 11 mm screws.

  4. Cuisinart TOA-60FR Function Switch Replacement: 4 단계, 이미지 2개 중 1개 Cuisinart TOA-60FR Function Switch Replacement: 4 단계, 이미지 2개 중 2개
    • Unscrew all of the 11.05 mm screws that connect the outer shell to the interior device.

  5. Cuisinart TOA-60FR Function Switch Replacement: 5 단계, 이미지 3개 중 1개 Cuisinart TOA-60FR Function Switch Replacement: 5 단계, 이미지 3개 중 2개 Cuisinart TOA-60FR Function Switch Replacement: 5 단계, 이미지 3개 중 3개
    • Push down with a screw driver between the tabs, then pull up to release the tabs. Pull the top piece off.

  6. Cuisinart TOA-60FR Function Switch Replacement, Function Switch: 6 단계, 이미지 3개 중 1개 Cuisinart TOA-60FR Function Switch Replacement, Function Switch: 6 단계, 이미지 3개 중 2개 Cuisinart TOA-60FR Function Switch Replacement, Function Switch: 6 단계, 이미지 3개 중 3개
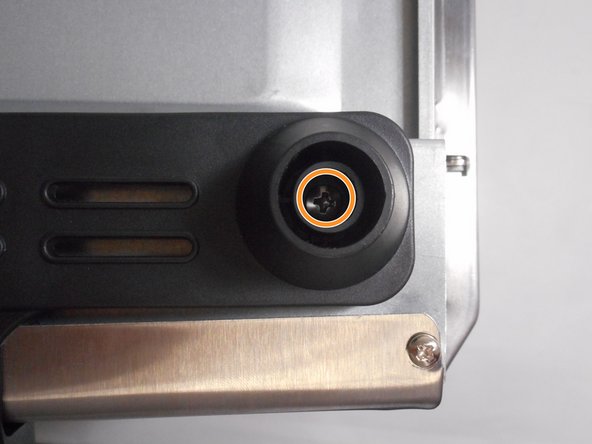
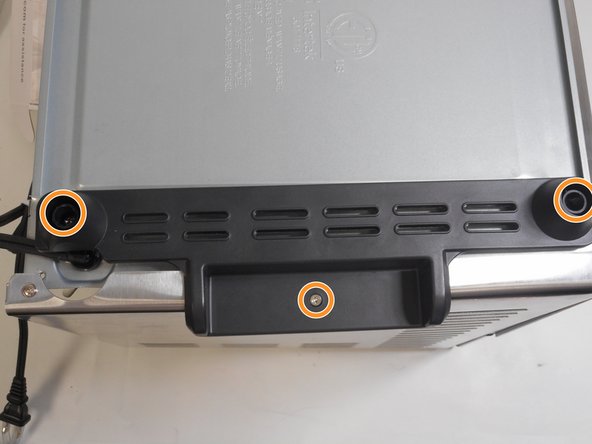
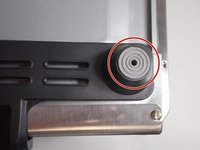
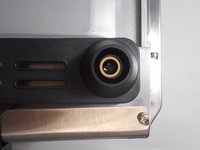
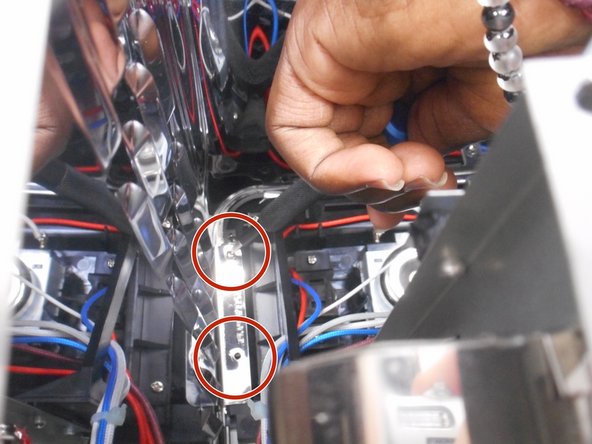
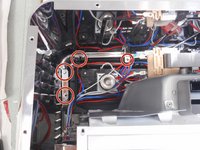
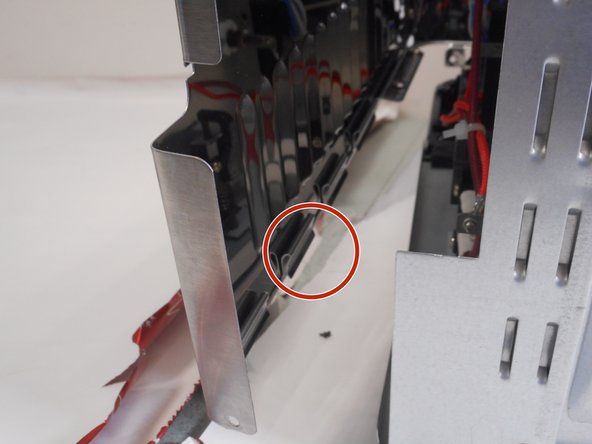
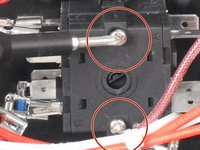
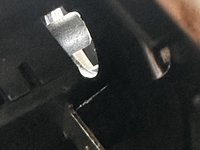
    • Inside of the device locate the function switch and remove the indicated screws (4.97mm).

  7. Cuisinart TOA-60FR Function Switch Replacement: 7 단계, 이미지 1개 중 1개
    • Unclip all connections.

  8. Cuisinart TOA-60FR Function Switch Replacement: 8 단계, 이미지 3개 중 1개 Cuisinart TOA-60FR Function Switch Replacement: 8 단계, 이미지 3개 중 2개 Cuisinart TOA-60FR Function Switch Replacement: 8 단계, 이미지 3개 중 3개
    • Rotate function knob to broil so plastic tab is visible when looking from the inside between the switch and control panel. Use screwdriver to push tab down and pull knob out from front side.

    • Remove 2 screws revealed under the front knob

결론

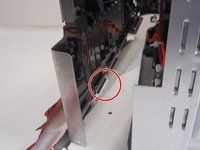
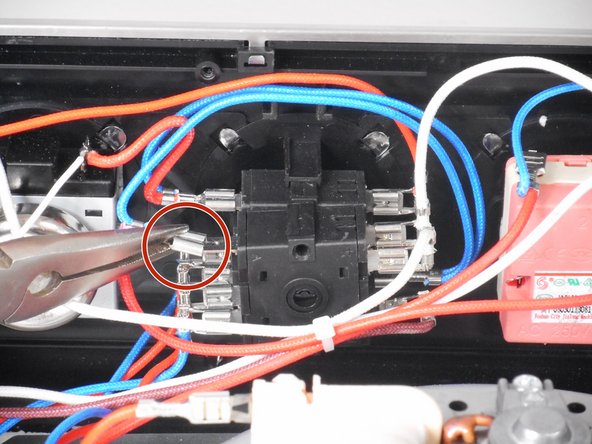
To reassemble your device, follow these instructions in reverse order.

다른 7명이 해당 안내서를 완성하였습니다.

작성자

5다른 기여자 명과 함께

TRiels

회원 가입일: 09/08/23

244 평판

안내서 1개를 작성함

14가이드 댓글

Anyone have a source for a replacement switch?

Josh - 답글

I ordered mine on Amazon

Martin Baumeister -

Big thanks for providing these instructions! It worked!

Martin Baumeister - 답글

Thanks for the guide. Saved me the headache of having to find a new toaster oven and paying for it.
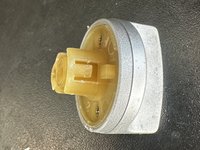
For those needing it, the part I ordered and used is part model number FZ31-9E (11 pins 7 positions) from amazon.
The switch will also have letters and numbers corresponding to the orientation as in step 6 so keep an eye out for that!

Adam Nguyen - 답글

Part of Step 8...Difficult to understand picture how to remove knob on switch? i did follow up instruction that i didn't clear instruction if you have any video how to remove knob from panel switch?

Thanks Todd

Todd Bouma - 답글

댓글 쓰기

조회 통계:

지난 24시간: 11

지난 7일: 62

지난 30일: 290

전체 시간: 5,228