소개
This guide is going to show how to take apart a D-Link DCS 936L Wi-Fi security camera and remove the camera lens using a Phillips #00 screwdriver and an opening tool. Don't fear! This is fairly simple once you get started. As long as you are careful not to strip the screws, it should only take a few minutes.
필요한 것
-
-
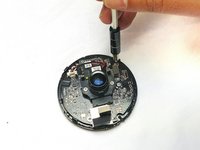
Place the camera upwards between your thumb and first finger.
-
Tilt the camera to the best position and loosen the captive linings using a plastic opening tool.
-
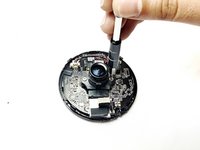
Slide the top cover outwards to separate the upper section from the lower lid using the plastic opening tool.
-
-
-
-
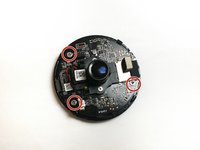
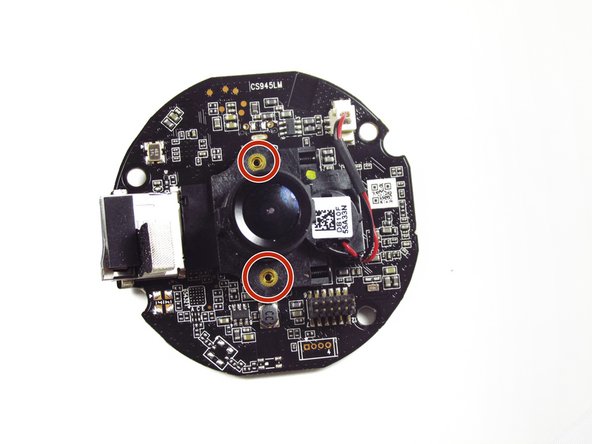
There are two Phillips #00 6.0mm screws keeping the camera in place. Remove the screws first.
-
Gently unplug the camera from the motherboard, and remove the camera.
-


To reassemble your device, follow these instructions in reverse order.
팀

Idaho State University, Team S4-G2, Watkins Fall 2017 Idaho State University, Team S4-G2, Watkins Fall 2017 회원
ISU-WATKINS-F17S4G2
3 회원들
안내서 10개를 작성함
1가이드 댓글
How do I get hold of a replacement lens? Can’t seem to find anyone selling them. Need one for a DCS-2670L