소개
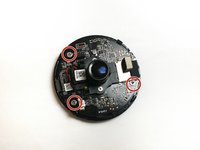
This guide will show how to take apart a D-Link DCS 936L Wi-Fi security camera and remove the board containing the microphone, LED lights, light sensor, and Wi-Fi signal indicator using an opening tool and a Phillips #00 screwdriver. Because of how small and fragile these pieces are, as well as the design of the board, we found it is much more realistic (and uses much less swearing) to replace this board rather than attempt to replace the individual elements.
필요한 것
-
-
Place the camera upwards between your thumb and first finger.
-
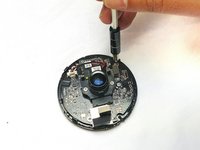
Tilt the camera to the best position and loosen the captive linings using a plastic opening tool.
-
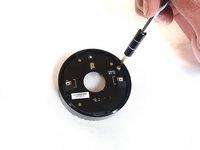
Slide the top cover outwards to separate the upper section from the lower lid using the plastic opening tool.
-
-
-
-
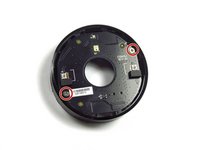
To remove the front cover, place index finger in the center and pull away from the frame. This may take a little effort, but should not require an opening tool.
-


To reassemble your device, follow these instructions in reverse order.
팀

Idaho State University, Team S4-G2, Watkins Fall 2017 Idaho State University, Team S4-G2, Watkins Fall 2017 회원
ISU-WATKINS-F17S4G2
3 회원들
안내서 10개를 작성함