주요 콘텐츠로 건너뛰기

DJI Mavic Mini Flight Preparation

  1. DJI Mavic Mini Flight Preparation, Remove the camera gimbal cover: 1 단계, 이미지 1/3 DJI Mavic Mini Flight Preparation, Remove the camera gimbal cover: 1 단계, 이미지 2/3 DJI Mavic Mini Flight Preparation, Remove the camera gimbal cover: 1 단계, 이미지 3/3
    • Turn the rotor blades towards the battery compartment.

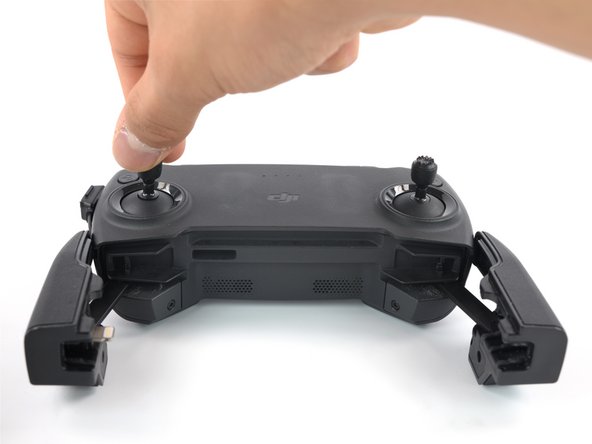
    • Grasp the cover tab with one finger, gently push it towards the camera and remove the cover.

    • Be careful with the gimbal and the camera as they are very sensitive.

  2. DJI Mavic Mini Flight Preparation, Unfold the front rotor arms: 2 단계, 이미지 1/3 DJI Mavic Mini Flight Preparation, Unfold the front rotor arms: 2 단계, 이미지 2/3 DJI Mavic Mini Flight Preparation, Unfold the front rotor arms: 2 단계, 이미지 3/3
    • Since the front rotor arms block the rear ones, it is absolutely necessary to unfold them first.

    • Hold the drone with one hand and unfold the rotor arm with the other.

    • Fold out the front arms only towards the camera and not up or down.

    • Repeat the process on the other side.

  3. DJI Mavic Mini Flight Preparation, Unfold rear rotor arms: 3 단계, 이미지 1/3 DJI Mavic Mini Flight Preparation, Unfold rear rotor arms: 3 단계, 이미지 2/3 DJI Mavic Mini Flight Preparation, Unfold rear rotor arms: 3 단계, 이미지 3/3
    • Turn the drone onto its back.

    • Fold out the rotor arm in an arc towards the battery compartment.

    • Repeat the process for the other rotor arm.

  4. DJI Mavic Mini Flight Preparation: 4 단계, 이미지 1/2 DJI Mavic Mini Flight Preparation: 4 단계, 이미지 2/2
    • Unfold the phone holder.

    • Take the joysticks out of the holder and screw them in, in a clockwise direction.

  5. DJI Mavic Mini Flight Preparation, Switch on remote control: 5 단계, 이미지 1/3 DJI Mavic Mini Flight Preparation, Switch on remote control: 5 단계, 이미지 2/3 DJI Mavic Mini Flight Preparation, Switch on remote control: 5 단계, 이미지 3/3
    • Stecke dein Handy in die Halterung und verbinde es per Kabel mit der Fernbedienung.Put your phone in the cradle and connect it to the remote control via cable.

    • Make sure that Bluetooth and Wifi are enabled on your phone.

    • Press the On button once briefly, release it, and then press and hold until you hear a "beep" sound.

    • Always turn on the remote control before the drone.

  6. DJI Mavic Mini Flight Preparation, Turn on drone: 6 단계, 이미지 1/2 DJI Mavic Mini Flight Preparation, Turn on drone: 6 단계, 이미지 2/2
    • Before you turn on the drone, you should slide a fully charged battery into the battery compartment.

    • Press the button on the bottom once briefly, let go, and then hold it down until you hear a "beep". (similar to the remote control).

    • Place the drone on a straight surface where it can take off.

    • Make sure there is a clear flight path above the drone and check your local laws governing drone flights.

  7. DJI Mavic Mini Flight Preparation, Connect to the drone: 7 단계, 이미지 1/2 DJI Mavic Mini Flight Preparation, Connect to the drone: 7 단계, 이미지 2/2
    • With both devices turned on, open the "DJI Fly" app on your phone and wait for your drone to connect, you can tell because the app will show you a live image of your Drone.

    • If this does not happen follow the app's connection tutorial.

    • Now when the drone is connected to the remote control, you can make it go up by pressing the "start" button in the app.

    • Have fun flying!

결론

Work through the steps in reverse order to repack your drone.

다른 2명이 해당 안내서를 완성하였습니다.

다음 번역가들에게 특별히 감사 드립니다:

de en

100%

이 번역자 분들은 저희가 세상을 수리하는데 동참해 주시는 분입니다! 기여하시겠습니까?
번역 시작하기 ›

Mael

회원 가입일: 05/05/22

175 평판

안내서 1개 작성함

댓글 0개

댓글 쓰기

조회 통계:

24 시간 전: 0

7일 전: 6

30일 전: 14

전체 시간: 634