소개
If your DJI Mavic Mini is experiencing trouble with power loss to props, trouble charging, or the downward vision sensor is not working, use this guide to replace the main board also known as the motherboard.
Many of these problems can be due to poor cable connections or simply a faulty main board. Before using this guide, be sure that there is no physical/water damage to your main core board, as this could completely ruin your main board.
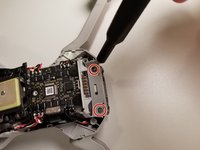
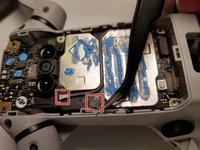
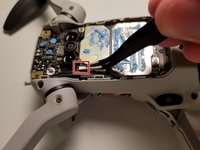
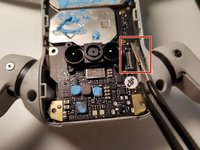
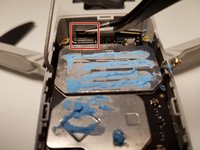
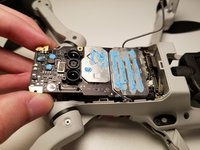
Step 5 requires you to remove all wires connected to the main board in order to remove it from the drone. You may have to desolder some wires if they aren't able to be easily removed using the ESD Safe Tweezers Blunt Nose.
In this set of instructions, we will detail the removal process, inspection, and replacement of the DJI Mavic Mini Main Board.
After replacing the motherboard, you need to calibrate the gimbal camera. How to calibrate the DJI Mavic Mini, watch this manual https://youtu.be/mu03HWXplM4
필요한 것
-
-
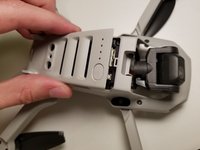
Orient the DJI Mavic Mini so that the camera faces away.
-
Use your finger to depress the lip on the panel until the lid becomes ajar.
-
Flip the panel up to expose the battery module.
-
-
-
-
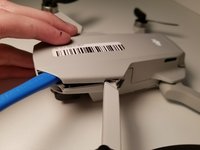
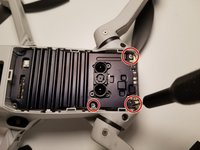
Remove the four 5 mm screws that hold the upper panel using using the J000 screwdriver.
-
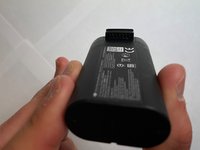
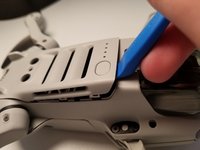
Orient the back of the DJI Mavic Mini towards you. Open the battery hatch using the iFixit opening tool to pry open the top panel at the seams.
-
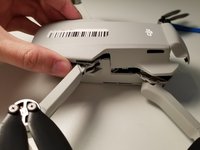
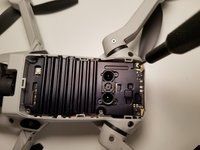
Remove the two 5 mm screws that hold the bottom panel using using the J000 screwdriver.
-


To reassemble your device, follow these instructions in reverse order.
To reassemble your device, follow these instructions in reverse order.
다른 3명이 해당 안내서를 완성하였습니다.
팀

Clemson, Team 1-2, Hunter Spring 2022 Clemson, Team 1-2, Hunter Spring 2022 회원
CLEM-HUNTER-S22S1G2
5 회원들
안내서 8개를 작성함