이 안내서에는 최근 변경 사항이 더 있습니다. 최신 비검증 버전으로 전환하십시오.
소개
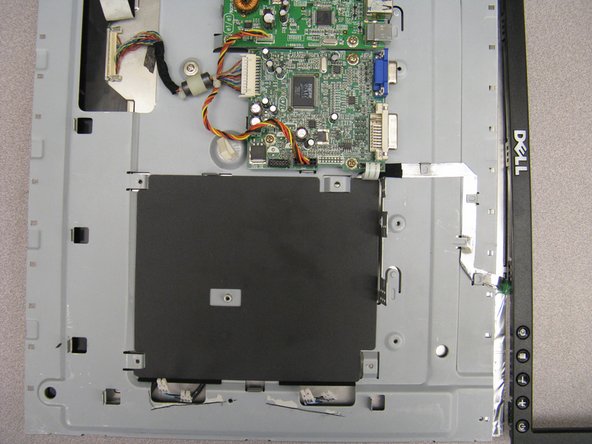
Following this guide involves completely disassembling the monitor. This process isn't terribly difficult, just time consuming.
필요한 것
-
-
Carefully place the monitor face down on a flat surface, being careful to protect the display.
-
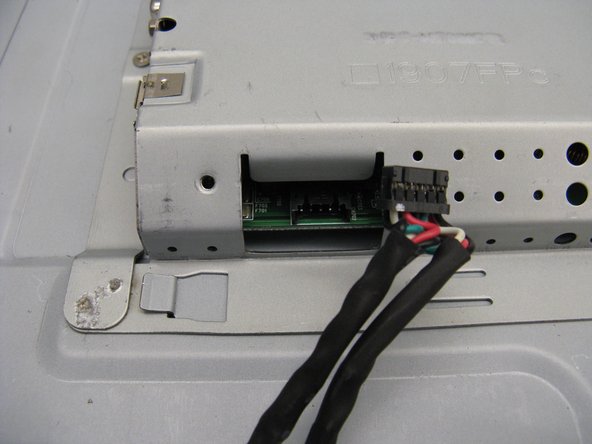
Remove the four 10 mm Phillips #2 screws from the back panel.
-
-


거의 끝나갑니다!
To reassemble your device, follow these instructions in reverse order.
결론
To reassemble your device, follow these instructions in reverse order.
다른 8명이 해당 안내서를 완성하였습니다.
