소개
The mouse pad often suffers the most wear and tear from daily use. If the mouse pad becomes frozen or non responsive, it can be replaced using this guide.
필요한 것
-
-
-
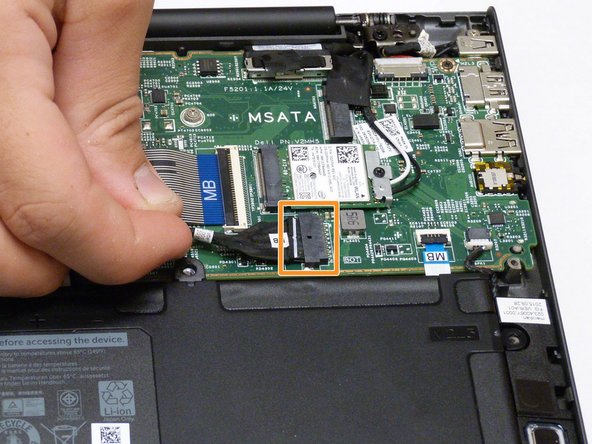
The battery must be removed to access the mouse pad. To remove the battery, undo the two, 2mm screws located on each side.
-
Once all four screws are removed, unplug the battery connection cable by hand to disconnect the battery from the motherboard.
-
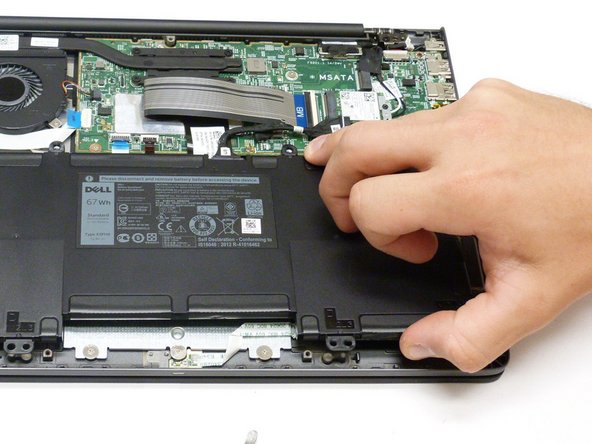
To remove the battery, lift up on one side to get you fingers underneath and lift away.
-
-
-
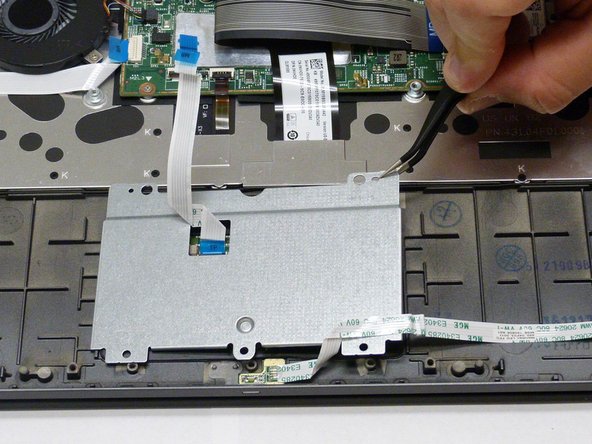
Remove the six 2mm screws located around the maouse pad cover.
-
Using either fingernails or tweezers, lift the black cover on the ribbon cable and pull the cable loose from he motherboard.
-
Once the ribbon cable is disconnected lift up on the back cove to remove it and expose the mouse pad.
-


Congratulations! You have successfully removed the mouse pad on your Dell Chromebook 13-7310. To reassemble your device, follow these instructions in reverse order.
Congratulations! You have successfully removed the mouse pad on your Dell Chromebook 13-7310. To reassemble your device, follow these instructions in reverse order.

팀

Western Carolina University, Team S1-G3, Virtue Fall 2017 Western Carolina University, Team S1-G3, Virtue Fall 2017 회원
WCU-VIRTUE-F17S1G3
4 회원들
안내서 5개 작성하였습니다