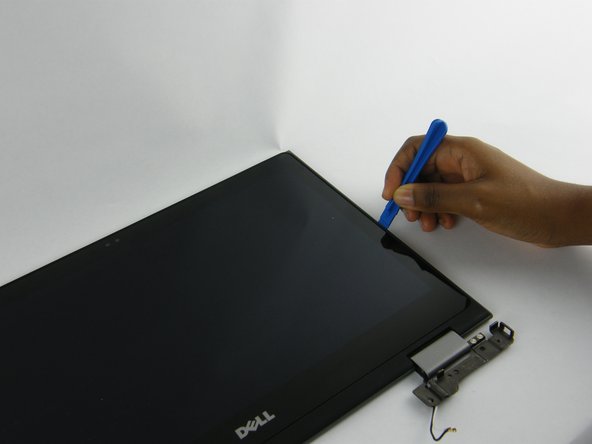
주요 콘텐츠로 건너뛰기

Dell Inspiron 13-5368 Webcam Replacement

필요한 것

  1. Dell Inspiron 13-5368 Webcam Replacement, Battery: 1 단계, 이미지 1/2 Dell Inspiron 13-5368 Webcam Replacement, Battery: 1 단계, 이미지 2/2
    • Remove the nine 6mm Phillips #0 screws that secure the back cover of the laptop.

  2. Dell Inspiron 13-5368 Webcam Replacement: 2 단계, 이미지 1/2 Dell Inspiron 13-5368 Webcam Replacement: 2 단계, 이미지 2/2
    • Use a spudger to pry up and remove the back cover.

  3. Dell Inspiron 13-5368 Webcam Replacement: 3 단계, 이미지 1/1
    • Remove the four 3mm Phillips #0 screws at the corners of the battery that secure it to the laptop.

  4. Dell Inspiron 13-5368 Webcam Replacement: 4 단계, 이미지 1/1
    • Pull the battery cable's black tab towards the battery to disconnect it from the motherboard.

    • Pull the tab parallel to the motherboard, not straight up.

  5. Dell Inspiron 13-5368 Webcam Replacement: 5 단계, 이미지 1/2 Dell Inspiron 13-5368 Webcam Replacement: 5 단계, 이미지 2/2
    • Remove the battery.

  6. Dell Inspiron 13-5368 Webcam Replacement, Screen Display: 6 단계, 이미지 1/3 Dell Inspiron 13-5368 Webcam Replacement, Screen Display: 6 단계, 이미지 2/3 Dell Inspiron 13-5368 Webcam Replacement, Screen Display: 6 단계, 이미지 3/3
    • Unscrew the 2mm screw that holds the WLAN card. Then carefully remove the WLAN card from the motherboard.

  7. Dell Inspiron 13-5368 Webcam Replacement: 7 단계, 이미지 1/1
    • Detach the black and white antenna cables from the WLAN card.

  8. Dell Inspiron 13-5368 Webcam Replacement: 8 단계, 이미지 1/1
    • Unplug the two display cables.

  9. Dell Inspiron 13-5368 Webcam Replacement: 9 단계, 이미지 1/1
    • Unscrew the screws that are securing the laptop's hinges.

  10. Dell Inspiron 13-5368 Webcam Replacement: 10 단계, 이미지 1/1
    • Detach the display from the base.

  11. Dell Inspiron 13-5368 Webcam Replacement, Webcam: 11 단계, 이미지 1/1
    • Use your plastic opening tool to pry the LCD back cover from the display panel.

  12. Dell Inspiron 13-5368 Webcam Replacement: 12 단계, 이미지 1/2 Dell Inspiron 13-5368 Webcam Replacement: 12 단계, 이미지 2/2
    • Carefully separate the back cover from the LCD screen.

    • Carefully remove the ribbon cable that holds the webcam to the screen, then unplug the webcam from the ribbon cable.

결론

To reassemble your device, follow these instructions in reverse order.

Matt Sugrim

회원 가입일: 09/27/17

1,042 평판

안내서 6개 작성하였습니다

USF Tampa, Team S14-G6, Boczar Fall 2017 USF Tampa, Team S14-G6, Boczar Fall 2017 회원

USFT-BOCZAR-F17S14G6

4 회원들

안내서 13개 작성하였습니다

댓글 0개

댓글 쓰기

조회 통계:

24 시간 전: 0

7일 전: 3

30일 전: 5

전체 시간: 1,208