이 버전에는 잘못된 편집 사항이 있을 수 있습니다. 최신 확인된 스냅샷으로 전환하십시오.
필요한 것
-
이 단계는 번역되지 않았습니다. 번역을 도와주십시오
-
Remove the 10 - M2.5 x 8mm screws located on the bottom of the device.
-
Detach and remove the Bottom Base Cover using an opening tool to pry it off.
-
-
이 단계는 번역되지 않았습니다. 번역을 도와주십시오
-
Unplug and gently pull the hard drive cable to loosen it.
-
Remove the 2 - M2 x 3mm screws.
-
Remove the Battery.
-
-
-
이 단계는 번역되지 않았습니다. 번역을 도와주십시오
-
Remove the 1 - M2 x 3mm and 1 - M2 x 2mm Wafer screw.
-
Remove the Cooling Fan.
-
-
이 단계는 번역되지 않았습니다. 번역을 도와주십시오
-
Open the screen.
-
Loosen the LCD cable and peel it off of the base (highlighted with arrow).
-
Remove the 3 - M2.5 x 8mm hinge screws.
-
-
이 단계는 번역되지 않았습니다. 번역을 도와주십시오
-
Loosen the keyboard cable tape.
-
Loosen the keyboard cable latches.
-
Unplug the keyboard cable.
-
-
이 단계는 번역되지 않았습니다. 번역을 도와주십시오
-
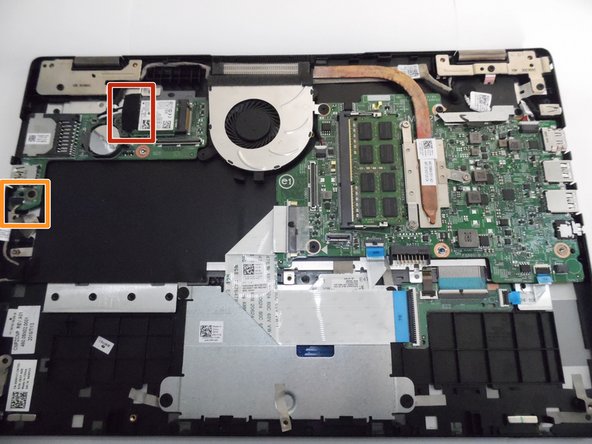
Remove the 1 - M2 x 2mm Wafer screw.
-
Remove the Motherboard.
-
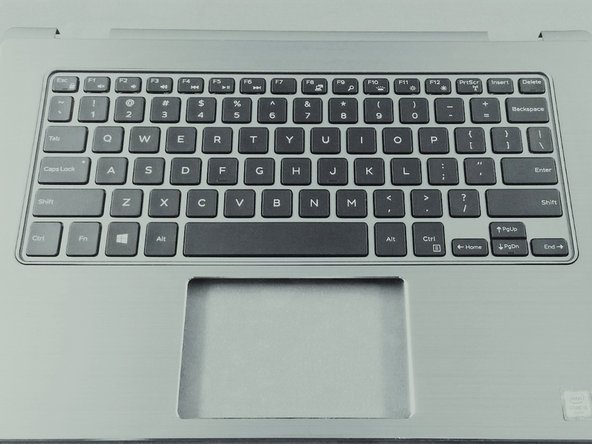
The piece remaining is the Palmrest Keyboard.
-
-
이 단계는 번역되지 않았습니다. 번역을 도와주십시오
-
Unscrew the 4 - 2x2mm wafer screws.
-
Peel back any tape holding the back plate on.
-
Lift and remove back plate.
-
-
이 단계는 번역되지 않았습니다. 번역을 도와주십시오
-
Peel back under-button tape.
-
Remove touchpad.
-
You have now stripped the keyboard! It is ready to be replaced.
-


다른 5명이 해당 안내서를 완성하였습니다.
첨부 문서
팀

University of Memphis, Team S2-G2, Kim Spring 2017 University of Memphis, Team S2-G2, Kim Spring 2017 회원
UM-KIM-S17S2G2
4 회원들
안내서 1개 작성하였습니다