소개
This guide is useful for replacing a damaged or malfunctioning screen.
필요한 것
-
-
Place the laptop on a flat stable surface.
-
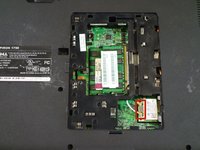
Flip the laptop over so the underside is visible.
-
-
-
Remove the sixteen 2mm Phillips #00 screws from the bottom of the laptop.
-
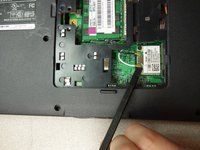
Remove the two 2mm Phillips #0 screws from the hard drive port.
-
-
-
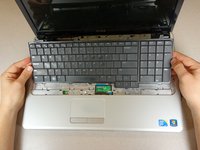
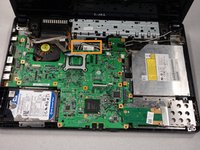
Flip the laptop over horizontally and open up the lid.
-
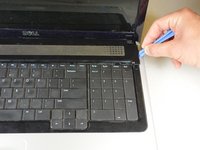
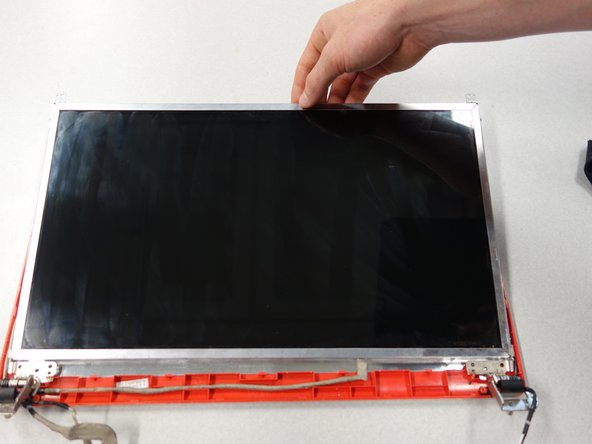
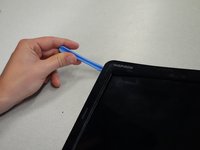
Insert the tip of the plastic opening tool into the upper left corner of the panel.
-
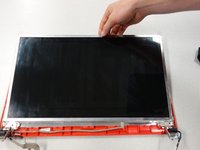
Keeping its tip under the top panel, slide the plastic opening tool around the panel until the panel is completely loose. Next gently remove the panel.
-
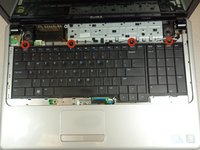
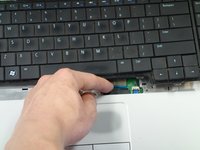
Remove the four 2mm Phillips #0 screws at the top of the keyboard.
-
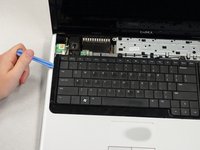
Slide the plastic opening tool around the keyboard until the keyboard is completely loose. Gently remove the keyboard.
-
-
-
-
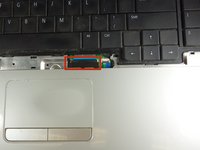
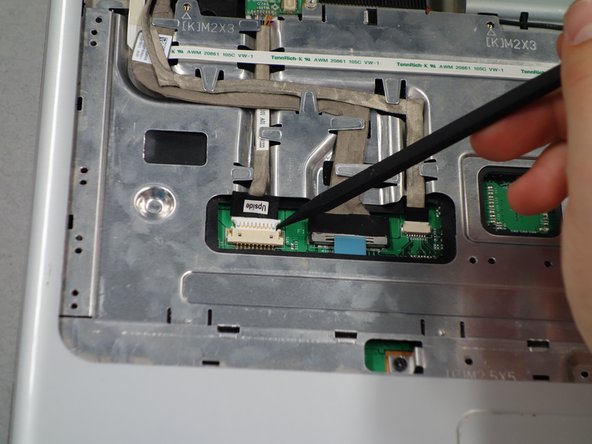
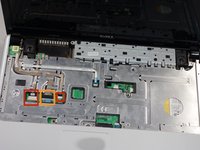
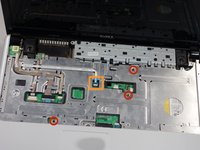
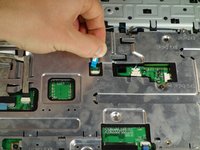
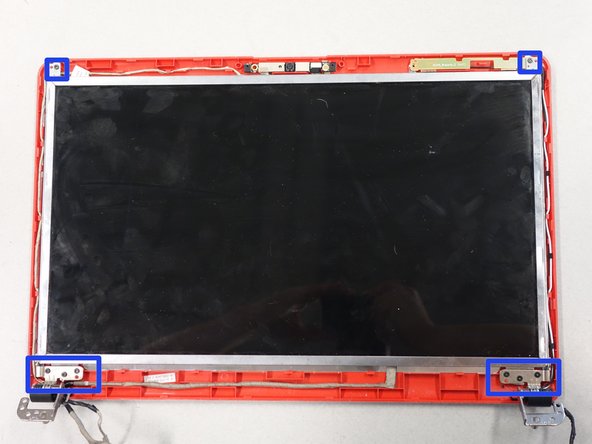
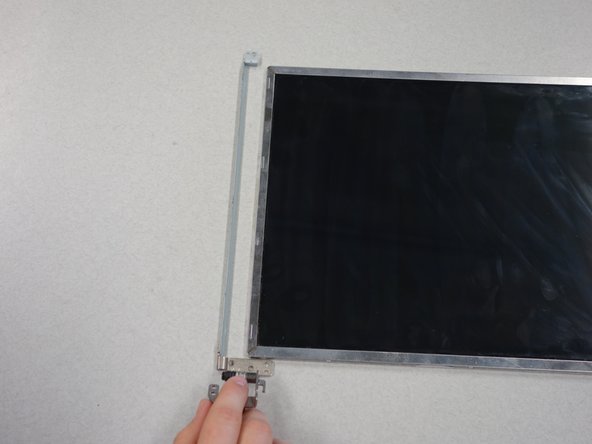
Gently remove the three grey wires from the metal tabs.
-
Insert the tip of the plastic opening tool into the bottom left corner of the panel.
-
Keeping its tip under the top panel, slide the plastic opening tool around the panel until the panel is completely loose.
-
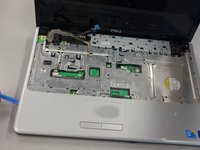
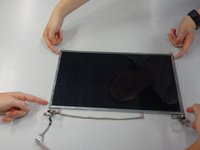
Gently lift off the top metal panel.
-
-
-
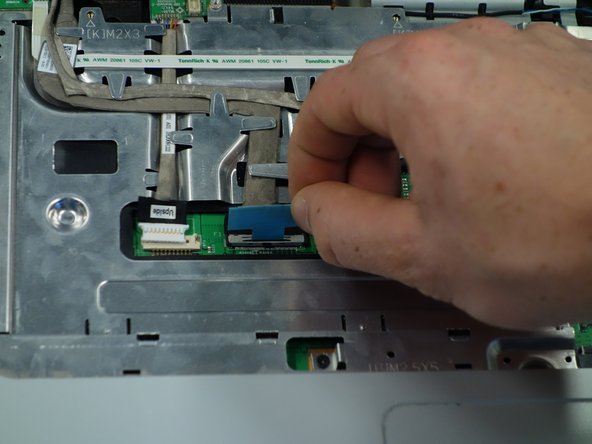
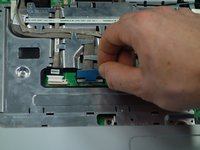
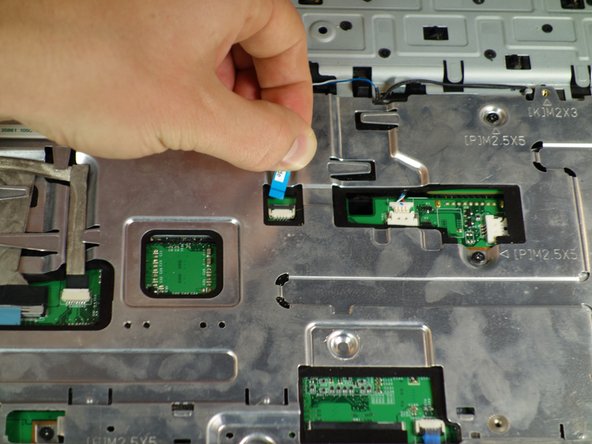
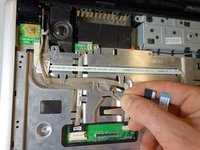
Use the spudger to lift the wires from their connections.
-
Flip the laptop over and pull the connections through until they are free from the laptop interior.
-


To reassemble your device, follow these instructions in reverse order.
다른 3명이 해당 안내서를 완성하였습니다.
팀

Cal Poly, Team 6-3, Forte Spring 2014 Cal Poly, Team 6-3, Forte Spring 2014 회원
CPSU-FORTE-S14S6G3
5 회원들
안내서 7개를 작성함