이 버전에는 잘못된 편집 사항이 있을 수 있습니다. 최신 확인된 스냅샷으로 전환하십시오.
필요한 것
-
이 단계는 번역되지 않았습니다. 번역을 도와주십시오
-
Place the desktop on its side. Make sure to place the computer on a soft but firm surface.
-
Locate and remove the two screws that secure the side panel to the desktop:
-
Two 1/4" Phillips/slotted combination screws.
-
-
이 단계는 번역되지 않았습니다. 번역을 도와주십시오
-
Slide the side panel towards the back of the desktop in order to remove it.
-
-
-
이 단계는 번역되지 않았습니다. 번역을 도와주십시오
-
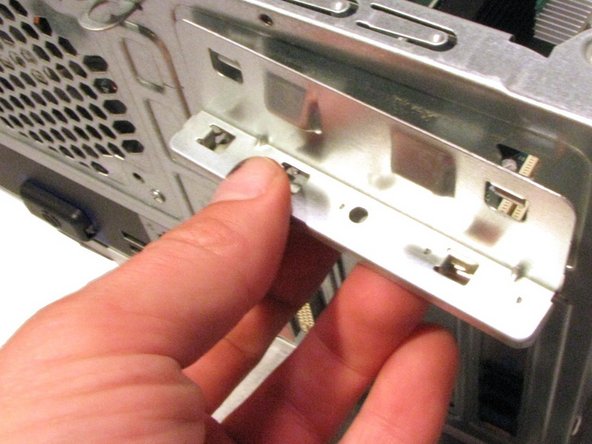
Remove the screw that secures the support bracket:
-
One 1/4" Phillips screw
-
-
이 단계는 번역되지 않았습니다. 번역을 도와주십시오
-
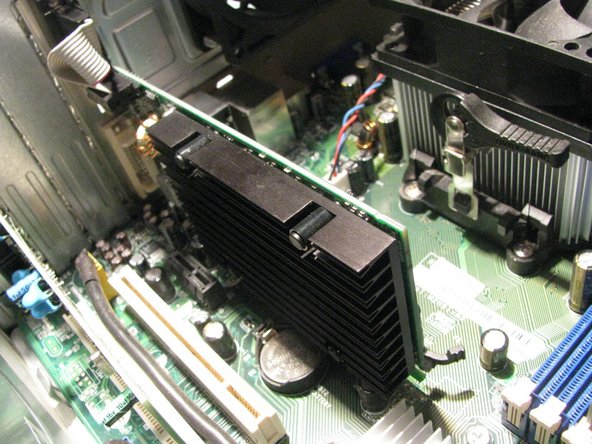
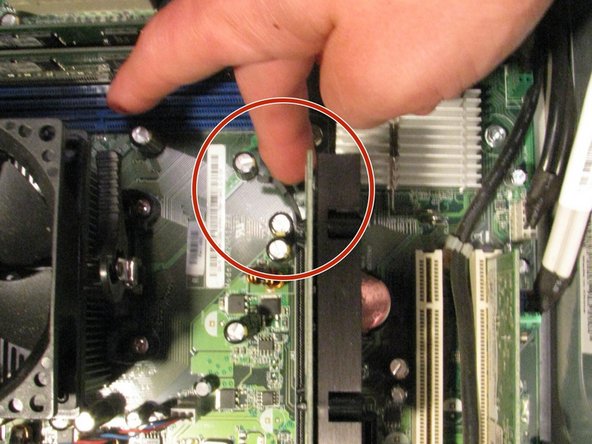
Locate the push tab that locks the graphics card into place.
-
Push the tab away from the graphics card and towards the fan.
-
Hold the tab in this position through step 7.
-
-
이 단계는 번역되지 않았습니다. 번역을 도와주십시오
-
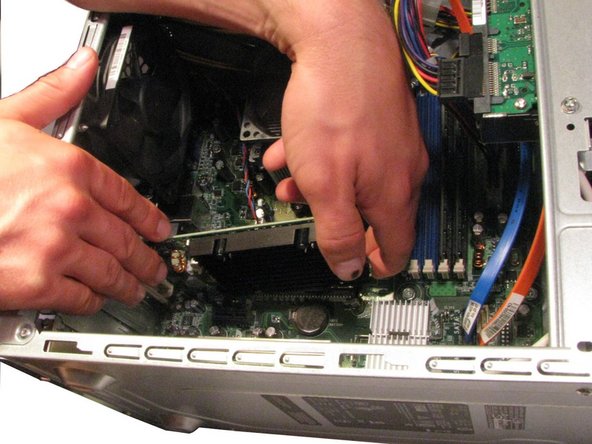
Keep the tab pushed away from the graphics card (see Step 6).
-
Gently lift the graphics card up and out of the desktop.
-