주요 콘텐츠로 건너뛰기

Dell Inspiron Mini 1012 Hard Drive Replacement

필요한 것

  1. Dell Inspiron Mini 1012 Hard Drive Replacement, Remove Battery: 1 단계, 이미지 1/3 Dell Inspiron Mini 1012 Hard Drive Replacement, Remove Battery: 1 단계, 이미지 2/3 Dell Inspiron Mini 1012 Hard Drive Replacement, Remove Battery: 1 단계, 이미지 3/3
    • Step 1 — Hard Drive Turn the device over so that the back (white side) of the device is facing up. Remove battery from laptop by pushing the two tabs outward and pull the battery outward. The tabs are highlighted in blue. Place the battery off to the side. .

    • New line.

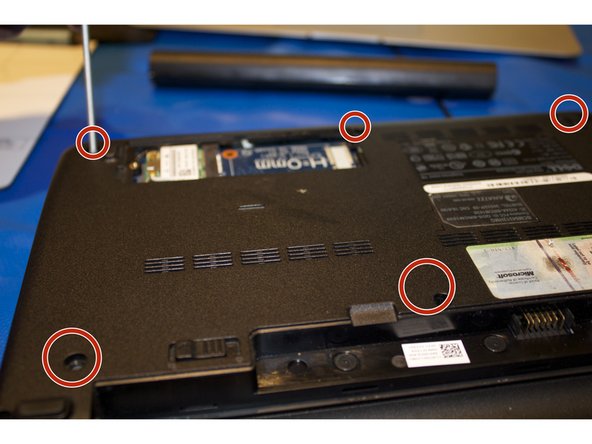
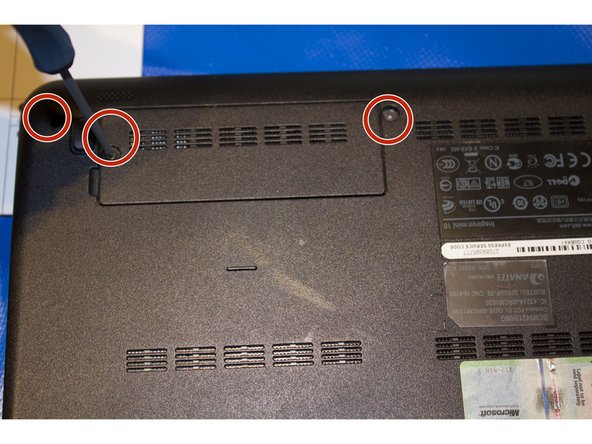
  2. Dell Inspiron Mini 1012 Hard Drive Replacement, Remove back screws: 2 단계, 이미지 1/3 Dell Inspiron Mini 1012 Hard Drive Replacement, Remove back screws: 2 단계, 이미지 2/3 Dell Inspiron Mini 1012 Hard Drive Replacement, Remove back screws: 2 단계, 이미지 3/3
    • Remove the 3 screws highlighted in red that secure the keyboard to the case using the screw driver with largest phillips head in the box. Make sure to keep the screws separated by step to ensure that they can be put back in the correct location when reversing the steps.

  3. Dell Inspiron Mini 1012 Hard Drive Replacement, Remove Keyboard: 3 단계, 이미지 1/3 Dell Inspiron Mini 1012 Hard Drive Replacement, Remove Keyboard: 3 단계, 이미지 2/3 Dell Inspiron Mini 1012 Hard Drive Replacement, Remove Keyboard: 3 단계, 이미지 3/3
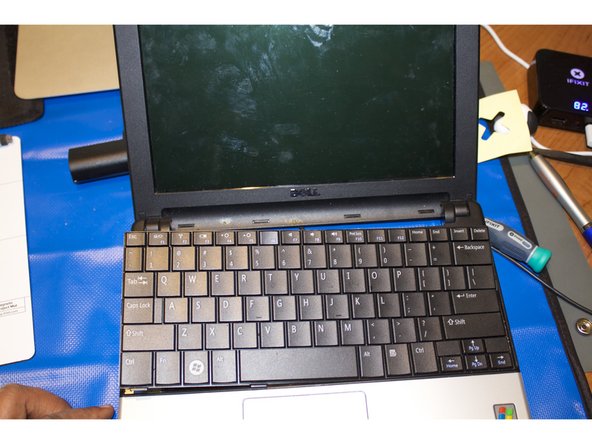
    • Turn the device right side up and open the device to view the keyboard.

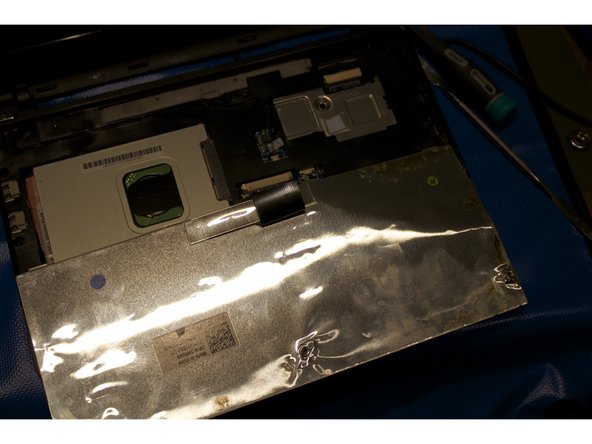
    • Remove the keyboard away from the case, using a plastic spudger if necessary.

    • The keyboard will still be attached to the motherboard by a ribbon cable.

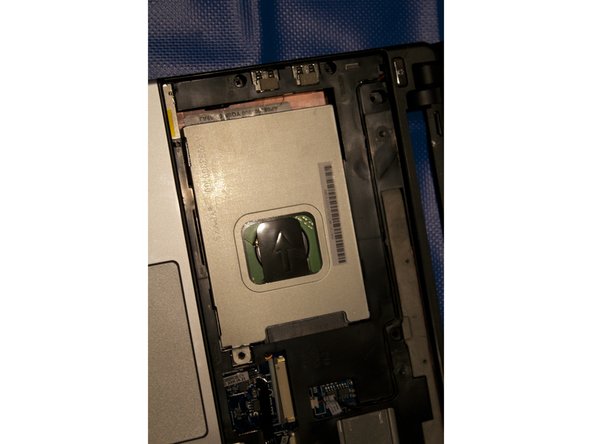
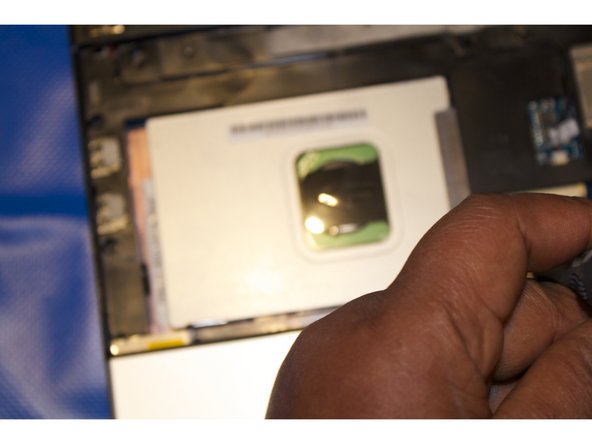
  4. Dell Inspiron Mini 1012 Hard Drive Replacement, Remove Hard drive: 4 단계, 이미지 1/3 Dell Inspiron Mini 1012 Hard Drive Replacement, Remove Hard drive: 4 단계, 이미지 2/3 Dell Inspiron Mini 1012 Hard Drive Replacement, Remove Hard drive: 4 단계, 이미지 3/3
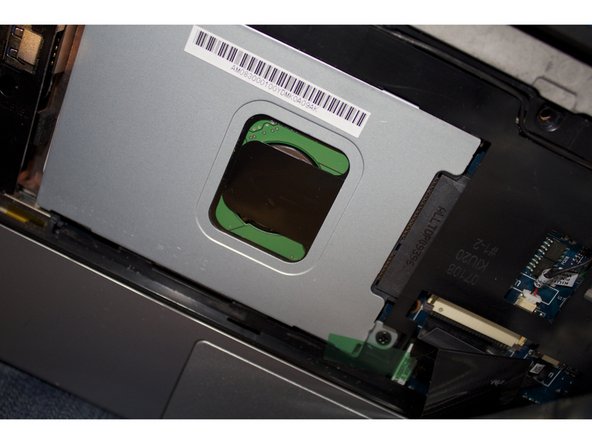
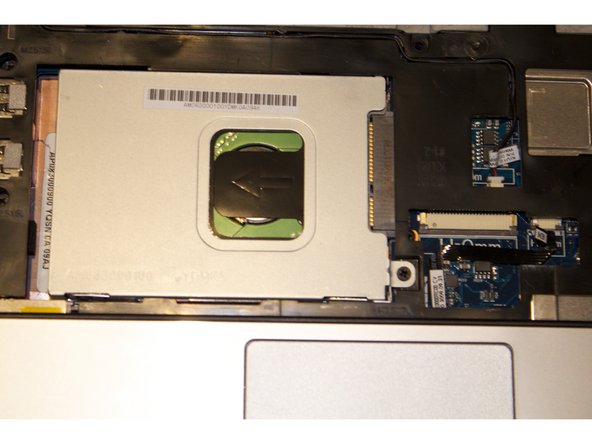
    • Remove the 2 Phillips head screws securing hard drive to case. Use the same screw driver bit as before

    • Pull the plastic tab connected to the hard drive outward in the left hand direction to remove hard drive from case.

    • When putting the hard drive back slide it in to the space so that the screw holes line up and press down until there is a snug fit.

  5. Dell Inspiron Mini 1012 Hard Drive Replacement, Add new hard drive: 5 단계, 이미지 1/3 Dell Inspiron Mini 1012 Hard Drive Replacement, Add new hard drive: 5 단계, 이미지 2/3 Dell Inspiron Mini 1012 Hard Drive Replacement, Add new hard drive: 5 단계, 이미지 3/3
    • Add a new hard drive

  6. Dell Inspiron Mini 1012 Hard Drive Replacement, Apply back the keyboard: 6 단계, 이미지 1/1
    • Insert the ribbon for keyboard back into the motherboard.

    • Than snap keyboard back into place

  7. Dell Inspiron Mini 1012 Hard Drive Replacement: 7 단계, 이미지 1/3 Dell Inspiron Mini 1012 Hard Drive Replacement: 7 단계, 이미지 2/3 Dell Inspiron Mini 1012 Hard Drive Replacement: 7 단계, 이미지 3/3
    • Flip over the laptop

    • Put the screws back in laptop

  8. Dell Inspiron Mini 1012 Hard Drive Replacement, Put the Battery: 8 단계, 이미지 1/2 Dell Inspiron Mini 1012 Hard Drive Replacement, Put the Battery: 8 단계, 이미지 2/2
    • Place the battery and lock it into place

    • thanks for following this repair

결론

To reassemble your device, follow these instructions in reverse order.

다른 2명이 해당 안내서를 완성하였습니다.

kempc8

회원 가입일: 11/22/13

899 평판

안내서 7개 작성하였습니다

K and K Fixit K and K Fixit 회원

Business

1 회원

안내서 11개 작성하였습니다

댓글 0개

댓글 쓰기

조회 통계:

24 시간 전: 0

7일 전: 3

30일 전: 12

전체 시간: 2,176