주요 콘텐츠로 건너뛰기

Dell Inspiron Mini 1012 Screen Replacement

필요한 것

  1. Dell Inspiron Mini 1012 Screen Replacement, Screen: 1 단계, 이미지 1/3 Dell Inspiron Mini 1012 Screen Replacement, Screen: 1 단계, 이미지 2/3 Dell Inspiron Mini 1012 Screen Replacement, Screen: 1 단계, 이미지 3/3
    • Remove the battery from the device for safety. Slide the two tabs on the bottom of the computer to the unlocked position, and gently lift up the battery.

    • Remove the two rubber pieces at the bottom of the screen and remove the screws located behind them.

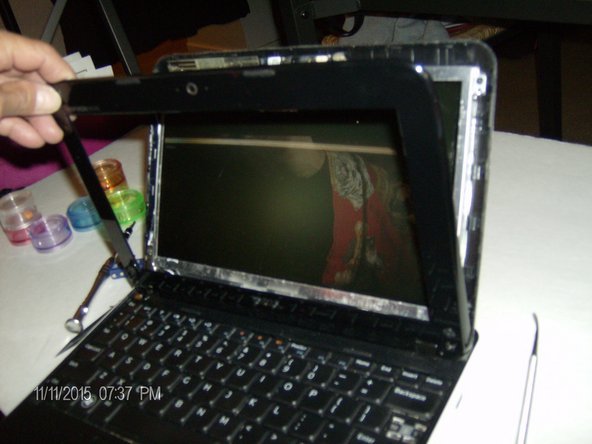
    • Carefully remove the plastic casing from the device.

  2. Dell Inspiron Mini 1012 Screen Replacement: 2 단계, 이미지 1/3 Dell Inspiron Mini 1012 Screen Replacement: 2 단계, 이미지 2/3 Dell Inspiron Mini 1012 Screen Replacement: 2 단계, 이미지 3/3
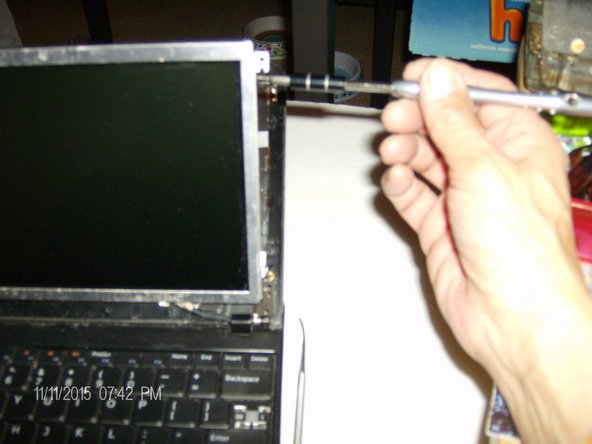
    • Remove the four screws on each corner of the screen. Then remove the screws located on the side of the screen.

    • Carefully unplug the ribbon on the back of the screen.

  3. Dell Inspiron Mini 1012 Screen Replacement: 3 단계, 이미지 1/3 Dell Inspiron Mini 1012 Screen Replacement: 3 단계, 이미지 2/3 Dell Inspiron Mini 1012 Screen Replacement: 3 단계, 이미지 3/3
    • Place the new screen onto the device and plug the ribbon in.

    • Replace the screws on the side of the screen.

  4. Dell Inspiron Mini 1012 Screen Replacement: 4 단계, 이미지 1/3 Dell Inspiron Mini 1012 Screen Replacement: 4 단계, 이미지 2/3 Dell Inspiron Mini 1012 Screen Replacement: 4 단계, 이미지 3/3
    • Snap on the plastic screen cover and replace the two screws and the rubber pieces at the bottom of the screen.

    • Turn the computer over and put the battery back in.

결론

To reassemble your device, follow guide instructions.

다른 2명이 해당 안내서를 완성하였습니다.

sabinabarajas

회원 가입일: 10/17/15

372 평판

안내서 3개 작성하였습니다

Gateway, Team 2-2, Kuhn Fall 2015 Gateway, Team 2-2, Kuhn Fall 2015 회원

GCC-KUHN-F15S2G2

1 회원

안내서 6개 작성하였습니다

댓글 0개

댓글 쓰기

조회 통계:

24 시간 전: 0

7일 전: 1

30일 전: 14

전체 시간: 1,321