소개
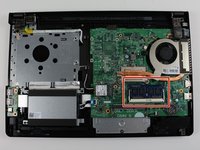
This guide will show you how to replace the memory/RAM chips for the Dell Inspiron i3558-5500BLK Laptop.
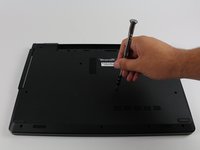
WARNING: Static electricity can damage the electronic components of this model. Before
beginning these procedures, discharge any built up static electricity by briefly touching a grounded
metal object. For example, you can touch the metal frame inside the case of most desktop computers, or wear an anti-static wristband.
필요한 것
-
-
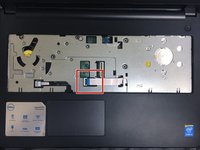
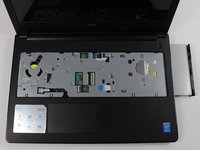
With the laptop open and facing upright, use the Spudger to pull at the notches shown in the image.
-
-
-
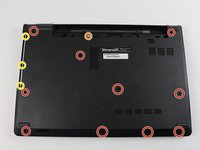
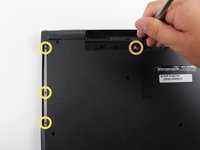
With the back of the laptop facing upright, press the switch shown to loosen the battery and remove it.
-
-
-
-
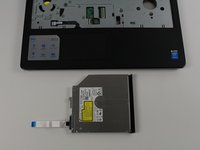
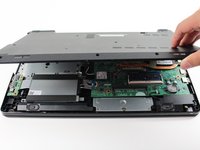
With the laptop facing upright - remove the ribbon cable from the optical drive by lifting the white release tab and gently pulling the cable away from the socket.
-
-
-
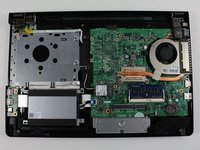
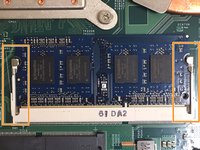
Identify the RAM as shown in the image.
-
Gently press outward on the plastic guards to release the component.
-


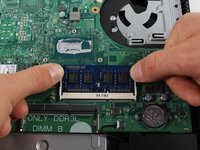

To reassemble your device, follow these instructions in reverse order.
팀

Cal Poly, Team S9-G5, Banghart Fall 2017 Cal Poly, Team S9-G5, Banghart Fall 2017 회원
CPSU-BANGHART-F17S9G5
4 회원들
안내서 19개를 작성함