이 안내서에는 최근 변경 사항이 더 있습니다. 최신 비검증 버전으로 전환하십시오.
소개
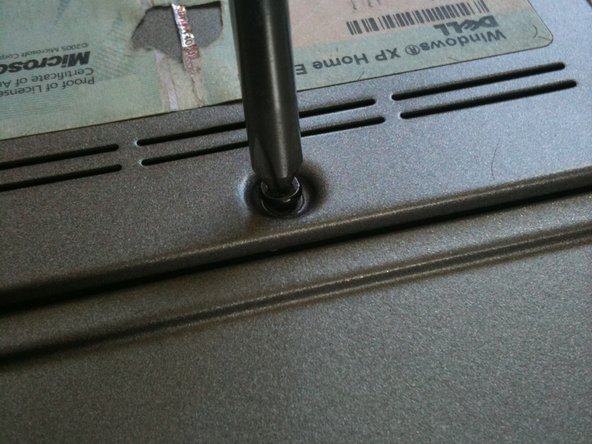
Guide to installing new RAM modules for the Dell Latitude D620.
필요한 것


To reassemble your device, follow these instructions in reverse order.
To reassemble your device, follow these instructions in reverse order.
다른 25명이 해당 안내서를 완성하였습니다.
팀

Cal Poly, Team 24-35, Regan Spring 2010 Cal Poly, Team 24-35, Regan Spring 2010 회원
CPSU-REGAN-S10S24G35
4 회원들
안내서 4개 작성하였습니다
댓글 2개
If you are increasing the amount of RAM installed -> On first power on after installing the RAM, system on boot up will complain about memory size changed, and to reseat the memory. Wait for about 60 - 90 seconds, and you will receive a few additional messages about F1 to continue or F2 for Setup. Go into Setup and verify that the system sees all memory installed. If installing 2 x 2GB DDR2, max possible, 4GB. BIOS setup should report 4GB installed, of which 3.37GB usable.
J’étais inquiet, mais en lisant votre commentaire, me voilà rassuré et j’ai donc suivi vos instructions. Ca fonctionne 2X2 GO …Merci
Please help me
manaqib arif - 답글
Mera display ka masla hai
manaqib arif - 답글