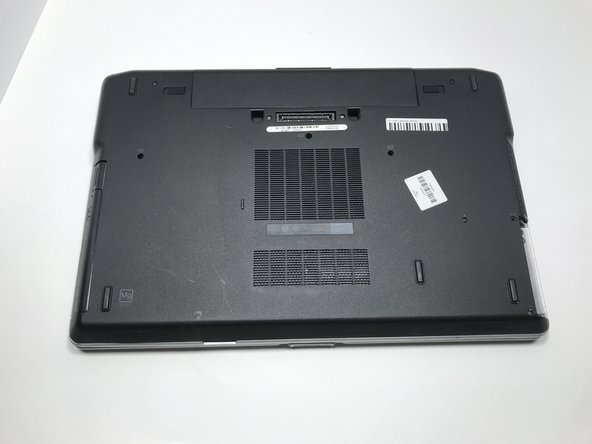
주요 콘텐츠로 건너뛰기

Dell Latitude E6530 Hard Drive Replacement

필요한 것

  1. Dell Latitude E6530 Hard Drive Replacement, Battery: 1 단계, 이미지 1/1
    • Flip the computer over so that the bottom panel is facing you.

  2. Dell Latitude E6530 Hard Drive Replacement: 2 단계, 이미지 1/2 Dell Latitude E6530 Hard Drive Replacement: 2 단계, 이미지 2/2
    • Slide the switches away from each other to release the battery.

  3. Dell Latitude E6530 Hard Drive Replacement: 3 단계, 이미지 1/2 Dell Latitude E6530 Hard Drive Replacement: 3 단계, 이미지 2/2
    • Using your hands, gently remove the battery from the device.

  4. Dell Latitude E6530 Hard Drive Replacement, Hard Drive: 4 단계, 이미지 1/2 Dell Latitude E6530 Hard Drive Replacement, Hard Drive: 4 단계, 이미지 2/2
    • Using a Phillips #00 screwdriver, unscrew the two screws.

  5. Dell Latitude E6530 Hard Drive Replacement: 5 단계, 이미지 1/2 Dell Latitude E6530 Hard Drive Replacement: 5 단계, 이미지 2/2
    • Gently remove the hard drive.

  6. Dell Latitude E6530 Hard Drive Replacement: 6 단계, 이미지 1/1
    • Undo the Phillips #1 screw keeping the drive in the bracket.

  7. Dell Latitude E6530 Hard Drive Replacement: 7 단계, 이미지 1/1
    • Remove the drive from the bracket,

결론

To reassemble your device, follow these instructions in reverse order. Refer to the troubleshooting guide and additional links for more information if issue persists.

Amelia Jochem

회원 가입일: 01/16/20

249 평판

안내서 2개 작성하였습니다

댓글 한 개

There’s a missing step here. There’s another screw you’re supposed to undo to remove the drive.

Ella - 답글

댓글 쓰기

조회 통계:

24 시간 전: 0

7일 전: 3

30일 전: 19

전체 시간: 829