소개
The Heat Sink is the metal part with fins that is mounted on top of the motherboard.
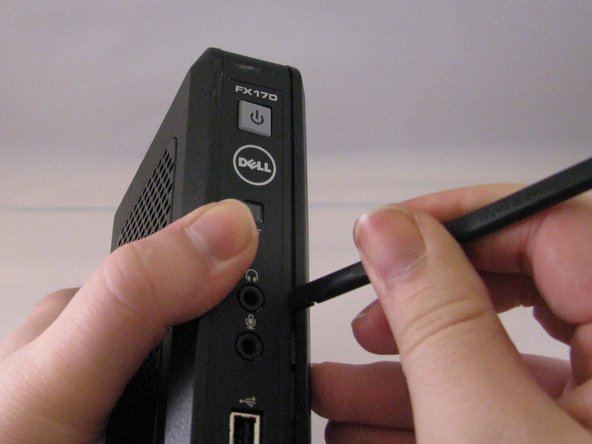
필요한 것
-
-
-
Using the spudger, gently push on the underside of the memory board to loosen it. Gently grasp each side and pull up to release the memory board.
-
-
-
To remove the battery, pull up on the connector that is plugged into the motherboard.
-
-
-
On the back side of the motherboard, use the tweezers to squeeze the four protruding clips. These should be in the same position as the four black buttons recessed into the heat sink (when viewed from the front).
-


To reassemble your device, follow these instructions in reverse order.
To reassemble your device, follow these instructions in reverse order.
다른 3명이 해당 안내서를 완성하였습니다.

팀

Eastern Washington University, Team 1-4, Carnegie Winter 2015 Eastern Washington University, Team 1-4, Carnegie Winter 2015 회원
EWU-CARNEGIE-W15S1G4
3 회원들
안내서 13개 작성하였습니다