주요 콘텐츠로 건너뛰기

Dell Optiplex GX620 Front panel Replacement

필요한 것

  1. Dell Optiplex GX620 Front panel Replacement, How to unplug and discharge before repair: 1 단계, 이미지 2개 중 1개 Dell Optiplex GX620 Front panel Replacement, How to unplug and discharge before repair: 1 단계, 이미지 2개 중 2개
    • Power down your PC and remove the power cord from the back.

  2. Dell Optiplex GX620 Front panel Replacement: 2 단계, 이미지 2개 중 1개 Dell Optiplex GX620 Front panel Replacement: 2 단계, 이미지 2개 중 2개
    • Press and hold the power button for about 10 seconds, then release.

    • This helps drain any remaining power stored in the capacitors, so that you can safely work on the internal components.

  3. Dell Optiplex GX620 Front panel Replacement, Dell Optiplex GX620 Side Panel Disassembly: 3 단계, 이미지 1개 중 1개
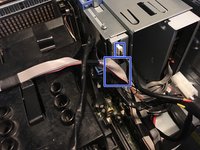
    • With the computer standing upright, firmly pull on the tab at the back of the computer.

    • When the side panel pops free, gently pull the panel away from the computer.

    • If you have trouble freeing the side panel from the case, you may need to pull the tab a bit harder.

  4. Dell Optiplex GX620 Front panel Replacement, Unplug your hard drive.: 4 단계, 이미지 3개 중 1개 Dell Optiplex GX620 Front panel Replacement, Unplug your hard drive.: 4 단계, 이미지 3개 중 2개 Dell Optiplex GX620 Front panel Replacement, Unplug your hard drive.: 4 단계, 이미지 3개 중 3개
    • Remove the SATA power and data cables.

    • SATA Power

    • SATA Data

  5. Dell Optiplex GX620 Front panel Replacement, Unplug your floppy drive.: 5 단계, 이미지 3개 중 1개 Dell Optiplex GX620 Front panel Replacement, Unplug your floppy drive.: 5 단계, 이미지 3개 중 2개 Dell Optiplex GX620 Front panel Replacement, Unplug your floppy drive.: 5 단계, 이미지 3개 중 3개
    • Unplug the power and data cables.

  6. Dell Optiplex GX620 Front panel Replacement, Unplug the fan.: 6 단계, 이미지 2개 중 1개 Dell Optiplex GX620 Front panel Replacement, Unplug the fan.: 6 단계, 이미지 2개 중 2개
    • Unplug the fan.

  7. Dell Optiplex GX620 Front panel Replacement: 7 단계, 이미지 2개 중 1개 Dell Optiplex GX620 Front panel Replacement: 7 단계, 이미지 2개 중 2개
    • Remove the two Phillips #2 screws.

  8. Dell Optiplex GX620 Front panel Replacement, Remove the heat sink.: 8 단계, 이미지 3개 중 1개 Dell Optiplex GX620 Front panel Replacement, Remove the heat sink.: 8 단계, 이미지 3개 중 2개 Dell Optiplex GX620 Front panel Replacement, Remove the heat sink.: 8 단계, 이미지 3개 중 3개
    • Pull the heat sink up.

  9. Dell Optiplex GX620 Front panel Replacement: 9 단계, 이미지 3개 중 1개 Dell Optiplex GX620 Front panel Replacement: 9 단계, 이미지 3개 중 2개 Dell Optiplex GX620 Front panel Replacement: 9 단계, 이미지 3개 중 3개
    • Pull the two tabs and pull it out.

    • This needs a lot of force to take it off.

  10. Dell Optiplex GX620 Front panel Replacement, Remove front panel: 10 단계, 이미지 2개 중 1개 Dell Optiplex GX620 Front panel Replacement, Remove front panel: 10 단계, 이미지 2개 중 2개
    • Remove the one Phillips #2.

    • Remove the Data cable.

    • Taking this cable off will brake some of the plastic thats locking it in. But you can still plug the cable back in.

  11. Dell Optiplex GX620 Front panel Replacement, Remove the last screw.: 11 단계, 이미지 2개 중 1개 Dell Optiplex GX620 Front panel Replacement, Remove the last screw.: 11 단계, 이미지 2개 중 2개
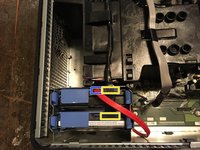
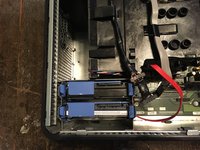
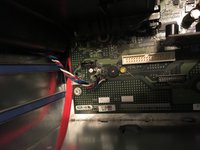
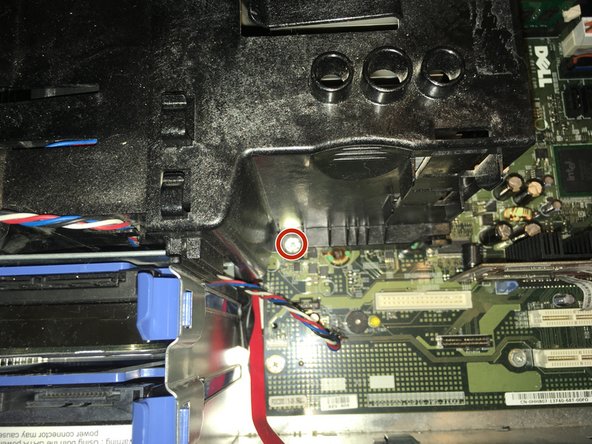
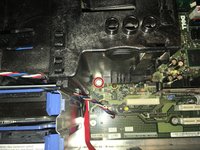
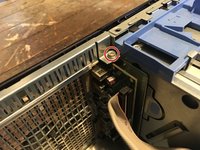
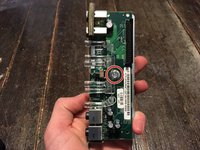
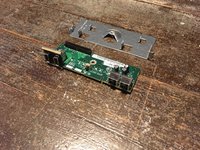
    • Remove the one Phillips #2 screw.

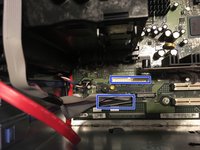
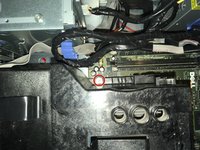
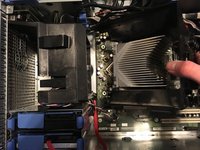
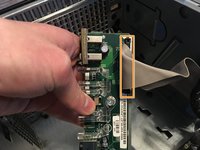
    • Now you can replace it with a new one.

결론

To reassemble your device, follow these instructions in reverse order.

다른 한 분이 해당 안내서를 완성하였습니다.

작성자

1다른 기여자 명과 함께

Padraic Hoselton

회원 가입일: 08/22/17

4,339 평판

안내서 12개를 작성함

0가이드 댓글

댓글 쓰기

조회 통계:

지난 24시간: 2

지난 7일: 7

지난 30일: 21

전체 시간: 1,796