소개
Symptoms that lead to replacement: The screen turns on and off immediately.
A recurring failure on many flat screens of all brands...
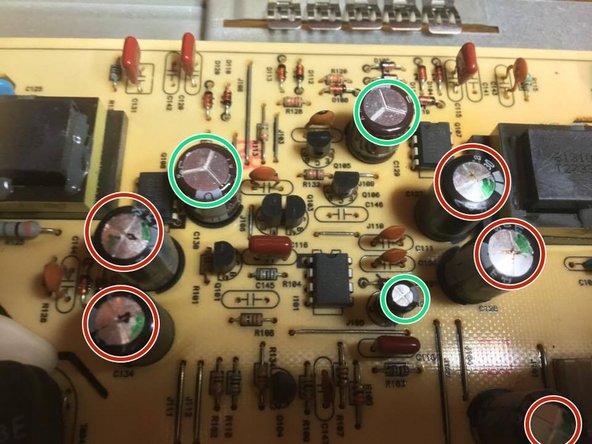
The 330uf35v105° capacitors are located too close to the heatsinks, so they blow out.
I suggest you replace them with more resistant little brothers, the 330uf35v135°
필요한 것
-
-
You will need all the tools in the pictures:
-
Flat screwdriver, one large and one smaller
-
Phillips screwdriver, one large and one smaller
-
Small tip precision soldering iron
-
Tin
-
Small cutting pliers
-
A desoldering pump
-
Patience...
-
-
-
-
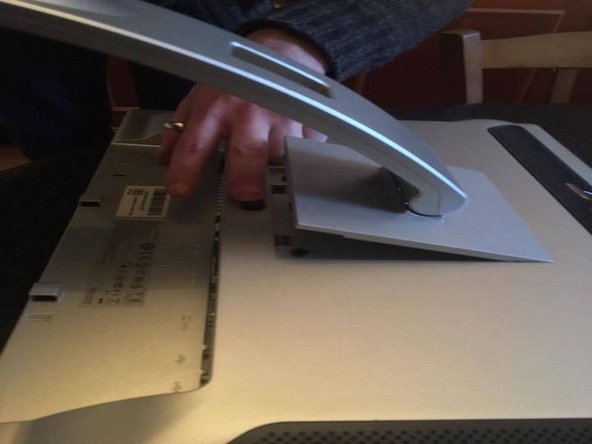
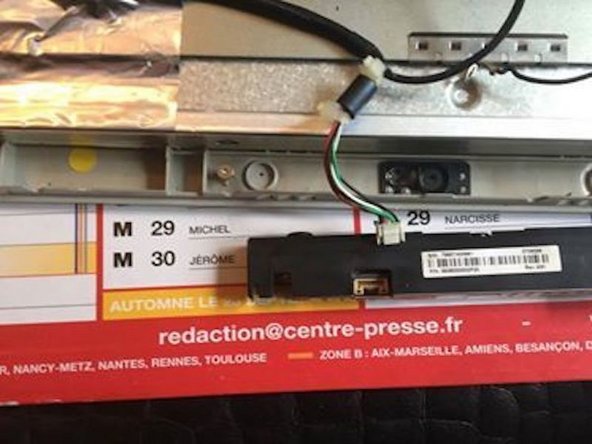
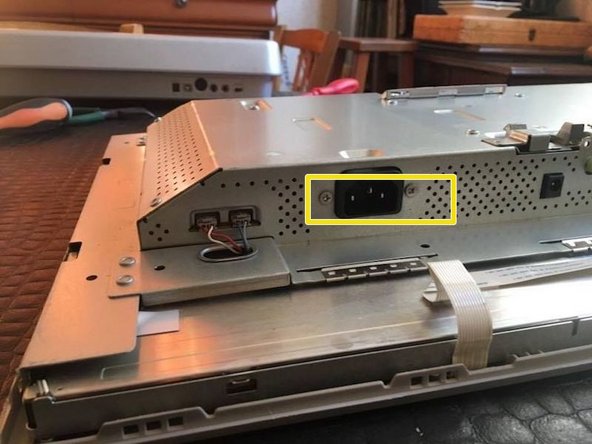
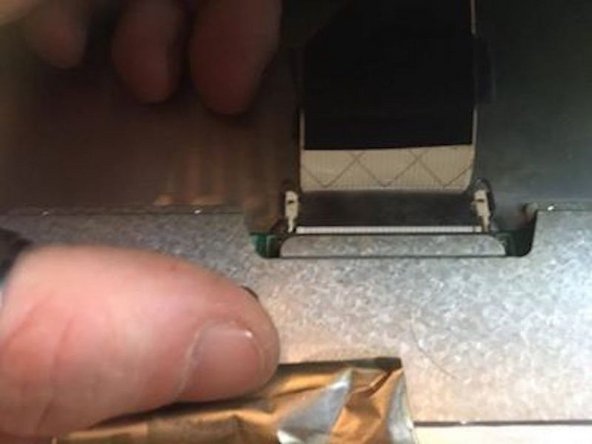
The most delicate part of the repair arrives. You are going to disconnect the most fragile tablecloth from the screen.
-
-
-
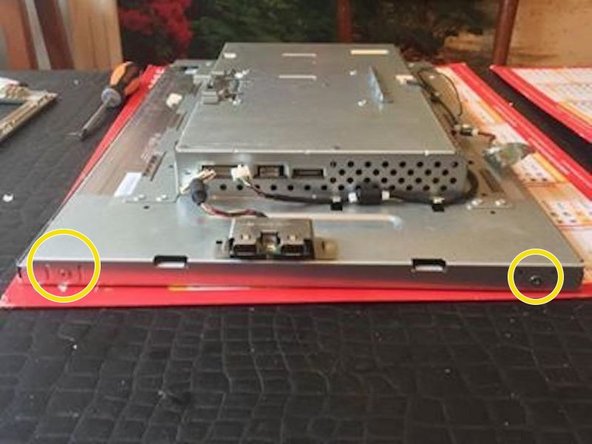
Once the tablecloth is disconnected, you can remove the metal cover from the screen. Well done the hardest part is done...
-
-
-
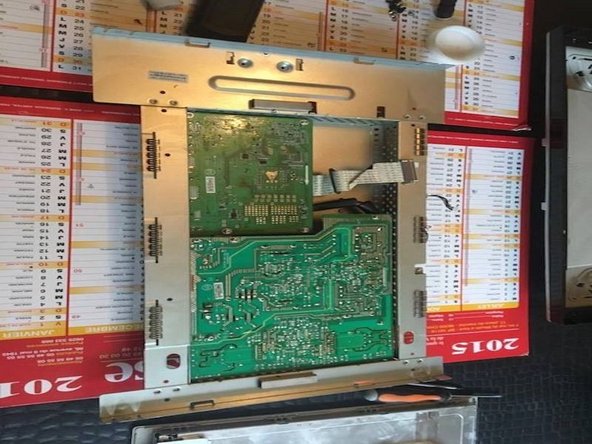
Take the metal cover.
-
Remove the 4 screws from the smaller of the 2 electronic cards (video card).
-
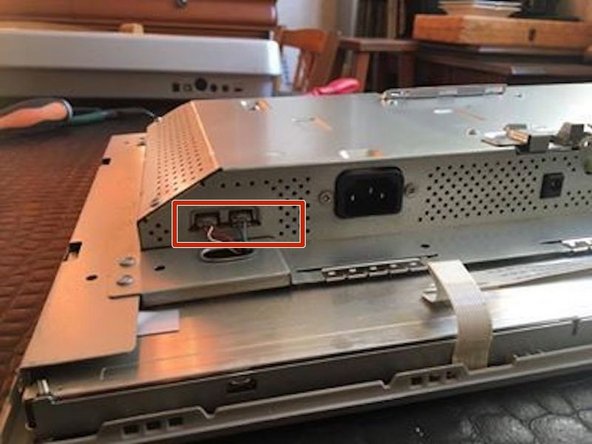
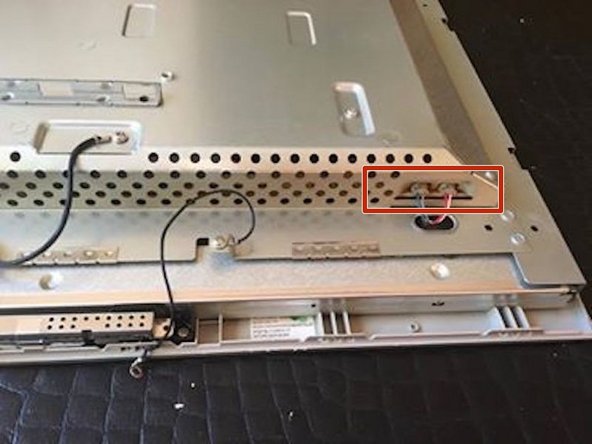
Unplug the only connected slot.
-
-
-
You can now remove the screws from the other electronic board (power board)
-
-
-
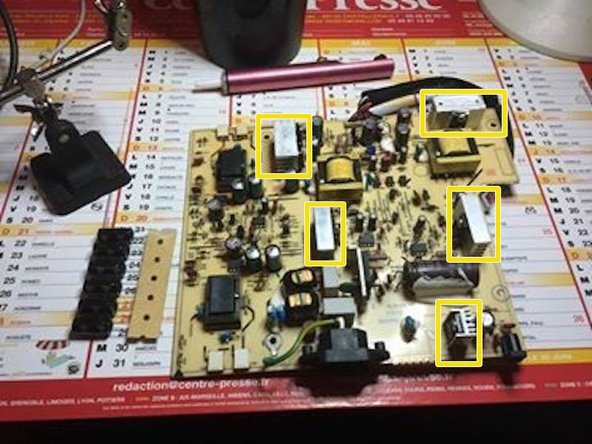
First, you must IDENTIFY the faulty capacitors... How? In this specific case, nothing could be simpler, since the capacitor was subjected to a temperature exceeding 105°C inside the screen, it burst.
-
-
-
Once the 6 capacitors have been changed, you can screw the power board back on and follow the tutorial in reverse...
-
I hope you and your Dell SP2208wft live long. Don't Throw Away, Fix!!! You can do it !!!
-


To reassemble your device, follow the instructions in reverse order.
To reassemble your device, follow the instructions in reverse order.
다음 번역가들에게 특별히 감사 드립니다:
100%


이 번역자 분들은 저희가 세상을 수리하는데 동참해 주시는 분입니다! 기여하시겠습니까?
번역 시작하기 ›