소개
As one of the key features of a laptop, the mouse pad is one of the elements of the device that is most likely to suffer wear over time. The right/left click buttons are especially susceptible to wear and tear, as these are mechanical systems connected to electrical boards.
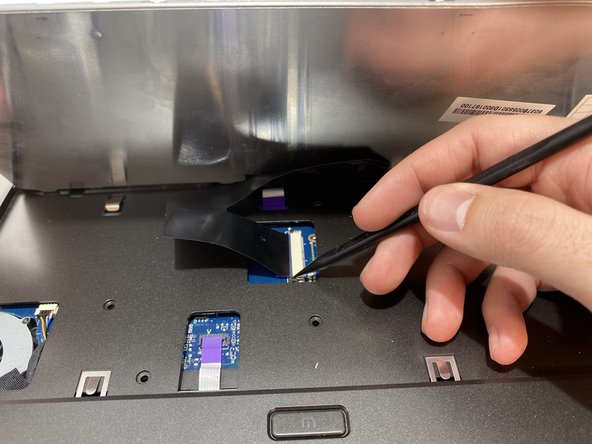
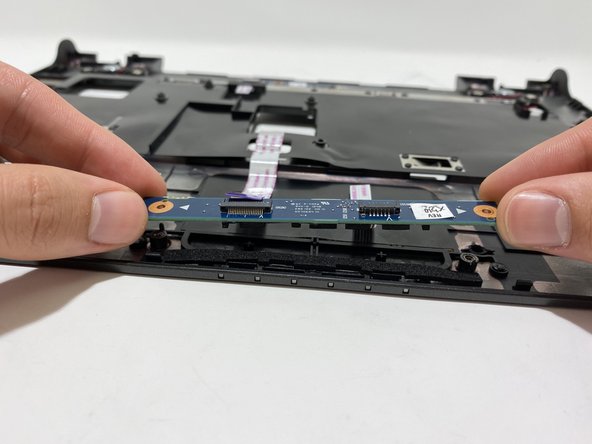
If your left-click or right-click buttons aren't working, you may need to replace the board that controls those functions. Use this guide to learn how!
필요한 것


To reassemble your device, follow these instructions in reverse order.
To reassemble your device, follow these instructions in reverse order.
다른 한 분이 해당 안내서를 완성하였습니다.
팀

University of Memphis, Team S2-G1, Kim Fall 2019 University of Memphis, Team S2-G1, Kim Fall 2019 회원
UM-KIM-F19S2G1
4 회원들
안내서 3개 작성하였습니다