소개
Motherboards are usually the last thing to check if something isn't working, unless you have a specific diagnosis. For this laptop, there are chipsets attached to the motherboard, so if you have a damaged CPU or GPU, you will likely have to replace the whole unit.
Thankfully, this device's construction is not super complicated and you should be able to easily complete this repair. Take extra care to keep each step's screws separated, as there are many different components to remove before you can access the motherboard.
필요한 것
-
-
Turn the laptop upside down.
-
Use a T5 Torx Screwdriver to remove the ten 3 mm long screws from the perimeter of the back of the laptop.
-
-
-
With a Philips #00 Screwdriver bit, remove one 4 mm long black screw located by the antenna connections on the wireless card.
-
Set the screw and metal holder aside.
-
-
-
-
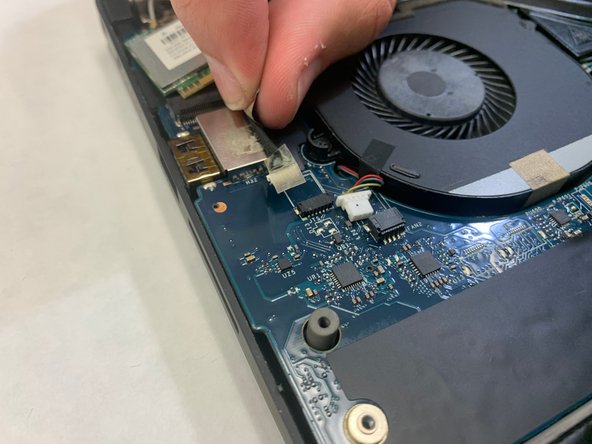
Use the Small Plastic Spudger to carefully disconnect the white connector from the black port.
-
-
-
Use a Philips #00 Screwdriver to remove the seven 3 mm long screws from the perimeter of the battery.
-
-
-
The touchpad has two ZIF connectors at the bottom of the motherboard. Use a flat plastic tool to lift the tabs (see picture 2) and gently pull the ribbon cables free.
-


To reassemble your device, follow these instructions in reverse order.
To reassemble your device, follow these instructions in reverse order.
팀

IUPUI, Team 2-4, Harley Spring 2022 IUPUI, Team 2-4, Harley Spring 2022 회원
IUPUI-HARLEY-S22S2G4
3 회원들
안내서 3개 작성하였습니다