소개
The purpose of this guide is to remove the hard drive from the computer if it is broken or having issues. Some of the problems associated with a broken Hard Drive are that your computer is not booting up completely, some programs that were working are not recognized anymore, the Hard Drive is not recognized in the C: of "my computer", the computer tells you the drive is not recognized, or that the drive will fail.
필요한 것
-
-
-
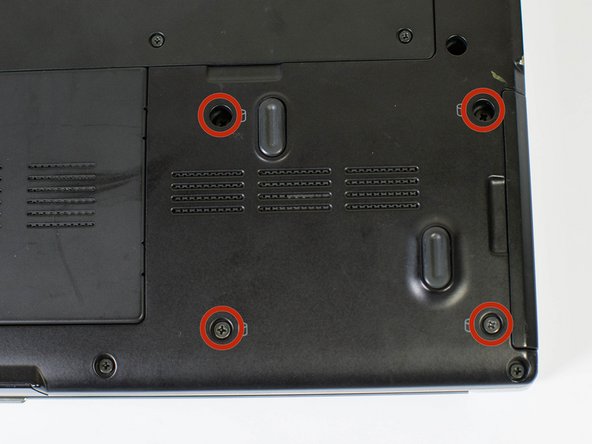
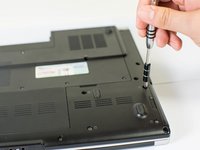
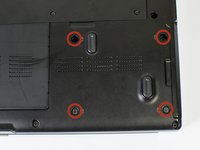
Remove the four Phillips #1 screws holding the Hard Drive in place.
-
Four 3.5mm Phillips #1 screws
-
-
-
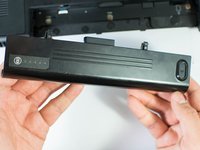
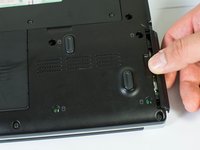
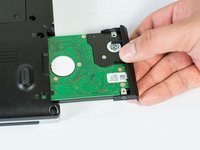
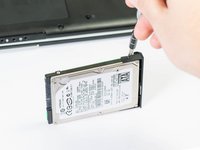
Pull the Hard Drive out gently using the tab. It should provide enough leverage to pull the drive out smoothly.
-
-
-
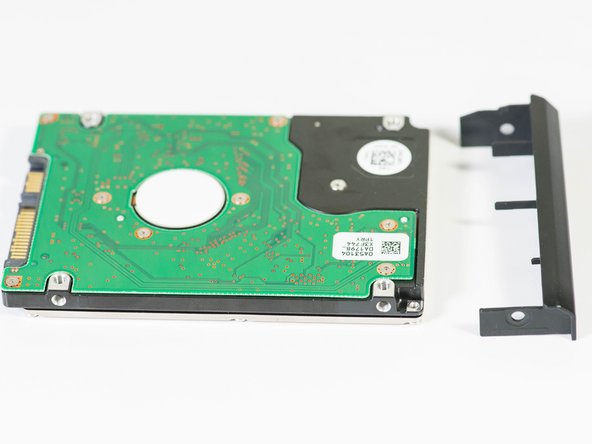
Remove both 3.5mm Phillips #1 screws on either side of the plastic casing.
-
Then gently separate the drive from its casing.
-


To reassemble your device, follow these instructions in reverse order.
다른 한 분이 해당 안내서를 완성하였습니다.
팀

Cal Poly, Team 18-4, Maness Winter 2015 Cal Poly, Team 18-4, Maness Winter 2015 회원
CPSU-MANESS-W15S18G4
4 회원들
안내서 8개를 작성함