이 안내서에는 최근 변경 사항이 더 있습니다. 최신 비검증 버전으로 전환하십시오.
소개
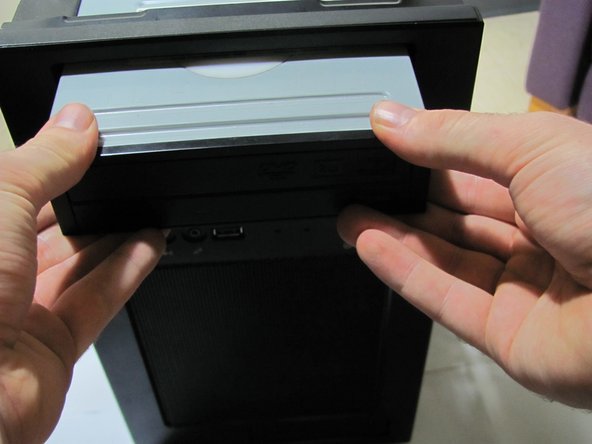
Is the CD drive on your desktop computer not working? Use this guide to replace the malfunctioning CD drive in eight easy steps.
필요한 것
-
-
Find a large table or flat non-carpeted space to work.
-
Unplug all external cables, including the power cable, from your computer.
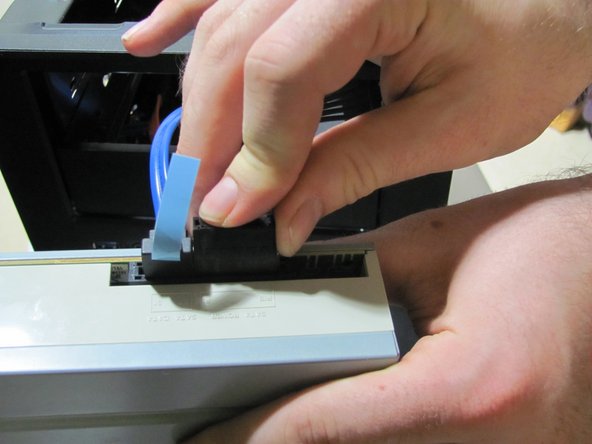
-
-
-
Depending on the case, It may be necessary to remove the top panel in order to get to the CD drive. If you can access the drive without removing the top, skip this step.
-
On the back of the computer, unscrew the screws connecting the top panel to the case.
-
Inside the computer, Unscrew the screws connecting the top panel to the case.
-
Slide the top panel backward and lift it off the case.
-
-


To reassemble your device, follow these instructions in reverse order.
To reassemble your device, follow these instructions in reverse order.
다른 28명이 해당 안내서를 완성하였습니다.
팀

Cal Poly, Team 23-2, Green Winter 2015 Cal Poly, Team 23-2, Green Winter 2015 회원
CPSU-GREEN-W15S23G2
4 회원들
안내서 16개 작성하였습니다
댓글 2개
موقع سي جدا جدا لا يمكن الاعتماد علية
موقع سي لا يعتمد علية