이 버전에는 잘못된 편집 사항이 있을 수 있습니다. 최신 확인된 스냅샷으로 전환하십시오.
필요한 것
-
이 단계는 번역되지 않았습니다. 번역을 도와주십시오
-
This is a Digital AV Mixer (Model WJ-AVE5) and we'll be covering the steps required to remove the top-board and controls.
-
-
이 단계는 번역되지 않았습니다. 번역을 도와주십시오
-
Unscrew the stick extension by turning it left. If you're running into resistance try holding the shaft of the stick, during previous service this extension may have had Loctite applied to stock it from loosening.
-
-
-
이 단계는 번역되지 않았습니다. 번역을 도와주십시오
-
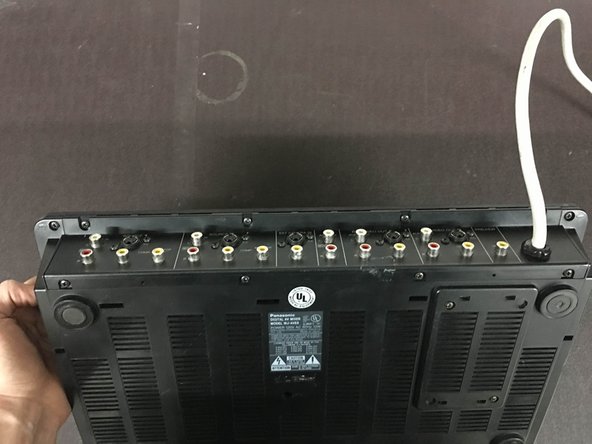
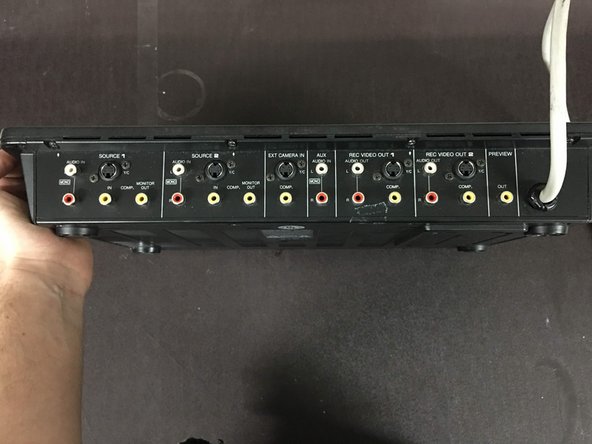
This is the bottom of your Digital Mixer. There are Seventeen (17) screws that need to move forward.
-
-
이 단계는 번역되지 않았습니다. 번역을 도와주십시오
-
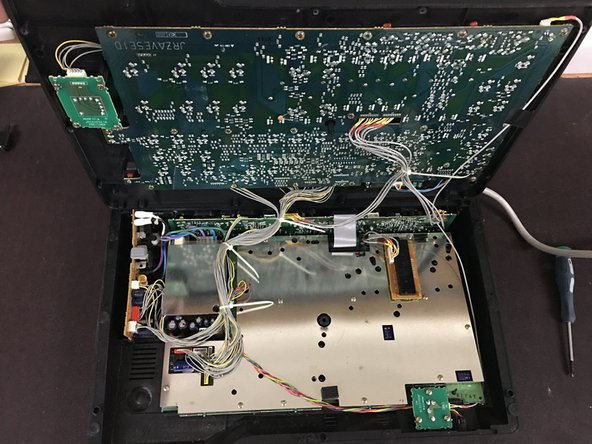
Now the top-board should pivot up like a pizza-box allowing access to both the solder side of the top-board and the EMI Shielding for both the Primary Power Board and the Primary Control Board.
-
-
이 단계는 번역되지 않았습니다. 번역을 도와주십시오
-
Shot of the solder-side of the top-board for reference on connector locations, cable routing, and component reference.
-
-
이 단계는 번역되지 않았습니다. 번역을 도와주십시오
-
Shot of the bottom-board for reference on connector locations, cable routing, and component reference.
-
다른 3명이 해당 안내서를 완성하였습니다.


