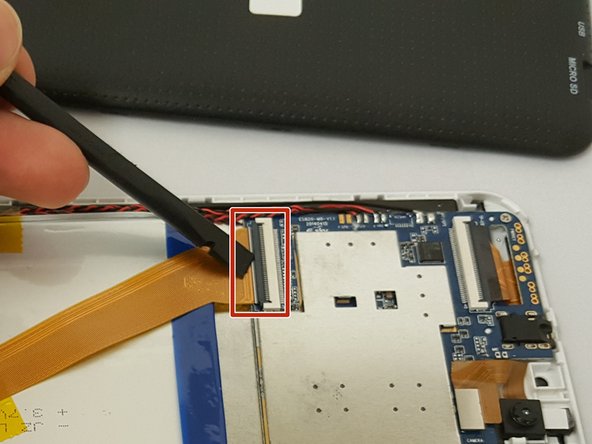
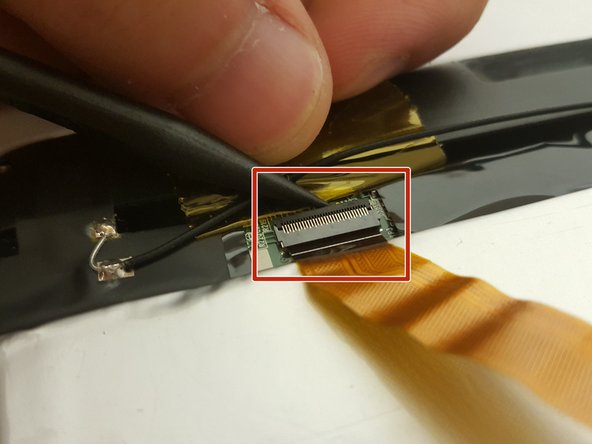
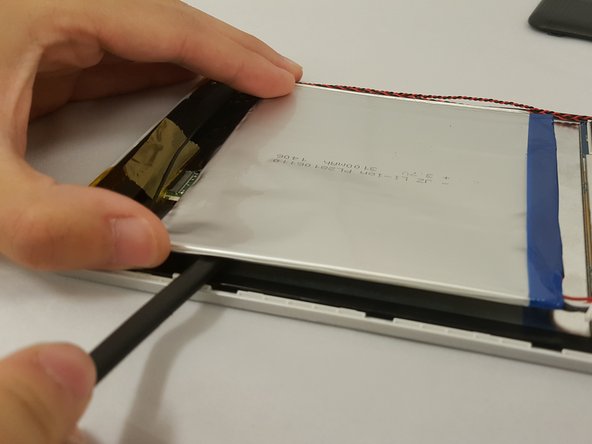
주요 콘텐츠로 건너뛰기

Digital2 D2-861G Battery Replacement

필요한 것

  1. Digital2 D2-861G Battery Replacement, Battery: 1 단계, 이미지 1/1
    • Working on your device while powered on may result in electric shock. Make sure to unplug and power down your device before you begin.

    • Place your device on a soft cloth to avoid scratching the screen.

    • Flip your device over so back panel is facing upwards

  2. Digital2 D2-861G Battery Replacement: 2 단계, 이미지 1/2 Digital2 D2-861G Battery Replacement: 2 단계, 이미지 2/2
    • Do not use a lot of force as it can break the clips or the back panel.

    • Insert spudger in the slot below the micro SD card

    • You should hear clips releasing as you pry along the edges.

    • With the spudger tool, run along the edges of the backing undoing 20 plastic clips.

  3. Digital2 D2-861G Battery Replacement: 3 단계, 이미지 1/3 Digital2 D2-861G Battery Replacement: 3 단계, 이미지 2/3 Digital2 D2-861G Battery Replacement: 3 단계, 이미지 3/3
    • Look at the images to locate the black tabs.

    • Carefully remove the tape to avoid damaging the device.

    • Remove ALL the yellow tape securing the gold colored ZIF (Zero insertion force) connector and the battery. Discard or save the tape if you would like.

    • To unclip the connector. Go under the black tab with a spudger or finger nail and simply lift up.

  4. Digital2 D2-861G Battery Replacement: 4 단계, 이미지 1/2 Digital2 D2-861G Battery Replacement: 4 단계, 이미지 2/2
    • Make sure to not bend or puncture the battery when removing it.

    • Locate the bundled cable connector and disconnect it by simply pulling it gently with your hands or using a spudger.

    • Use prying tools to carefully break the adhesive under the battery

결론

To reassemble your device, follow these instructions in reverse order.

Dalton Berg

회원 가입일: 09/29/16

201 평판

안내서 1개 작성함

댓글 한 개

where do you find the replacement battery?

rsdii - 답글

댓글 쓰기

조회 통계:

24 시간 전: 0

7일 전: 0

30일 전: 0

전체 시간: 924