소개
This guide will help users to replace the wired connections from the internal speakers to motherboard on the Digitech XC-5206 Bluetooth speaker. Please refer to troubleshooting page before beginning replacement guide steps.
필요한 것
-
-
Remove front panel by forcefully placing the flat edge of the spudger in between panel and plastic. Angle spudger and use fingers to pry panel off. You may need to use extra force.
-
-
-
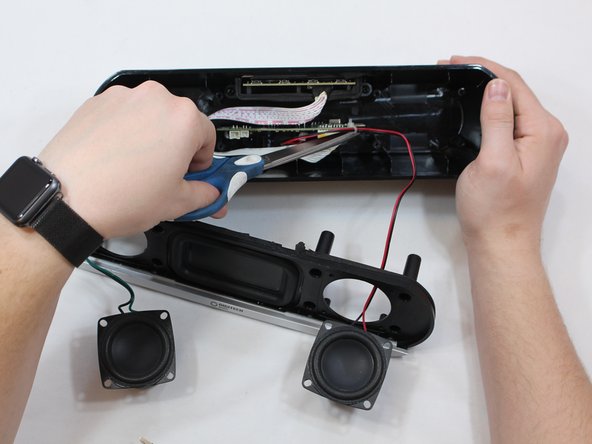
Unscrew all eight 14mm screws closest to the edges of the speaker by spinning a size PH2 screwdriver in a counterclockwise motion.
-
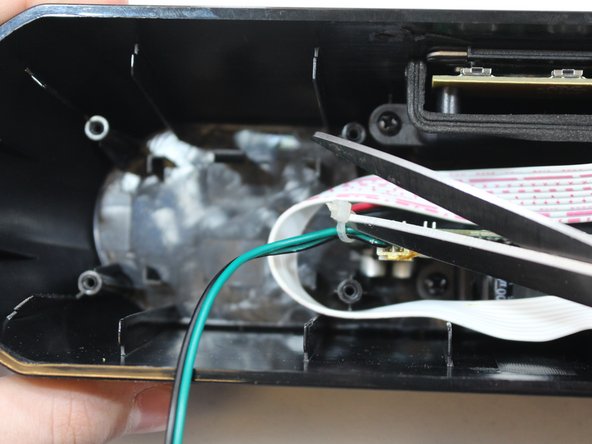
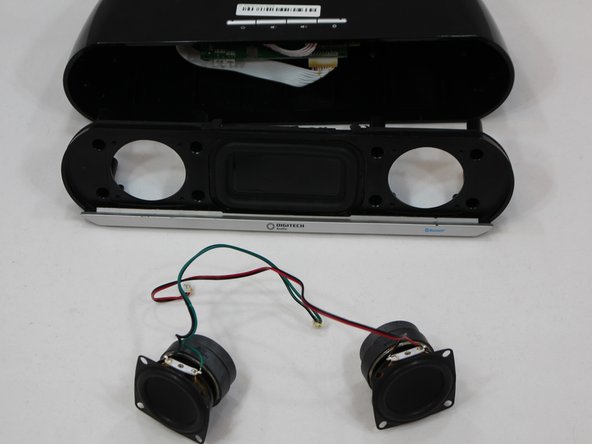
Dislodge face by holding speaker face down. Gently shake or tap front against table to fully remove face.
-
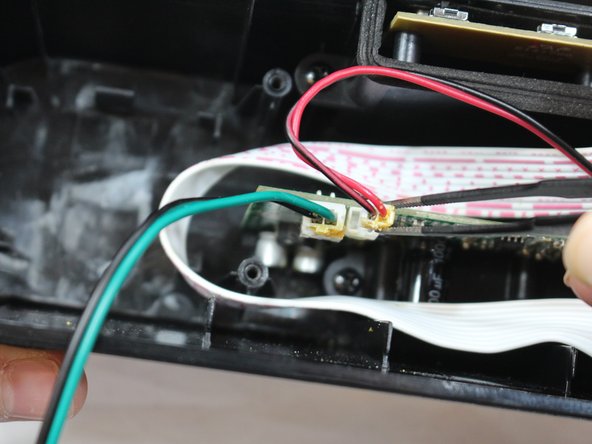
OR grab ahold of the silver tab to pull the speaker face out. This may require force.
-
-


To reassemble your device, follow these instructions in reverse order.
To reassemble your device, follow these instructions in reverse order.

팀

Eastern Washington University, Team S2-G4, Munoz Fall 2018 Eastern Washington University, Team S2-G4, Munoz Fall 2018 회원
EWU-MUNOZ-F18S2G4
4 회원들
안내서 4개 작성하였습니다