이 버전에는 잘못된 편집 사항이 있을 수 있습니다. 최신 확인된 스냅샷으로 전환하십시오.
필요한 것
-
이 단계는 번역되지 않았습니다. 번역을 도와주십시오
-
Turn off the computer.
-
Disconnect the charging cable from the computer.
-
Top Panel: Use a Plastic Opening Tool to carefully pry the top panel from the base.
-
-
이 단계는 번역되지 않았습니다. 번역을 도와주십시오
-
Keyboard: Lift the side of the keyboard gently and disconnect the attached ribbon located underneath the keyboard.
-
Place your index finger in the hole on the right side of the keyboard tray and lift the tray gently.
-
-
이 단계는 번역되지 않았습니다. 번역을 도와주십시오
-
Battery: Use your fingers to lift the battery and gently disconnect the wires from the base.
-
-
이 단계는 번역되지 않았습니다. 번역을 도와주십시오
-
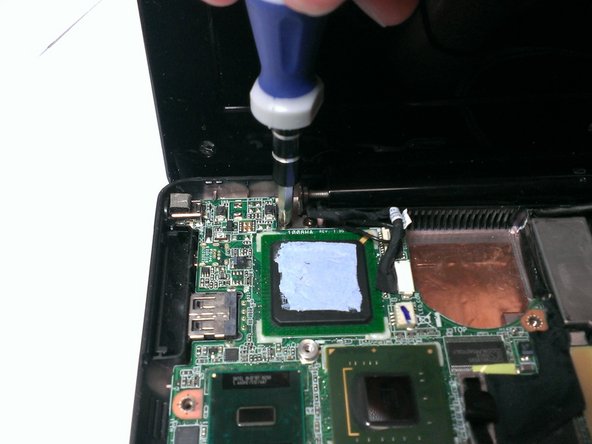
Heat sink: Use a Phillips head screwdriver to unscrew the screws that connect the heat sink to the fan.
-
Use a Flathead Screwdriver to gently lift the copper heat sink and use your fingers to remove it from the laptop.
-
-
이 단계는 번역되지 않았습니다. 번역을 도와주십시오
-
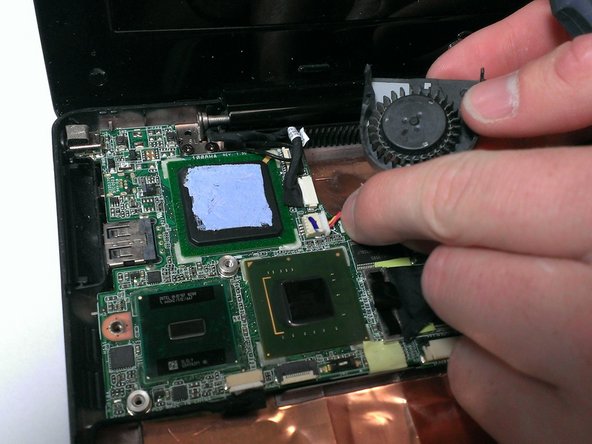
Fan: Unscrew the screws that secure the fan.
-
Use your fingers to lift the fan and pull the white plug carefully from the motherboard.
-
-
-
이 단계는 번역되지 않았습니다. 번역을 도와주십시오
-
USB header card: Use the Phillips head screwdriver to unscrew the 3 screws from the USB header card.
-
-
이 단계는 번역되지 않았습니다. 번역을 도와주십시오
-
Use your fingers to pull the USB header card from the side of the device chassis. (The USB header card will remain attached by wires.)
-
-
이 단계는 번역되지 않았습니다. 번역을 도와주십시오
-
Screen: Hold the USB header card in one hand.
-
Use your other hand to unscrew the 4 screws (2 on each side) that attach the screen to the base.
-
-
이 단계는 번역되지 않았습니다. 번역을 도와주십시오
-
Use your fingers to hold the screen and carefully disconnect it from the right side of the base.
-
Loosen the screen from the left side of the base.
-
-
이 단계는 번역되지 않았습니다. 번역을 도와주십시오
-
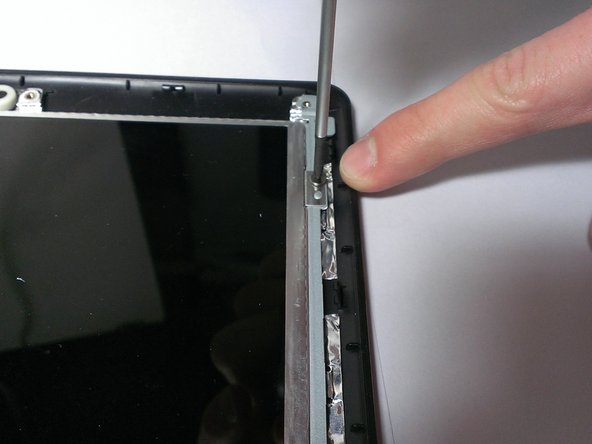
Use a Flathead Screwdriver to pry off the chits from the front panel. (The chits are the small black rubber caps.)
-
Unscrew the screws that connect the front panel of the screen.
-
-
이 단계는 번역되지 않았습니다. 번역을 도와주십시오
-
Slide the Plastic Opening Tool under the edge of the screen bezel to release the front panel of the screen.
-
-
이 단계는 번역되지 않았습니다. 번역을 도와주십시오
-
Unscrew the screws from the edge of the screen.
-
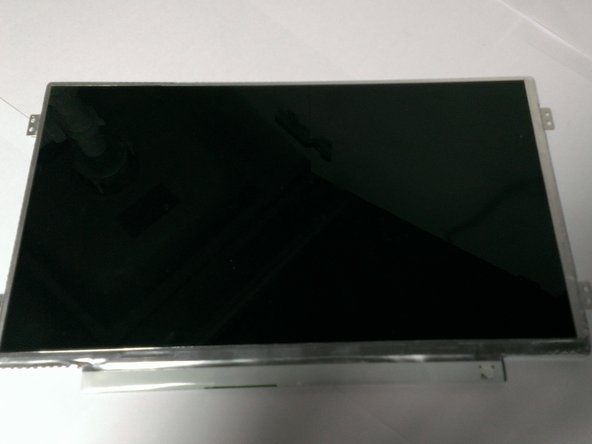
Use your fingers to hold the screen and remove it from the base. (Wires will still be attached between the screen and the motherboard.)
-
-
이 단계는 번역되지 않았습니다. 번역을 도와주십시오
-
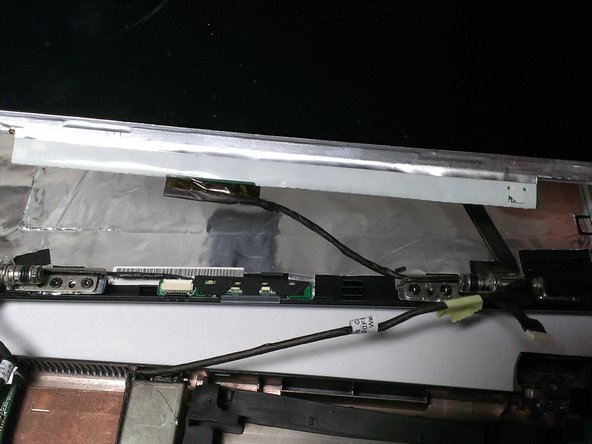
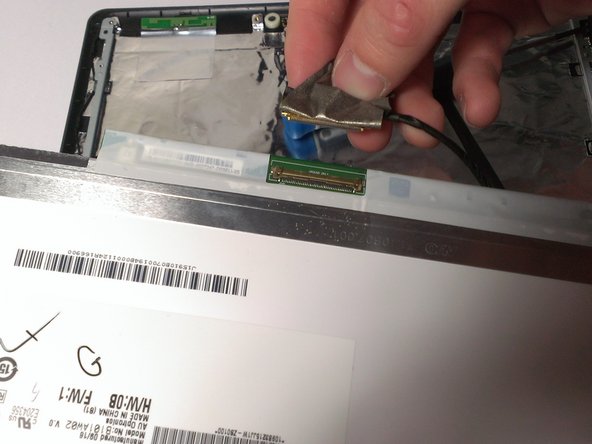
Use your fingers to remove the adhesive tape located on the back of the screen near the wire connection.
-
Disconnect the wire from the screen.
-


다른 2명이 해당 안내서를 완성하였습니다.
팀

Cal Poly, Team 21-52, Johann Spring 2013 Cal Poly, Team 21-52, Johann Spring 2013 회원
CPSU-JOHANN-S13S21G52
4 회원들
안내서 11개 작성하였습니다