이 버전에는 잘못된 편집 사항이 있을 수 있습니다. 최신 확인된 스냅샷으로 전환하십시오.
필요한 것
-
이 단계는 번역되지 않았습니다. 번역을 도와주십시오
-
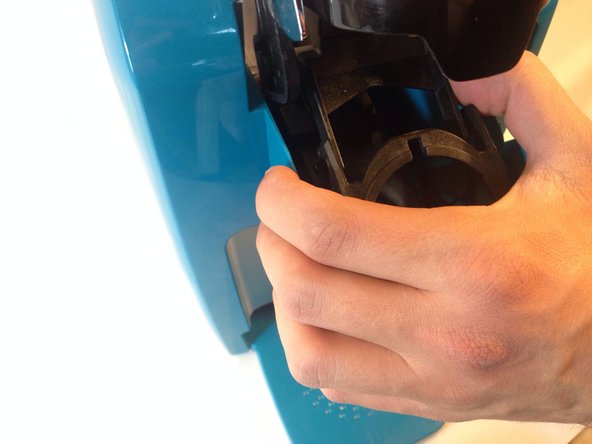
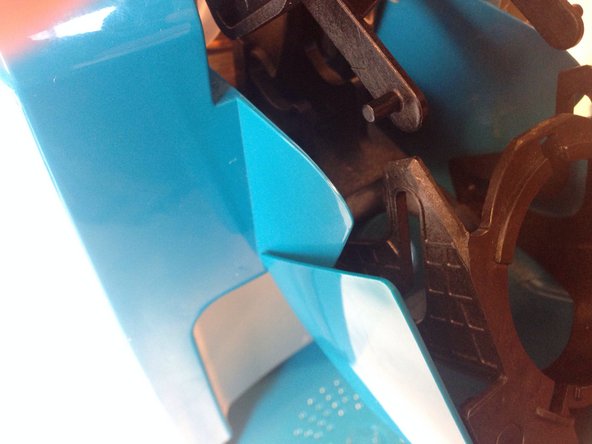
Push in on one of the arms attached to the K-cup holder plastic housing to remove it from its rails. The arms are identical for both sides so once one side is free repeat the process for the second side.
-
Once the arms are removed, the configuration should look like the picture. The K-cup holder housing should be separated from the arms.
-
-
-
이 단계는 번역되지 않았습니다. 번역을 도와주십시오
-
Use a Phillips #1 screw driver to remove the four 12 mm screws that hold the arm assembly in place.
-
-
이 단계는 번역되지 않았습니다. 번역을 도와주십시오
-
Lift up the arm and pull up the handle assembly. It should easily come off.
-
This white tab falls off easily, remove it and set it aside to ensure it is not lost.
-


