이 버전에는 잘못된 편집 사항이 있을 수 있습니다. 최신 확인된 스냅샷으로 전환하십시오.
필요한 것
-
이 단계는 번역되지 않았습니다. 번역을 도와주십시오
-
Turn off the camera.
-
Locate the power switch on the front of the camera below the camera lens.
-
Slide the switch to the off position.
-
-
이 단계는 번역되지 않았습니다. 번역을 도와주십시오
-
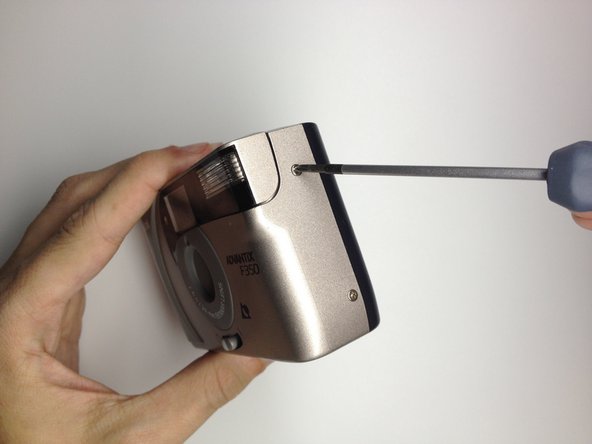
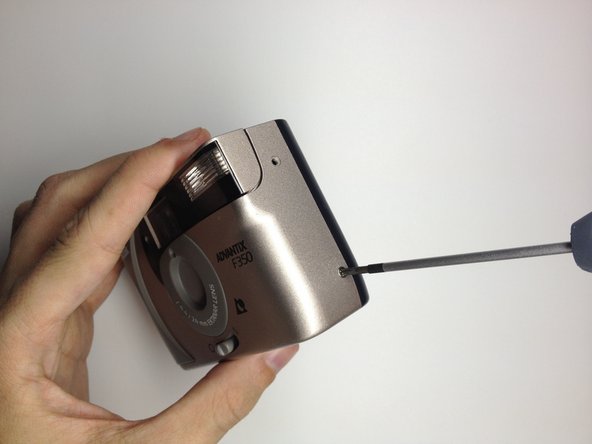
Locate the 3 screws that hold the back cover to the camera.
-
One screw is located on the film opener side of the camera.
-
The other screws are located on the opposite side of the camera.
-
-
이 단계는 번역되지 않았습니다. 번역을 도와주십시오
-
Use the Phillips #00 Precision Screwdriver and remove the screws on the back cover.
-
-
이 단계는 번역되지 않았습니다. 번역을 도와주십시오
-
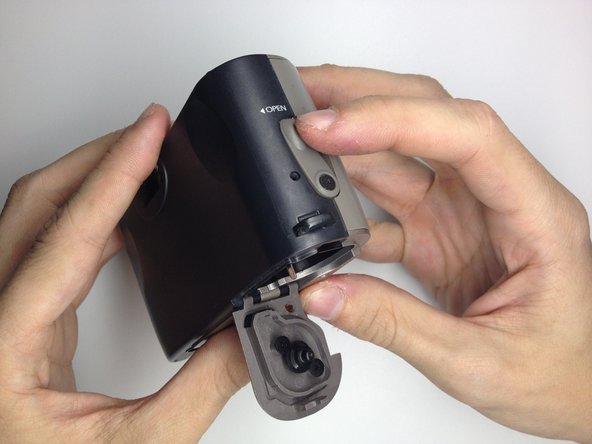
Open the film door to remove the back cover.
-
Slide the film door lever to the left until the film door opens.
-
-
이 단계는 번역되지 않았습니다. 번역을 도와주십시오
-
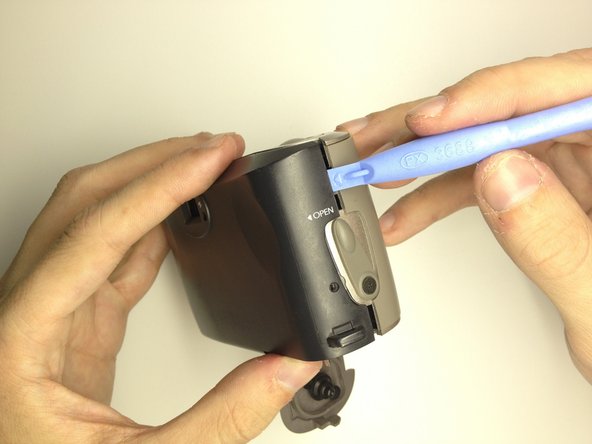
Use a plastic opening tool to pry the case open until a small gap is present.
-
Repeat this process at the top and bottom of the film door to loosen it.
-
-
-
이 단계는 번역되지 않았습니다. 번역을 도와주십시오
-
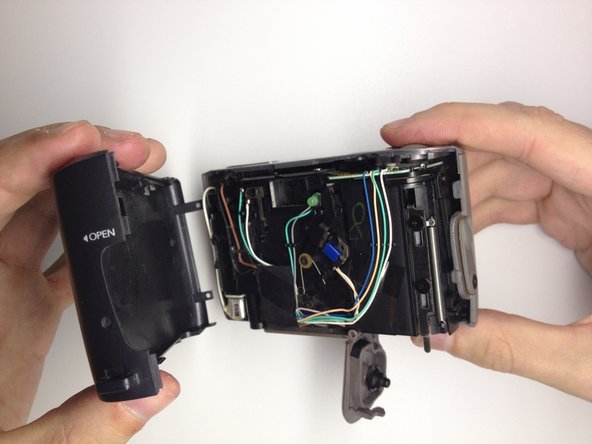
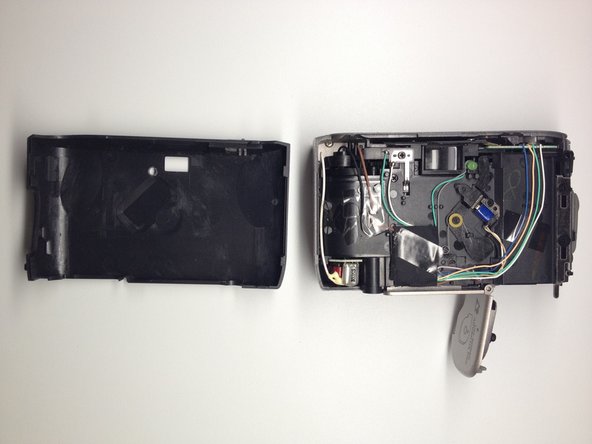
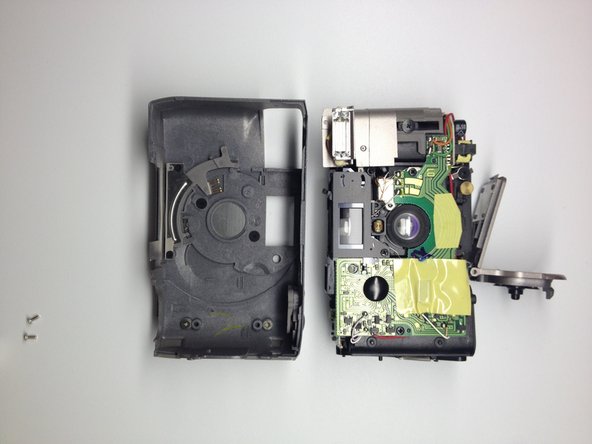
Grab the top and bottom of the case firmly as shown.
-
Gently remove the back of the camera case with a slight twisting motion.
-
-
이 단계는 번역되지 않았습니다. 번역을 도와주십시오
-
Locate the 3 screws on the camera that hold the front cover of the camera to the camera body.
-
The first 2 are located on the bottom of the camera.
-
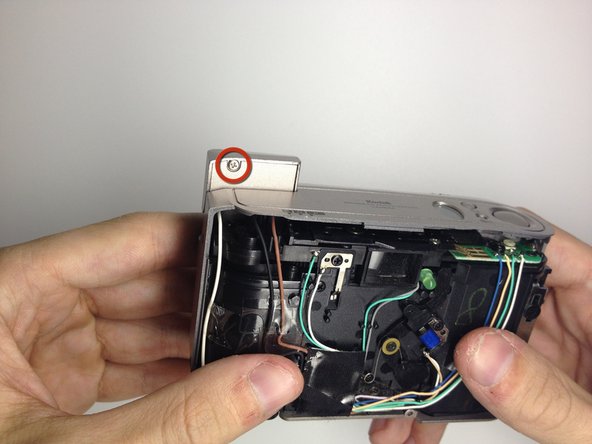
The last screw is located behind the flash module.
-
Turn the camera on, and raise the flash module to locate the flash module screw.
-
-
이 단계는 번역되지 않았습니다. 번역을 도와주십시오
-
Remove the 2 screws at the base of the camera housing.
-
Use the Phillips #00 Precision Screwdriver and remove the screws.
-
Repeat this process for the screw behind the flash module.
-
-
이 단계는 번역되지 않았습니다. 번역을 도와주십시오
-
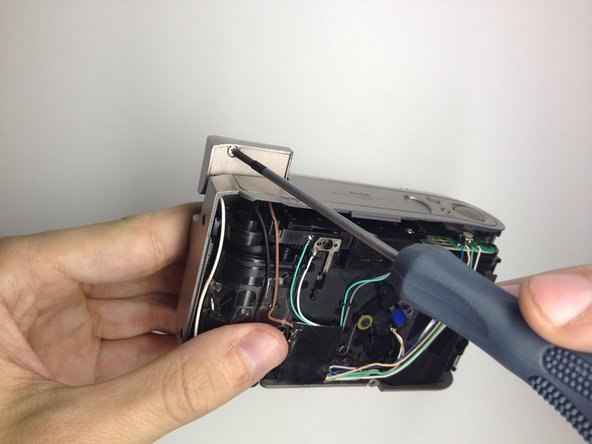
Remove the screw located under the flash module using the Phillips #00 Precision Screwdriver.
-
-
이 단계는 번역되지 않았습니다. 번역을 도와주십시오
-
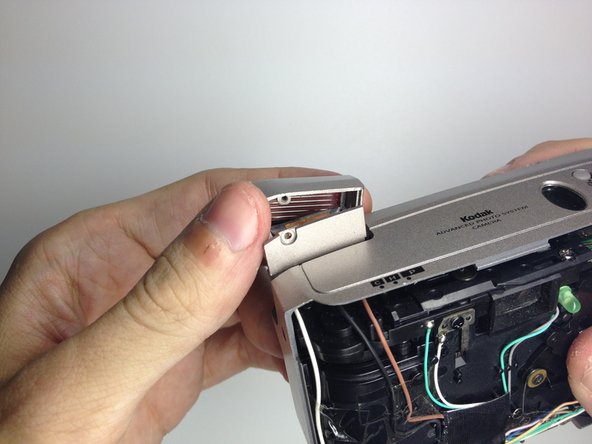
Remove the flash cover.
-
Remove the flash module by twisting it up and outward of the camera housing.
-
The cover can now be be removed.
-
-
이 단계는 번역되지 않았습니다. 번역을 도와주십시오
-
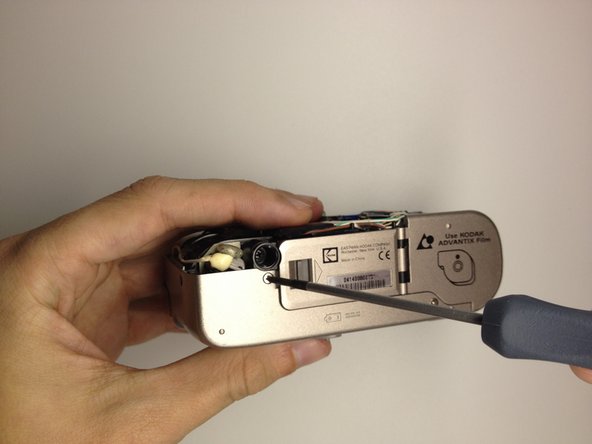
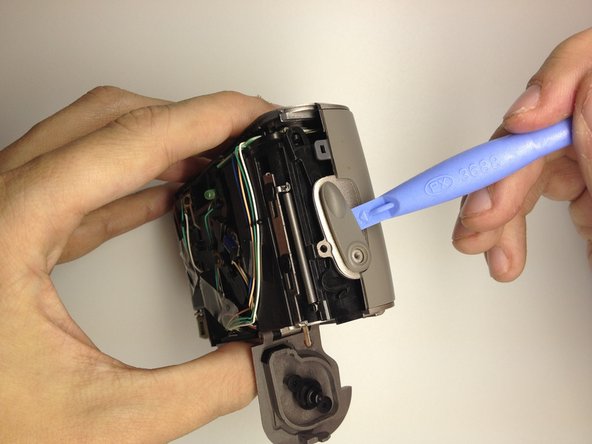
Remove the film door lever.
-
Remove the screw holding the film lever in place by using a Phillips #00 Precision Screwdriver.
-
Using a plastic opening tool, gently pry the switch upwards to remove it.
-
-
이 단계는 번역되지 않았습니다. 번역을 도와주십시오
-
Open the battery door by pushing the lever towards the arrow indicated.
-
-
이 단계는 번역되지 않았습니다. 번역을 도와주십시오
-
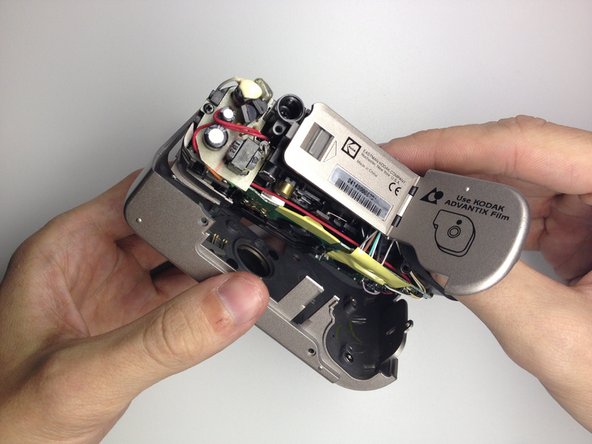
Remove the front cover.
-
Insert your thumb in the film hole and gently pry the bottom loose.
-
Once the front is loose, gently pull it out.
-


팀

UW Stout, Team 1-2, Zhou Fall 2011 UW Stout, Team 1-2, Zhou Fall 2011 회원
UWSTOUT-ZHOU-F11S1G2
4 회원들
안내서 10개 작성하였습니다