이 안내서에는 최근 변경 사항이 더 있습니다. 최신 비검증 버전으로 전환하십시오.
소개
Like all of the other components of the Macintosh IIsi, the logic board requires no tools to remove.
필요한 것
-
-
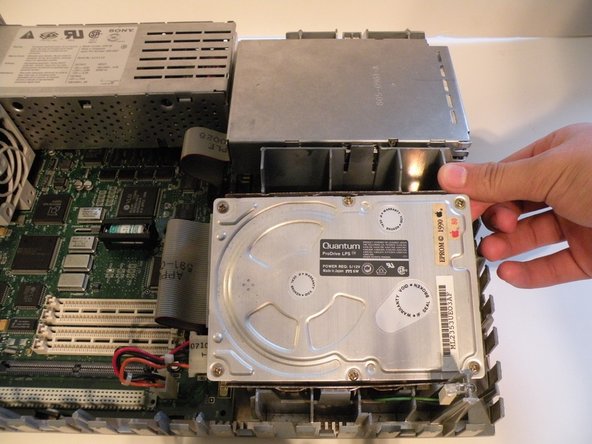
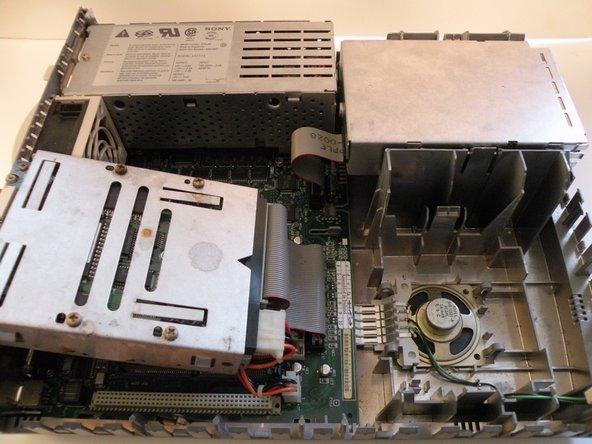
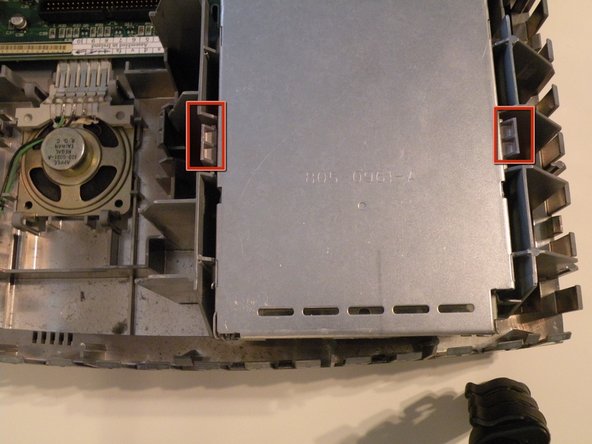
The Macintosh IIsi's hard drive is located ajacent to the ram and floppy drive.
-
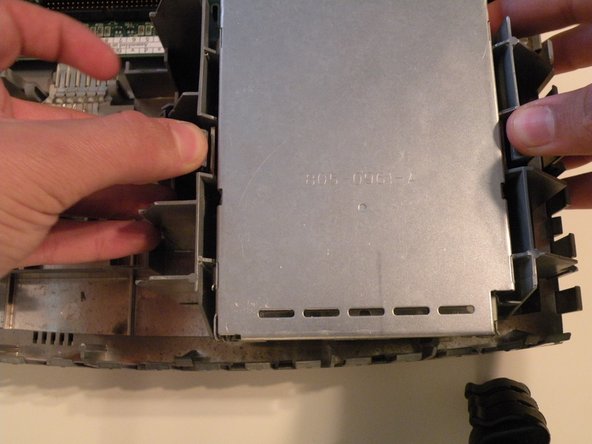
Start by pushing these two tabs out, and lifting the drive up.
-
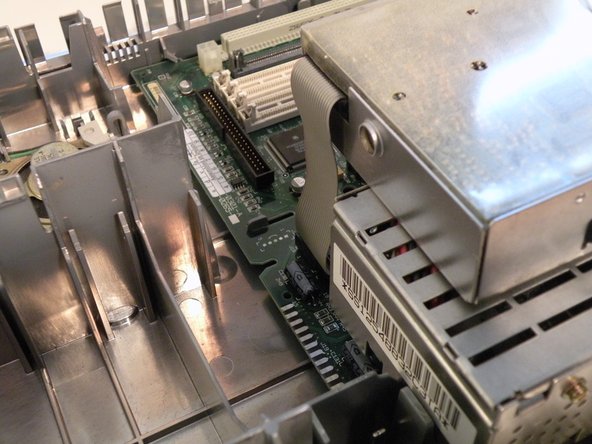
Then, flip the drive over, and remove the connection cables.
-
-
-
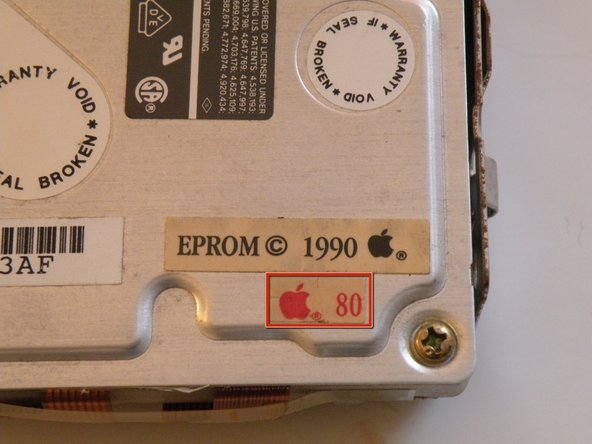
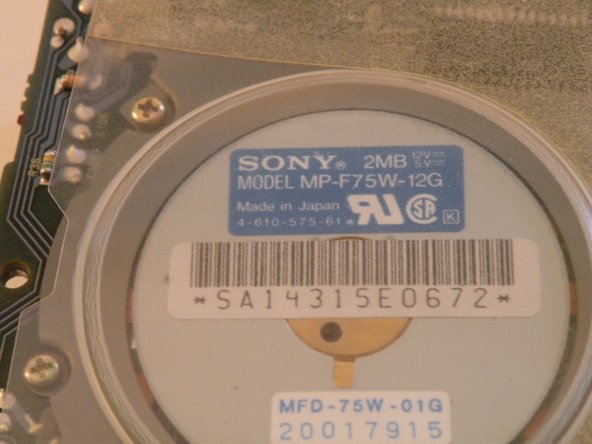
The hard drive: A Quantum ProDrive LPS, made in 1990, and surprisingly, it still works!
-
This drive has an 80MB capacity, not very large by today's standards, but not bad way back then...
-
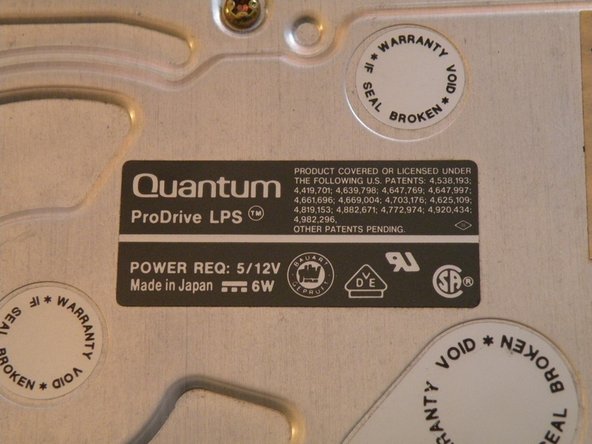
Believe it or not, hard drive construction hasn't changed much in the last 20 years. Other than a few new interfaces, the form factor, 3.5" width and 4-Pin 12V/5V power connector has stayed the same.
-
-
-
-
The "SuperDrive" is mounted similarly to the hard drive, and positioned right next to it.
-
Push these two tabs out, and lift the drive up.
-
-
-
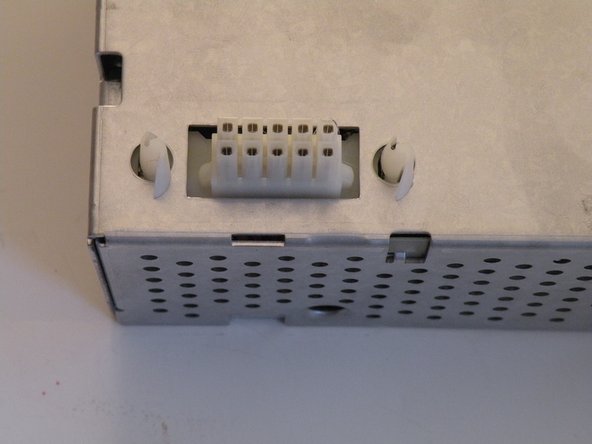
The fan recieves power from two contacts on the logic board and has no connector.
-
-
-
In all of the years that I have worked on this machine, I have found no good way to remove the fan.
-
The best way to start, is to push in here on the side of the fan.
-
Being careful not to exert too much force, try to push in, and wiggle the fan outward as such. (2nd Photo)
-
You can now lift the fan all the way out, and remove it.
-
The Fan Power Contacts on the Logic Board:
-
-
-
To remove the power supply, squeeze these two tabs and lift the front up.
-
On the back of the power supply, there is a tab that also must be pressed to remove the power supply fully. You can then lift it out all the way. A firm tug may be necessary to seperate the power connector.
-
-
-
The logic board is designed in a way, where it can be slid forward, then lifted out.
-
To remove the board, push these two tabs outward, and begin to slide the logic board away from the back (Port Side) of the computer.
-
Once the logic board clears the ports it can be lifted out.
-
-
-
The Processor: 20Mhz Motorola 68030 model # MC68030RC20B
-
The Onboard RAM: 1MB Soldered the the logic board.
-
RAM Slots: 4 30-Pin DIMMs installed in pairs.
-
ROM SIMM Slot: If your computer doesn't have one if these (and it works) , it doesn't need one. If it has one, it needs it in order to boot.
-
PDS Slot: For Attaching a riser card containing a math co-processor. A PDS card can then be plugged into the riser card. PDS - Processor Direct Slot
-
Power Supply Connector: for direct connection to the power supply.
-
"VSLI" chip: This machine's equivalent of a "Northbridge" It manages RAM, PDS, and the external ports.
-


To reassemble your device, follow these instructions in reverse order.
To reassemble your device, follow these instructions in reverse order.
다른 한 분이 해당 안내서를 완성하였습니다.

팀

댓글 4개
Its logic words is the one of the various types of content and if you are using telstra internet and you are having types of issue with your telstra then you can visit our this site and get the solution as you want so for more information about the telstra you can follow this link Telstra Internet Support.
What are you guys even talking about? I know from Aussie friends that Telstra is terrible, apparently you guys also have a crap spamming algorithm.
Ano Niem -
Our convenient Mac smaller than expected rationale board expulsion apparatus in fact fits in the rationale board's screw gaps, however it doesn't feel right. We will require more use. Might it be able to be that some great antiquated thumb squeezing works? It does! A firm push on either side of the blower exhaust is everything necessary, and the entire board unclips and slides out. As much as we cherish making incredible apparatuses, nothing makes us more joyful than seeing something you can benefit without any devices by any stretch of the imagination Apple service centre gold coast