이 버전에는 잘못된 편집 사항이 있을 수 있습니다. 최신 확인된 스냅샷으로 전환하십시오.
필요한 것
-
이 단계는 번역되지 않았습니다. 번역을 도와주십시오
-
Loosen the screws on the serial port by turning them counter clockwise by hand.
-
After loosening the screws, pull the serial port out.
-
-
이 단계는 번역되지 않았습니다. 번역을 도와주십시오
-
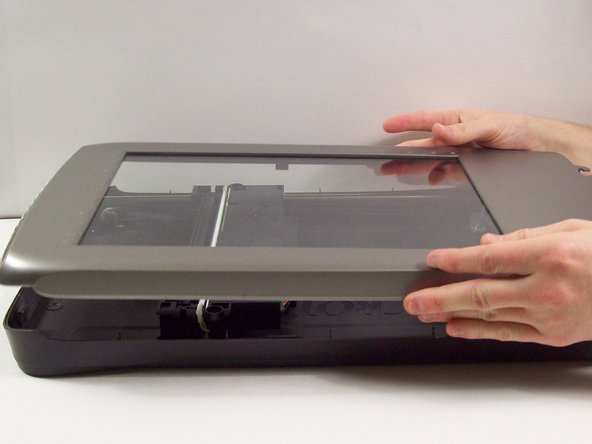
Lift lid to its vertical position.
-
Pull lid straight up to remove it from the scanner.
-
-
-
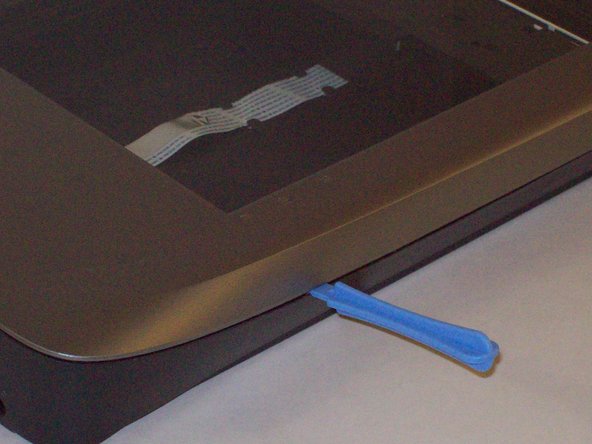
이 단계는 번역되지 않았습니다. 번역을 도와주십시오
-
Push the plastic opening tools into the crack between the top and the bottom of the chassis.
-
-
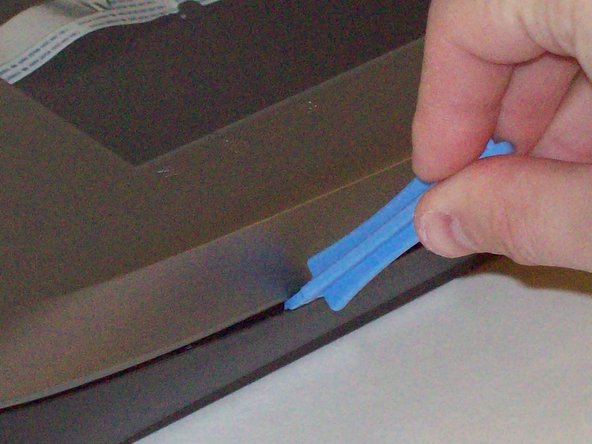
이 단계는 번역되지 않았습니다. 번역을 도와주십시오
-
After placing one plastic opening tool into the slit, slide other plastic opening tools along the slit to detach the top from the bottom of the chassis.
-
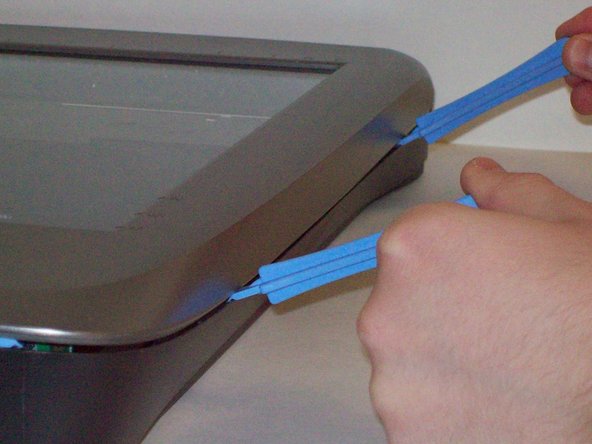
Go all the way along the chassis until you can lift the upper lid.
-
-
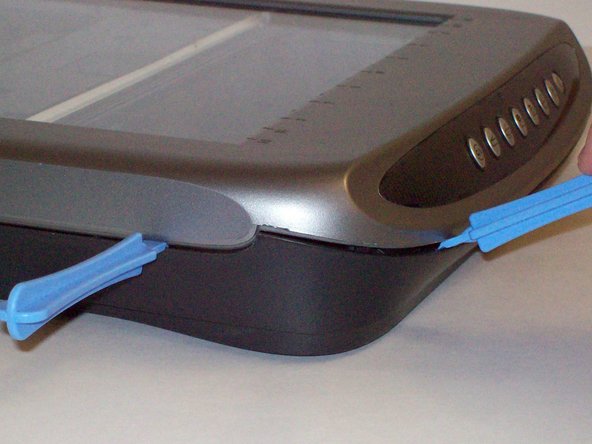
이 단계는 번역되지 않았습니다. 번역을 도와주십시오
-
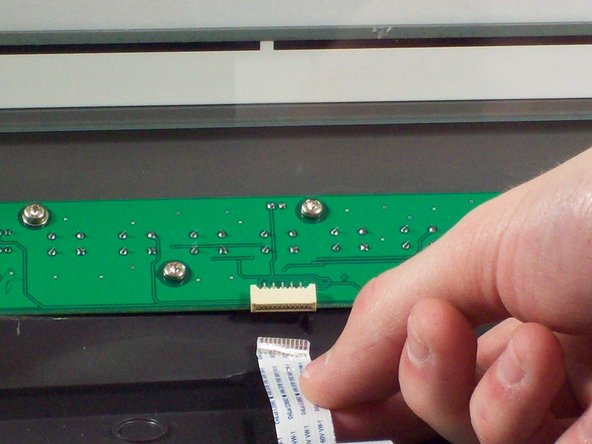
Do this by grabbing the upper lid from the sides and rotating it ninety degrees so it is perpendicular to the bottom lid.
-
Grab the ribbon cable and gently pull it out of its slot with your fingers.
-
The upper lid can now safely be removed from the bottom lid.
-


팀

Cal Poly, Team 6-9, Regan Fall 2011 Cal Poly, Team 6-9, Regan Fall 2011 회원
CPSU-REGAN-F11S6G9
2 회원들
안내서 22개 작성하였습니다