이 버전에는 잘못된 편집 사항이 있을 수 있습니다. 최신 확인된 스냅샷으로 전환하십시오.
필요한 것
-
이 단계는 번역되지 않았습니다. 번역을 도와주십시오
-
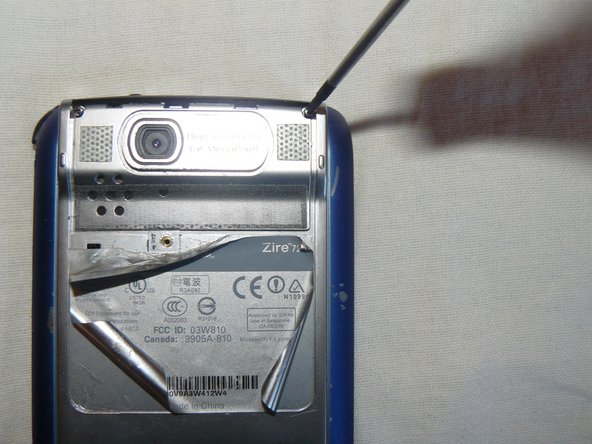
Peel back the information sticker.
-
Remove the one screw that connects the metal panel to the body of the Zire72.
-
-
이 단계는 번역되지 않았습니다. 번역을 도와주십시오
-
Use the tip of your screwdriver to pop the metal panel off the top of the rear of the unit to expose two more screws on the top corners.
-
-
-
이 단계는 번역되지 않았습니다. 번역을 도와주십시오
-
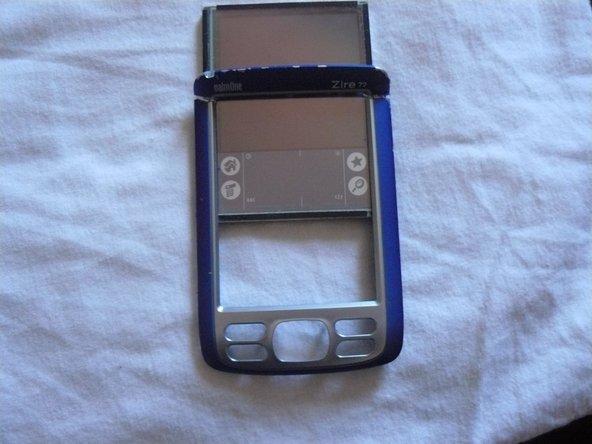
Insert the tip of your screwdriver in the seam where the front frame meets the body of the unit and pry the frame up to pop it off. Remove it.
-
-
이 단계는 번역되지 않았습니다. 번역을 도와주십시오
-
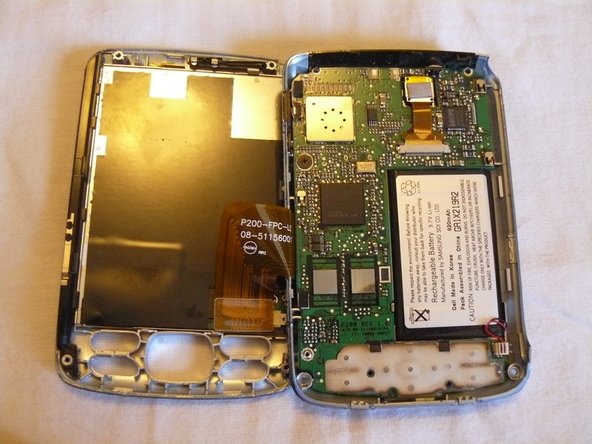
Pull the back panel off the body of the unit to expose the motherboard in the body.
-
-
이 단계는 번역되지 않았습니다. 번역을 도와주십시오
-
Unplug the two orange ribbon cables at the top of the motherboard and remove the motherboard from the body. All that is left is the LCD screen in the front housing of the unit.
-
-
이 단계는 번역되지 않았습니다. 번역을 도와주십시오
-
Now that you have your Zire open, you can remove and replace the defective part.
-


팀

University of Maine, Team 1-29, Diaz Fall 2011 University of Maine, Team 1-29, Diaz Fall 2011 회원
UMAINE-DIAZ-F11S1G29
2 회원들
안내서 1개 작성하였습니다