주요 콘텐츠로 건너뛰기

Disassembling Polaroid a520 Battery Cover

필요한 것

  1. Disassembling Polaroid a520 Battery Cover, Battery: 1 단계, 이미지 1/2 Disassembling Polaroid a520 Battery Cover, Battery: 1 단계, 이미지 2/2
    • Place your thumb on the battery cover and push left towards the arrow.

    • The cover will release and pop open.

  2. Disassembling Polaroid a520 Battery Cover: 2 단계, 이미지 1/1
    • Remove the batteries from the camera.

  3. Disassembling Polaroid a520 Battery Cover, Casing: 3 단계, 이미지 1/1
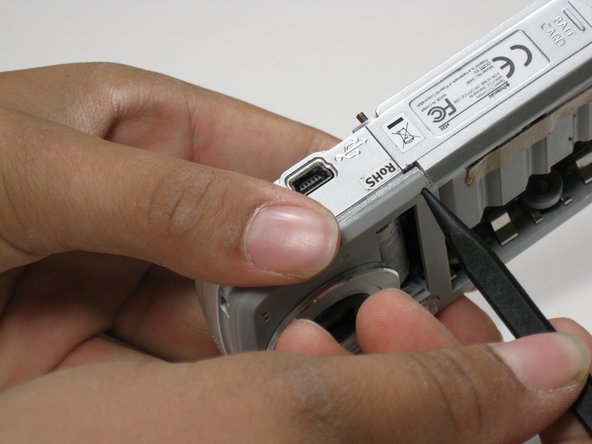
    • Remove four 3 mm screws on the right side of the camera using a Phillips #1 screwdriver.

    • This will release the front and back casings.

  4. Disassembling Polaroid a520 Battery Cover: 4 단계, 이미지 1/1
    • Use your nail or a flat object to pry up the edge of the front casing. Push the casing up and back.

    • Repeat this step for the back casing.

  5. Disassembling Polaroid a520 Battery Cover, LCD Screen: 5 단계, 이미지 1/1
    • Under the screen, locate the black plastic strip that sits above the white plastic strip.

  6. Disassembling Polaroid a520 Battery Cover: 6 단계, 이미지 1/1
    • Pull both sides of the black piece upward-about a mm.

    • The black plastic piece is not meant to come all the way off, just enough to release the screen.

    • Once the piece is lifted carefully slide the screen out of the slot.

  7. Disassembling Polaroid a520 Battery Cover, Battery Cover: 7 단계, 이미지 1/1
    • Remove the four 6mm screws from the inner casing using a Phillips #00 screwdriver.

  8. Disassembling Polaroid a520 Battery Cover: 8 단계, 이미지 1/1
    • Pull the inner casing off. If all the screws are out, the casing will come off easily.

  9. Disassembling Polaroid a520 Battery Cover: 9 단계, 이미지 1/2 Disassembling Polaroid a520 Battery Cover: 9 단계, 이미지 2/2
    • Use the pointed end of a spudger to push the push-pin partly through.

  10. Disassembling Polaroid a520 Battery Cover: 10 단계, 이미지 1/1
    • From the other side pull the pin all the way out. The battery cover will fall off.

  11. Disassembling Polaroid a520 Battery Cover: 11 단계, 이미지 1/1
    • The spring can now be pulled out of its resting position/holes.

    • Once removed, be sure to set the spring somewhere you won't lose it.

결론

To reassemble your device, follow these instructions in reverse order.

Dani

회원 가입일: 06/24/10

21 평판

안내서 7개 작성하였습니다

Cal Poly, Team 3-3, Johann Summer 2010 Cal Poly, Team 3-3, Johann Summer 2010 회원

CPSU-JOHANN-R10S3G3

2 회원들

안내서 7개 작성하였습니다

댓글 0개

댓글 쓰기

조회 통계:

24 시간 전: 0

7일 전: 0

30일 전: 6

전체 시간: 2,191