주요 콘텐츠로 건너뛰기

이 안내서에는 최근 변경 사항이 더 있습니다. 최신 비검증 버전으로 전환하십시오.

Disassembling RCA CC310 Left Cover

필요한 것

  1. Disassembling RCA CC310 Left Cover, Disassembling RCA CC310 Left Cover: 1 단계, 이미지 1/2 Disassembling RCA CC310 Left Cover, Disassembling RCA CC310 Left Cover: 1 단계, 이미지 2/2
    • Remove the six 7.9mm Phillips #0 screws on the back and bottom.

    • Remove the one 3.8mm Phillips #0 screw on the bottom.

    • Remove the two 7.5mm Phillips #0 screws on the back and bottom.

  2. Disassembling RCA CC310 Left Cover: 2 단계, 이미지 1/2 Disassembling RCA CC310 Left Cover: 2 단계, 이미지 2/2
    • Remove 5.8mm Phillips #1 screw from the side button panel.

    • Slide the viewfinder all the way to the right and remove the 7.9mm Phillips #0 screw.

  3. Disassembling RCA CC310 Left Cover: 3 단계, 이미지 1/2 Disassembling RCA CC310 Left Cover: 3 단계, 이미지 2/2
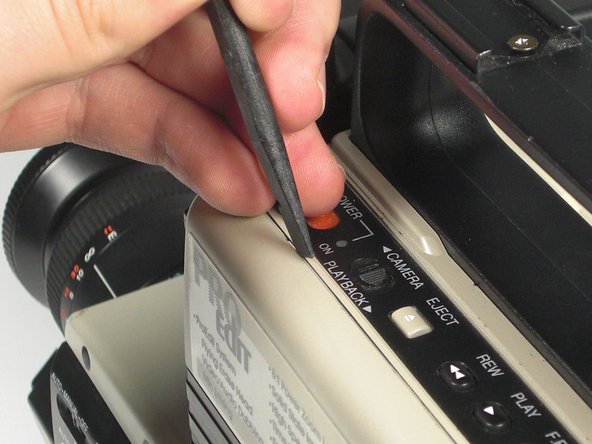
    • Pry along the seam on the top side near the buttons with a spudger.

  4. Disassembling RCA CC310 Left Cover: 4 단계, 이미지 1/2 Disassembling RCA CC310 Left Cover: 4 단계, 이미지 2/2
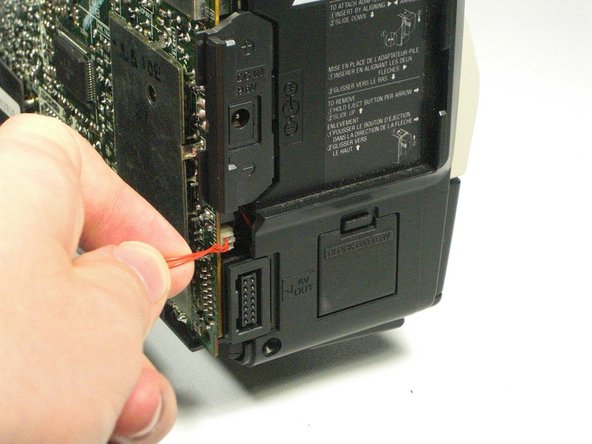
    • Pull the left panel away from the rest of the camcorder.

    • Unplug the red speaker cable located at the rear of the device.

    • Be careful to not pull too hard. The speaker cable is still connected to the panel and it can rip.

결론

To reassemble your device, follow these instructions in reverse order.

Ashley Katchadourian

회원 가입일: 01/20/11

133 평판

안내서 1개 작성함

Cal Poly, Team 5-20, Amido Winter 2011 Cal Poly, Team 5-20, Amido Winter 2011 회원

CPSU-AMIDO-W11S5G20

4 회원들

안내서 7개 작성하였습니다

댓글 0개

댓글 쓰기

조회 통계:

24 시간 전: 0

7일 전: 0

30일 전: 8

전체 시간: 918