이 버전에는 잘못된 편집 사항이 있을 수 있습니다. 최신 확인된 스냅샷으로 전환하십시오.
필요한 것
-
이 단계는 번역되지 않았습니다. 번역을 도와주십시오
-
Press down on the grooved area firmly in the direction of arrow #1.
-
While maintaining the downwards pressure, push the back cover in the direction of arrow #2 until the back cover slides off.
-
-
이 단계는 번역되지 않았습니다. 번역을 도와주십시오
-
Press the latch on the battery in the direction of arrow #3.
-
Lift battery at the cutout on the side of the phone, then tilt upwards and remove.
-
-
이 단계는 번역되지 않았습니다. 번역을 도와주십시오
-
Firmly grasp the white casing of the phone with one hand and the blue cover with the other hand as seen in the first picture.
-
Pull up on the two plastic clips at the top of the phone.
-
While the clips are pulled up, pull the blue cover away from the white casing to remove it.
-
-
-
이 단계는 번역되지 않았습니다. 번역을 도와주십시오
-
Along the side of the metal frame of the phone, locate the six screws.
-
Using a T5 screwdriver bit, unscrew the six 1/4 inch screws and store them in a safe place.
-
-
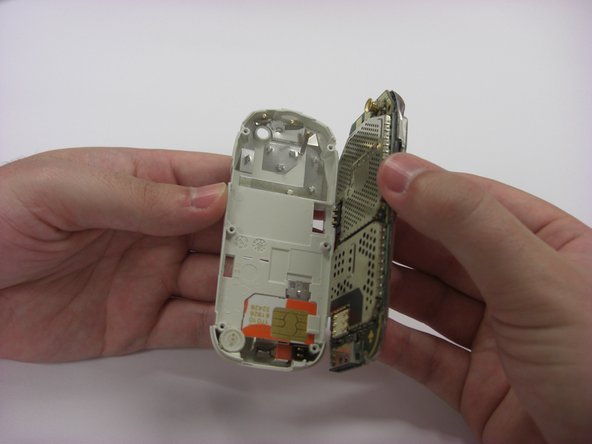
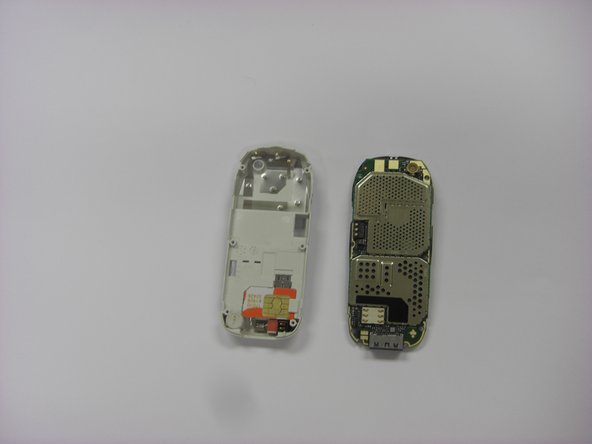
이 단계는 번역되지 않았습니다. 번역을 도와주십시오
-
To remove the back plastic cover, grasp the device with both hands as seen in the first picture.
-
Gently remove the motherboard from the back plastic cover.
-
-
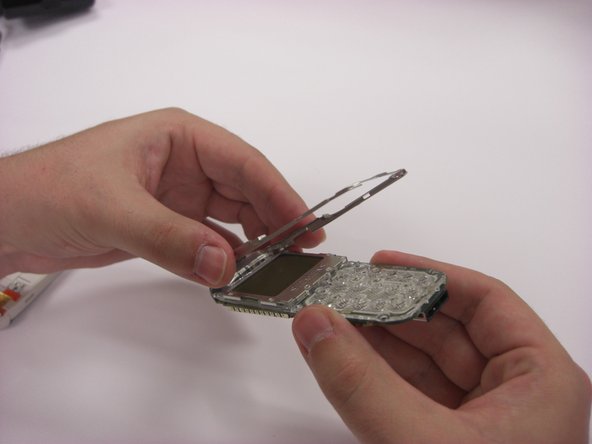
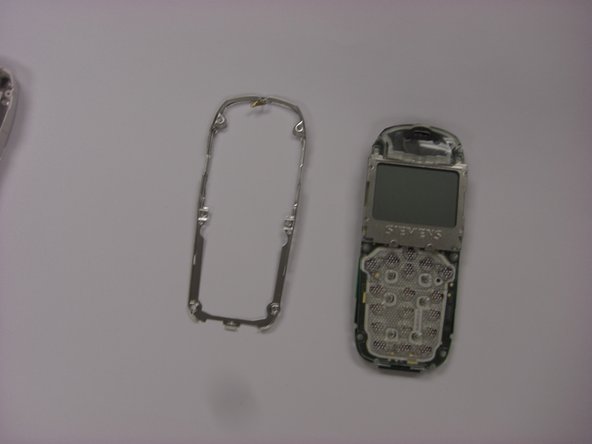
이 단계는 번역되지 않았습니다. 번역을 도와주십시오
-
Turn over the keypad interface and using the blue plastic opening tool, gently pry the bottom of the metal frame.
-
Once loosened, the metal frame should be able to be lifted from the motherboard.
-
-
이 단계는 번역되지 않았습니다. 번역을 도와주십시오
-
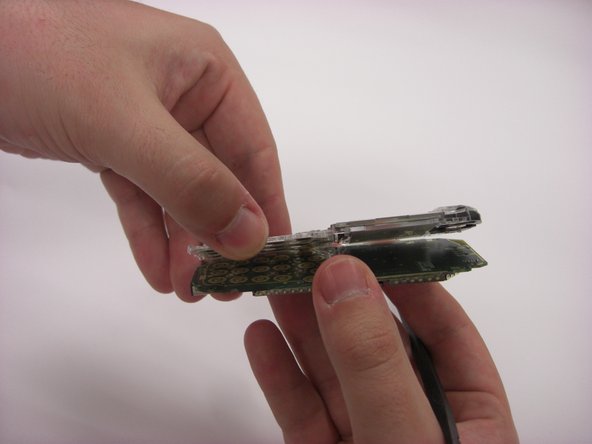
Insert the fine-tipped spudger in between the motherboard and the keypad interface.
-
Gently work the spudger across the length of the motherboard.
-
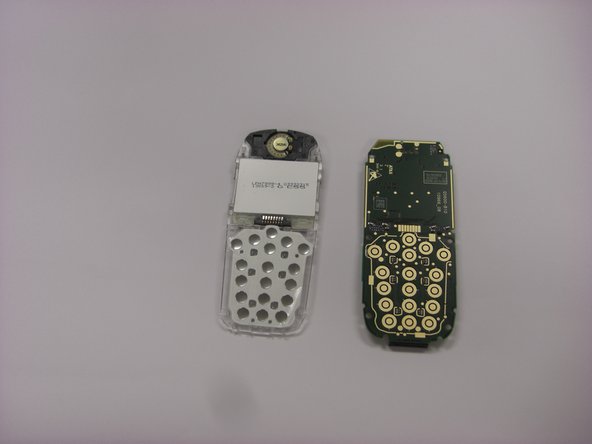
Once loosened, the motherboard should easily separate from the keypad interface.
-


팀

Clemson, Team 6-6, Benson Spring 2014 Clemson, Team 6-6, Benson Spring 2014 회원
CLEM-BENSON-S14S6G6
4 회원들
안내서 18개 작성하였습니다