소개
Required tools:
- Case opening tool, plastic
- T5 Torx driver
Estimated Time: about 5 - 10 minutes
필요한 것
-
이 단계에 사용된 도구:Plastic Cards$2.99
-
The case can be opened easily with a plastic case opening tool. Strong finger nails and an old credit card / plastic card may work too.
-
-
-
-
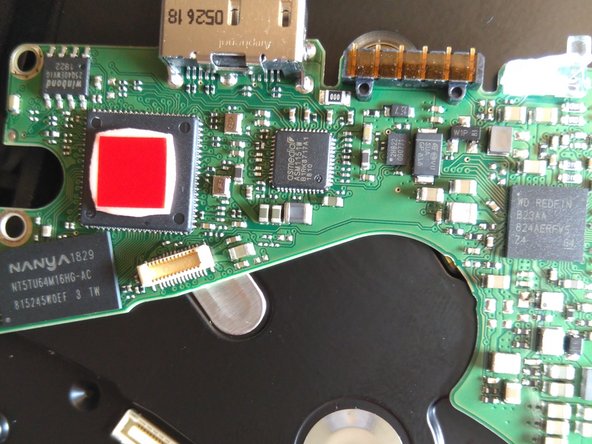
Lift the board gently - there is only one small connector connecting the board to the hard disk case (around the yellow market space).
-
On the second image, you can see the board turned over.
-
Further disassembly would damage the disk. I hoped to find a SATA connector within, but maybe someone knows an alternative board with the same connector.
-
-
-
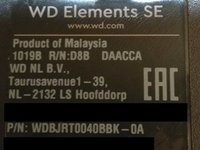
The label on the WD Elements SE case and the labels on the harddisk can be seen here. I censored serial numbers, the WWID and the barcodes.
-


To reassemble your device, follow these instructions in reverse order.
다른 한 분이 해당 안내서를 완성하였습니다.