이 버전에는 잘못된 편집 사항이 있을 수 있습니다. 최신 확인된 스냅샷으로 전환하십시오.
필요한 것
-
이 단계는 번역되지 않았습니다. 번역을 도와주십시오
-
Remove Battery, SIM Card, and MicroSD
-
Remove the four screws located around the edge of the case. They should be very small phillips heads.
-
-
-
이 단계는 번역되지 않았습니다. 번역을 도와주십시오
-
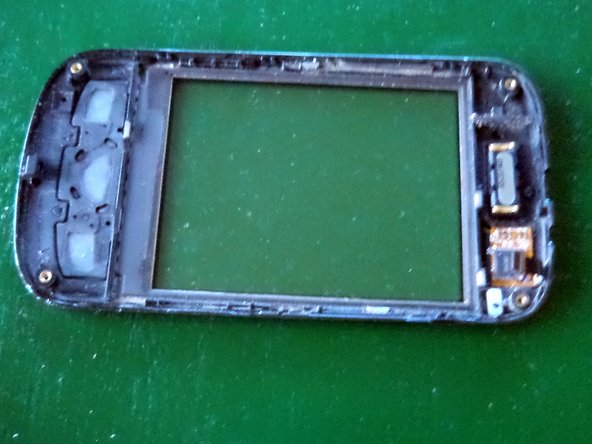
Using a flathead screwdriver, carefully prise the black plastic away. It's held in with a series of clips, and should come away easily.
-
-
이 단계는 번역되지 않았습니다. 번역을 도와주십시오
-
Carefully remove the ribbon cable that connects the capacitive screen to the main board. You need to carefully lift the small tab, then pull the cable out.
-
-
이 단계는 번역되지 않았습니다. 번역을 도와주십시오
-
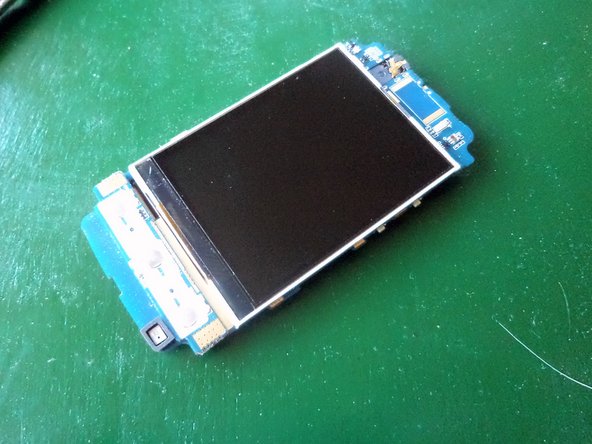
Now using the flathead screwdriver, prise the plastic that makes up the front, away from the circuit board. Like the back piece, it has a series of clips around the edge, and should lift free without much effort.
-


다른 한 분이 해당 안내서를 완성하였습니다.