주요 콘텐츠로 건너뛰기

Disassembling iRobot Roomba 551 Bumper

필요한 것

  1. Disassembling iRobot Roomba 551 Bumper, Side Brush: 1 단계, 이미지 1/1
    • Place your Roomba upside-down on a hard surface.

  2. Disassembling iRobot Roomba 551 Bumper: 2 단계, 이미지 1/1
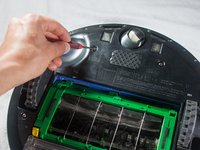
    • While holding the side brush in place, use a Phillips #1 screwdriver to remove the 4.5mm screw from the center of the brush.

  3. Disassembling iRobot Roomba 551 Bumper: 3 단계, 이미지 1/1
    • Gently pull upwards on the brush to remove it.

  4. Disassembling iRobot Roomba 551 Bumper, Bottom Plate: 4 단계, 이미지 1/1
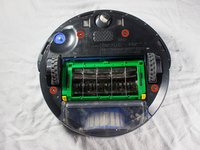
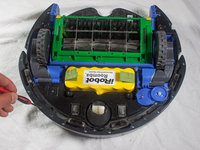
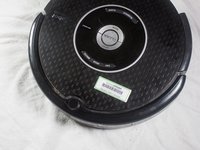
    • Rotate the Roomba upside-down so the bottom is facing towards you.

  5. Disassembling iRobot Roomba 551 Bumper: 5 단계, 이미지 1/2 Disassembling iRobot Roomba 551 Bumper: 5 단계, 이미지 2/2
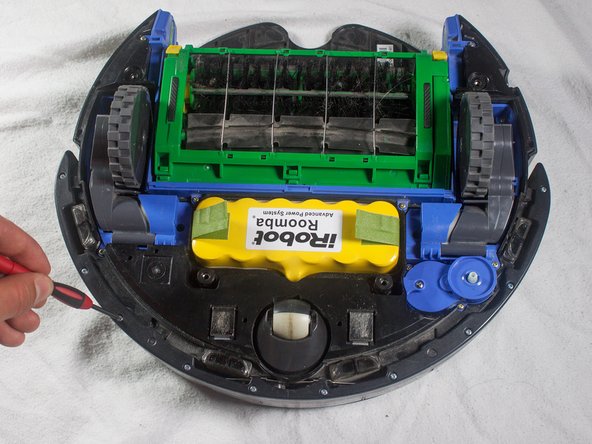
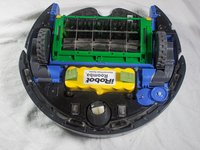
    • Using a Phillips #2 screwdriver, remove the captive screws that hold the bottom plate in place.

  6. Disassembling iRobot Roomba 551 Bumper: 6 단계, 이미지 1/1
    • Carefully lift the bottom plate.

    • The battery is only secured in place by the bottom plate, and may fall out once the bottom plate is removed.

  7. Disassembling iRobot Roomba 551 Bumper, Bumper: 7 단계, 이미지 1/3 Disassembling iRobot Roomba 551 Bumper, Bumper: 7 단계, 이미지 2/3 Disassembling iRobot Roomba 551 Bumper, Bumper: 7 단계, 이미지 3/3
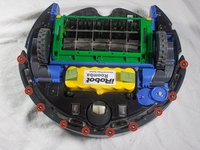
    • With a Phillips #1 screwdriver, remove the ten 12mm screws located along the bottom of the bumper.

  8. Disassembling iRobot Roomba 551 Bumper: 8 단계, 이미지 1/1
    • Lift the bottom cover and set it to the side.

  9. Disassembling iRobot Roomba 551 Bumper: 9 단계, 이미지 1/2 Disassembling iRobot Roomba 551 Bumper: 9 단계, 이미지 2/2
    • Flip the Roomba over, grasp the bumper, and gently lift to remove.

    • The battery is not secured in place once the bottom plate has been removed, and may fall out when the Roomba is turned right-side up.

결론

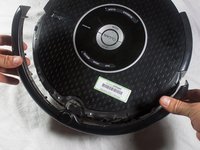
To reassemble your device, follow these instructions in reverse order.

다른 한 분이 해당 안내서를 완성하였습니다.

Cody Rhoads

회원 가입일: 01/16/14

348 평판

안내서 2개 작성하였습니다

Cal Poly, Team 13-14, Regan Winter 2014 Cal Poly, Team 13-14, Regan Winter 2014 회원

CPSU-REGAN-W14S13G14

4 회원들

안내서 19개 작성하였습니다

댓글 한 개

Mine had a wire leading from the body to the bumper. The bumper end was held on by two small Phillips screws, which I undid to disconnect it (the bit it screws on to falls off the top of the bumper).

When putting it back together, make sure to put it on again the right way round, with the wire towards the front of the roomba (i.e. furthest from the main body), otherwise you will find the wire gets in the way of the bumper working, and you'll have to take it all apart again, like I did!

Nikki Locke - 답글

댓글 쓰기

조회 통계:

24 시간 전: 0

7일 전: 1

30일 전: 3

전체 시간: 2,596