이 버전에는 잘못된 편집 사항이 있을 수 있습니다. 최신 확인된 스냅샷으로 전환하십시오.
필요한 것
-
이 단계는 번역되지 않았습니다. 번역을 도와주십시오
-
The rear panel is secured to the front case and can simply be pried apart without damage.
-
-
이 단계는 번역되지 않았습니다. 번역을 도와주십시오
-
Carefully, wedge the plastic opening tool in-between the seam that separates both halves of the tablet.
-
-
-
이 단계는 번역되지 않았습니다. 번역을 도와주십시오
-
Run the plastic opening tool along the seam looking for the clips and lift up on the rear panel.
-
-
이 단계는 번역되지 않았습니다. 번역을 도와주십시오
-
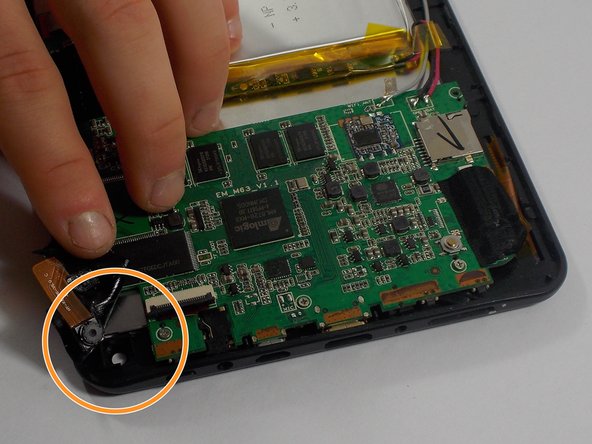
Use the flat end of a spudger to disconnect the front-facing camera cable from its socket on the motherboard.
-
Simply, pull back the tape and remove the camera.
-


다른 한 분이 해당 안내서를 완성하였습니다.

팀

UMass Dartmouth, Team 1-2, Miles Fall 2015 UMass Dartmouth, Team 1-2, Miles Fall 2015 회원
UMASSD-MILES-F15S1G2
4 회원들
안내서 12개 작성하였습니다