주요 콘텐츠로 건너뛰기

Dremel MultiPro 395 Casing Replacement

필요한 것

  1. Dremel MultiPro 395 Casing Replacement, Casing: 1 단계, 이미지 1/2 Dremel MultiPro 395 Casing Replacement, Casing: 1 단계, 이미지 2/2
    이 단계에 사용된 도구:
    Flathead 3/32" or 2.5 mm Screwdriver
    $5.49
    구매
    • Remove the blue caps located on either side of the MultiPro, using a 3 mm flathead screwdriver.

  2. Dremel MultiPro 395 Casing Replacement: 2 단계, 이미지 1/2 Dremel MultiPro 395 Casing Replacement: 2 단계, 이미지 2/2
    • Carefully remove the carbon brushes attached at the end of the springs by gently pulling on the springs using your hands.

  3. Dremel MultiPro 395 Casing Replacement: 3 단계, 이미지 1/2 Dremel MultiPro 395 Casing Replacement: 3 단계, 이미지 2/2
    • Pull one side of the hanger up and then pull away from the Multipro until the other side can be pulled out.

  4. Dremel MultiPro 395 Casing Replacement: 4 단계, 이미지 1/3 Dremel MultiPro 395 Casing Replacement: 4 단계, 이미지 2/3 Dremel MultiPro 395 Casing Replacement: 4 단계, 이미지 3/3
    • Remove the 4 screws located on the bottom of the Multipro with a T15 screwdriver.

  5. Dremel MultiPro 395 Casing Replacement: 5 단계, 이미지 1/3 Dremel MultiPro 395 Casing Replacement: 5 단계, 이미지 2/3 Dremel MultiPro 395 Casing Replacement: 5 단계, 이미지 3/3
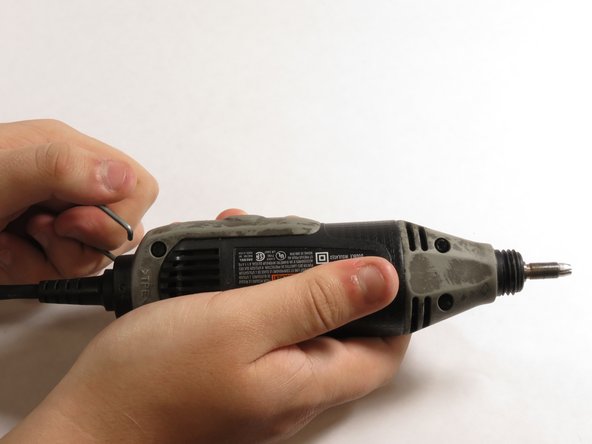
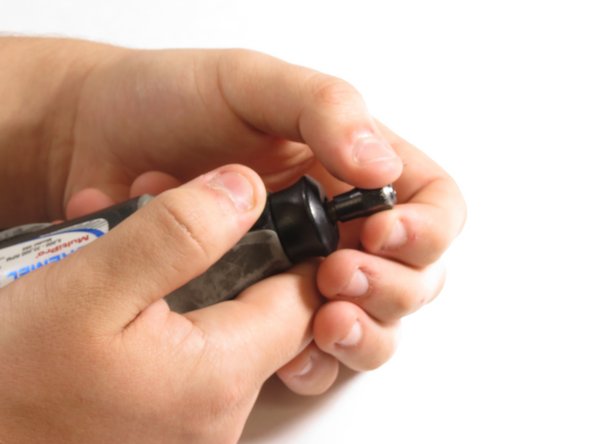
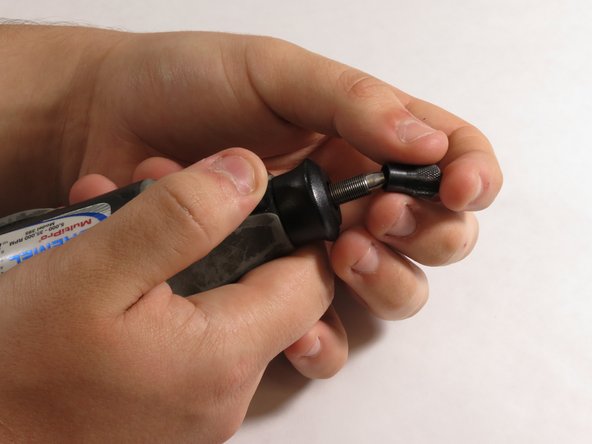
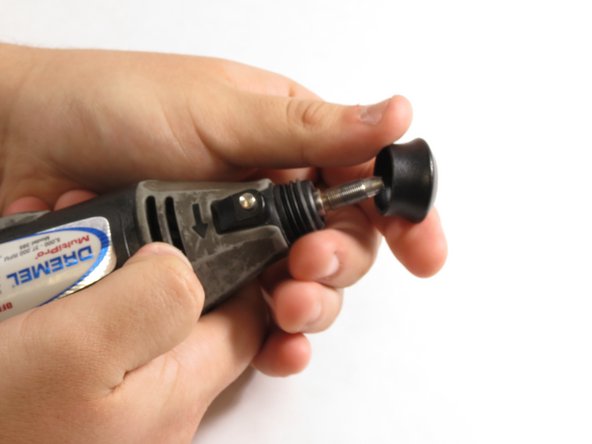
    • Hold down the collet lock, remove the chuck cap from the top of the Multipro by screwing counterclockwise.

  6. Dremel MultiPro 395 Casing Replacement: 6 단계, 이미지 1/3 Dremel MultiPro 395 Casing Replacement: 6 단계, 이미지 2/3 Dremel MultiPro 395 Casing Replacement: 6 단계, 이미지 3/3
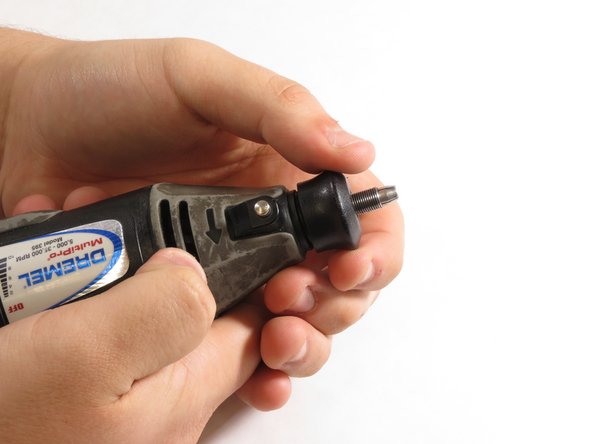
    • Remove the black housing cap from the Multipro located directly below the chuck cap.

  7. Dremel MultiPro 395 Casing Replacement: 7 단계, 이미지 1/3 Dremel MultiPro 395 Casing Replacement: 7 단계, 이미지 2/3 Dremel MultiPro 395 Casing Replacement: 7 단계, 이미지 3/3
    • Pull the bottom side of the casing up to remove it.

  8. Dremel MultiPro 395 Casing Replacement: 8 단계, 이미지 1/3 Dremel MultiPro 395 Casing Replacement: 8 단계, 이미지 2/3 Dremel MultiPro 395 Casing Replacement: 8 단계, 이미지 3/3
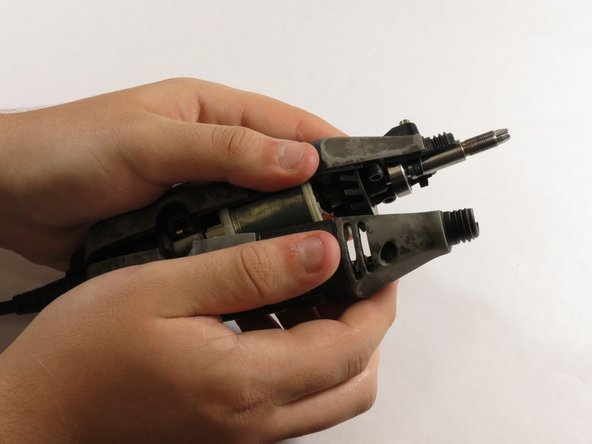
    • Gently lift the motor shaft out of the Multipro.

  9. Dremel MultiPro 395 Casing Replacement: 9 단계, 이미지 1/3 Dremel MultiPro 395 Casing Replacement: 9 단계, 이미지 2/3 Dremel MultiPro 395 Casing Replacement: 9 단계, 이미지 3/3
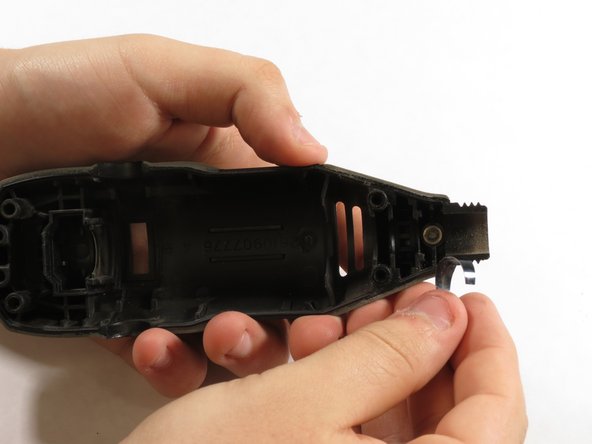
    • Pull the lock pin and its casing out of the other side of the Multipro case.

결론

To reassemble your device, follow these instructions in reverse order.

다른 2명이 해당 안내서를 완성하였습니다.

Matthew Satton

회원 가입일: 09/17/14

520 평판

안내서 2개 작성하였습니다

댓글 한 개

A link to parts is always nice,

bari - 답글

댓글 쓰기

조회 통계:

24 시간 전: 0

7일 전: 5

30일 전: 23

전체 시간: 2,144