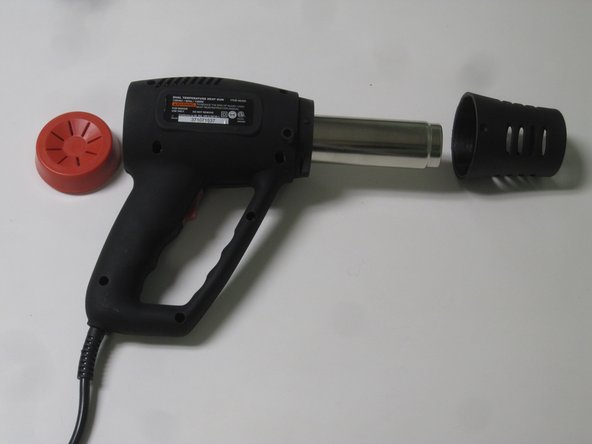
주요 콘텐츠로 건너뛰기

Drill Master Heat Gun Power Cord Replacement

필요한 것

  1. Drill Master Heat Gun Power Cord Replacement, Power Cord: 1 단계, 이미지 1/1
    • Be sure the heat gun is unplugged before starting this process.

    • Remove the seven 14mm screws from the side of the drill using the PH#0 screwdriver.

    • You will need a screwdriver extension.

  2. Drill Master Heat Gun Power Cord Replacement: 2 단계, 이미지 1/1
    • Remove the 8mm screw from underside of barrel using the PH#0 screwdriver.

    • Don't try to open the casing just yet.

  3. Drill Master Heat Gun Power Cord Replacement: 3 단계, 이미지 1/3 Drill Master Heat Gun Power Cord Replacement: 3 단계, 이미지 2/3 Drill Master Heat Gun Power Cord Replacement: 3 단계, 이미지 3/3
    • Remove the barrel casing on either end by twisting and pulling each side off.

  4. Drill Master Heat Gun Power Cord Replacement: 4 단계, 이미지 1/1
    • Remove the top casing to reveal inside of drill. You might have to tug a little harder for this one.

  5. Drill Master Heat Gun Power Cord Replacement: 5 단계, 이미지 1/1
    • Loosen four screws on the wire connector using the flathead 2.5 screwdriver.

    • Screws do not come out of connector.

  6. Drill Master Heat Gun Power Cord Replacement: 6 단계, 이미지 1/1
    • Disconnect the power cord wiring from the wire connector.

  7. Drill Master Heat Gun Power Cord Replacement: 7 단계, 이미지 1/1
    • Remove the two 12mm screws from the base of power cord using the PH#0 screwdriver.

  8. Drill Master Heat Gun Power Cord Replacement: 8 단계, 이미지 1/1
    • Remove the power cord from the heat gun.

결론

To reassemble your device, follow these instructions in reverse order.

Mikayla Kim

회원 가입일: 01/31/17

523 평판

안내서 5개 작성하였습니다

University of North Texas, Team 1-2, Campbell Spring 2017 University of North Texas, Team 1-2, Campbell Spring 2017 회원

UNT-CAMPBELL-S17S1G2

3 회원들

안내서 10개 작성하였습니다

댓글 0개

댓글 쓰기

조회 통계:

24 시간 전: 0

7일 전: 1

30일 전: 3

전체 시간: 656